Auto Deploy Static Website from GitHub using AWS S3 in CI/CD pipeline using AWS CodePipeline
Deploy the Static Website automatically from GitHub to S3 bucket using AWS CodePipeline


What we will do ?
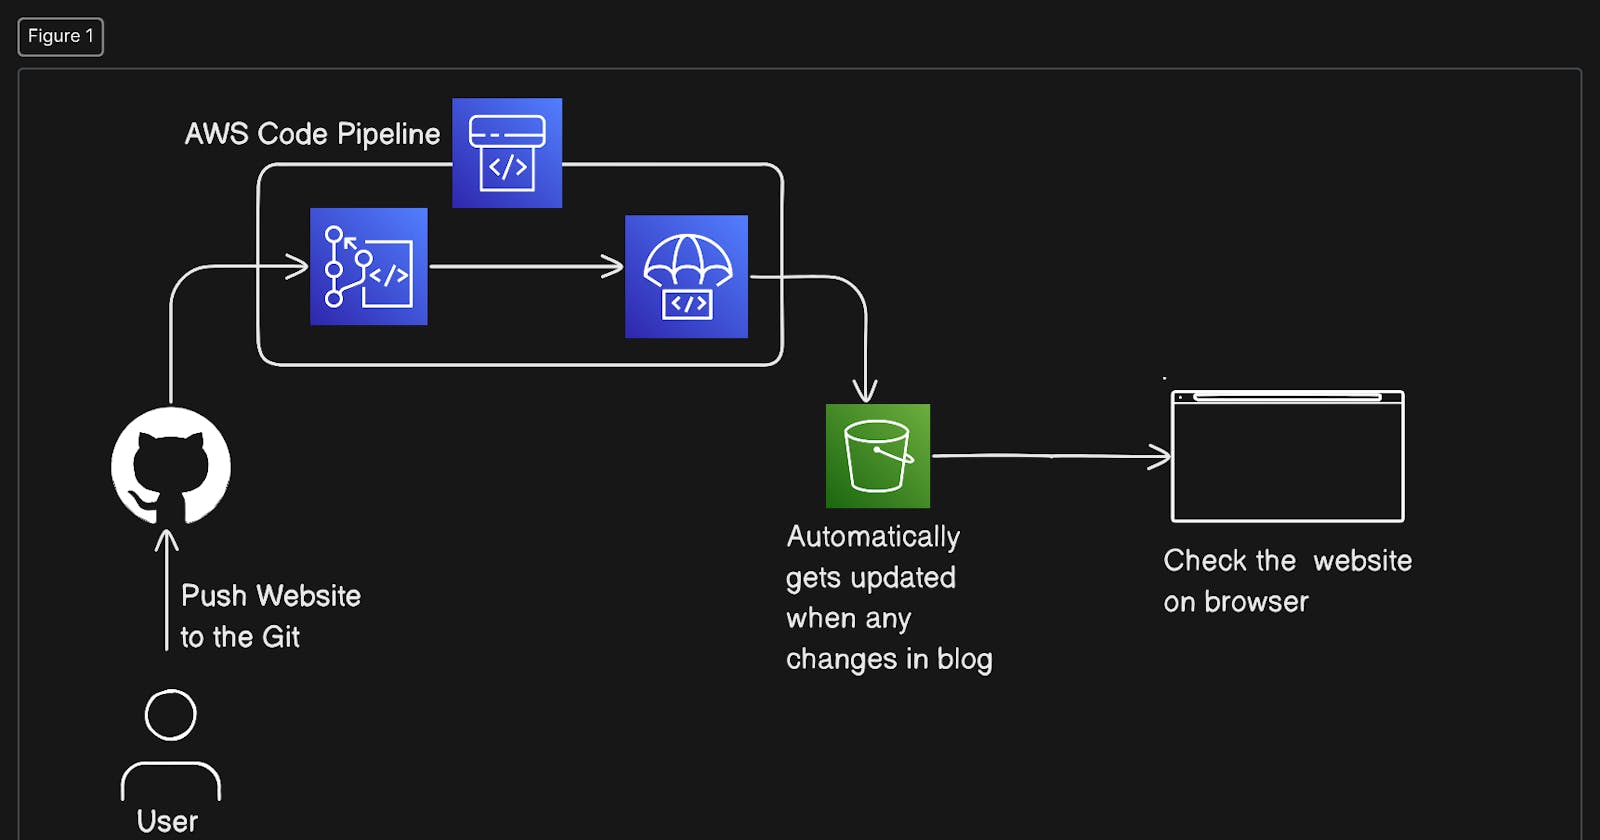
We will create a CI/CD pipeline, using AWS CodePipeline to automate updates from our GitHub repositories to Amazon S3. We’ll use the blog webpage as an artifact.
We will add a CI/CD pipeline to an existing bucket in Amazon S3 on the AWS Cloud. The pipeline is initiated when new items are committed, and the changes are reflected in the S3 bucket. So whenever we make a push to our repos then the pipeline will be triggered.
Steps to Execute:
Step 1 : Create GitHub Repository for the Website
Follow my repository if you do not have any of the sample websites for now.
Step 2: Create an S3 Bucket and set up bucket permissions
Fill in your desired bucket name
Mark the ACL-enabled
Uncheck the block all public access
Check the popup acknowledgement --> Hit Create Bucket
Select the Newly created bucket from the buckets created -> In properties Tab --> Static Website Hosting --> Hit Edit
Enable the Static Website Hosting [Radio Button]
In index document field put the "index.html" (as we want to display that html page when deployed)
In permissions tab ==> Go to Bucket policy ==> Edit the Bucket policy
Add the policy as
{
    "Version": "2012-10-17",
    "Statement": [
        {
            "Sid": "PublicReadGetObject",
            "Effect": "Allow",
            "Principal": "*",
            "Action": [
                "s3:GetObject"
            ],
            "Resource": [
                "arn:aws:s3:::Bucket-Name/*" // Replace with the field above bucket policy editor
            ]
        }
    ]
}
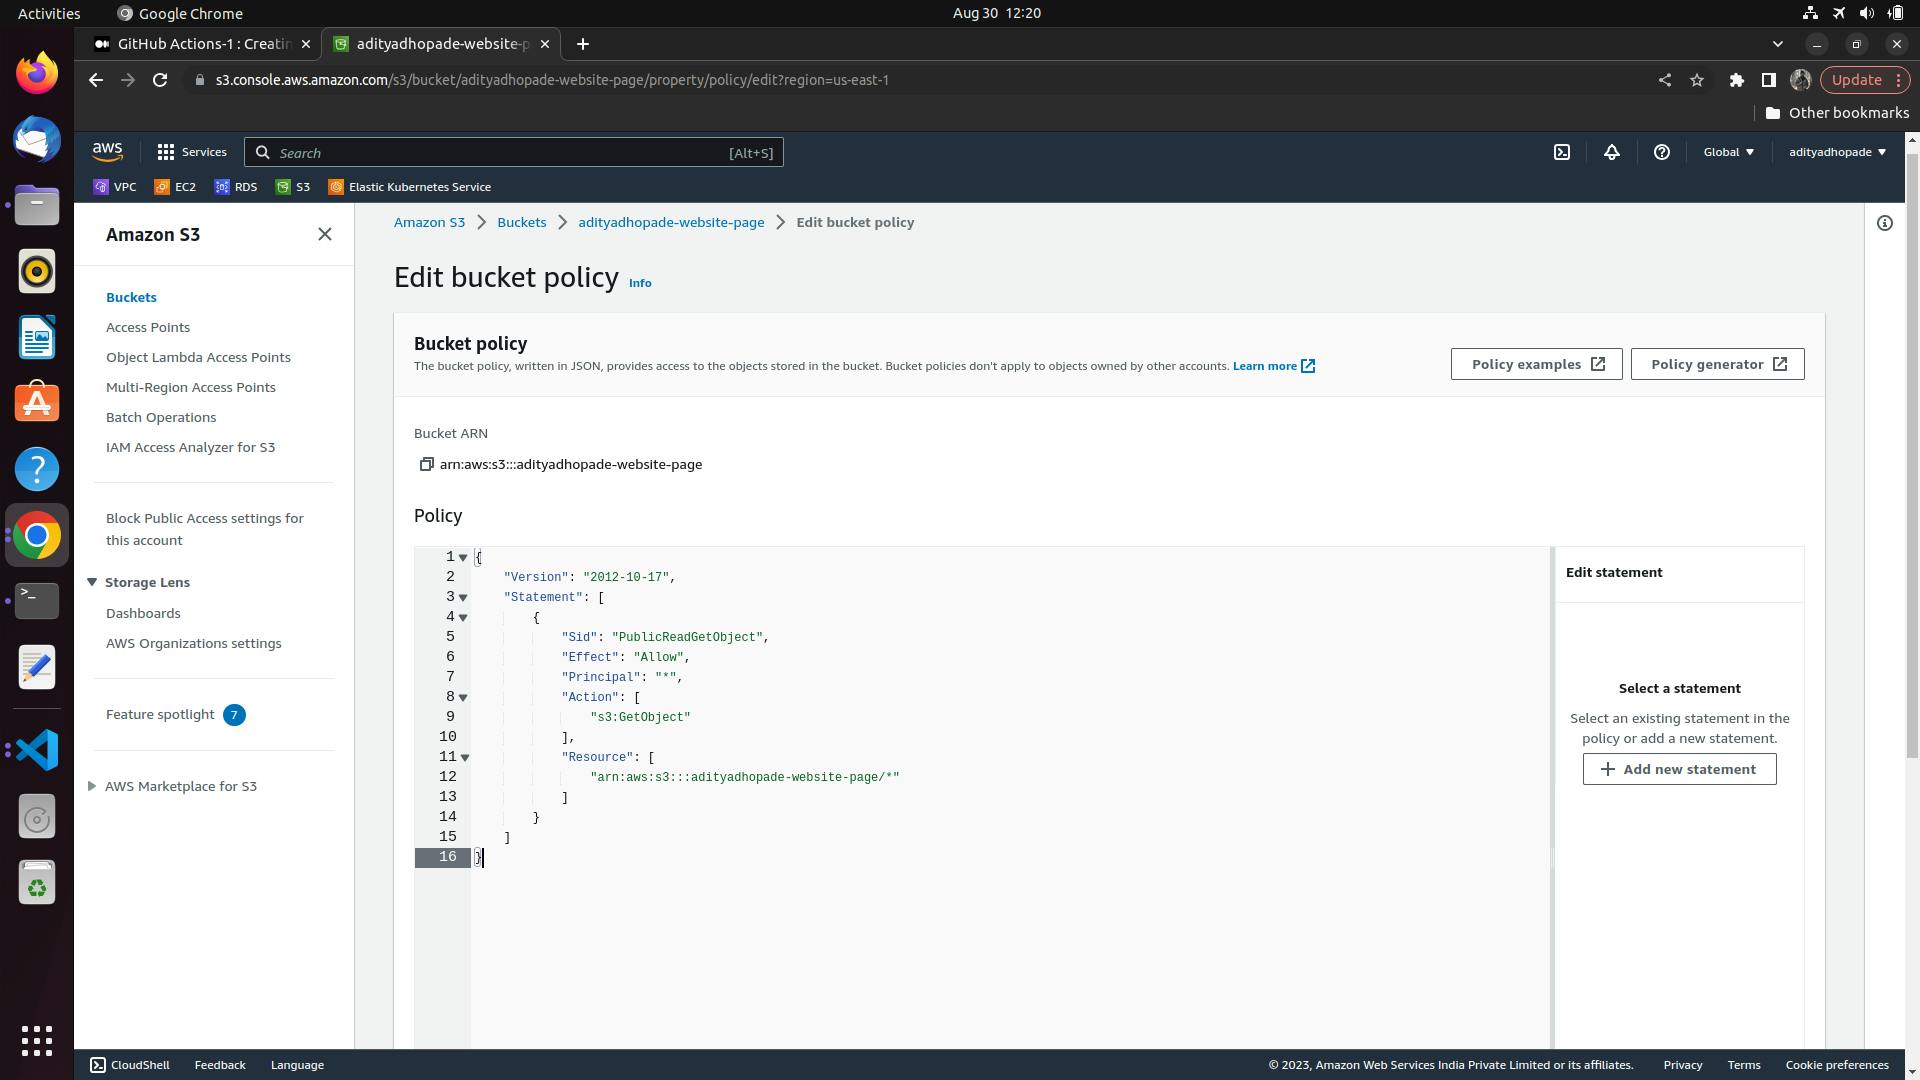
Reference to Bucket Policy Sample JSON
Thus, we have given only read permission to those who access our S3 bucket from the internet.
Step 3: Create the pipeline using the AWS CodePipeline
Gotot AWS CodePipeline ==> Create Pipeline
Here first we need to set the Code Pipeline Settings [It is a 5 step process]
Enter the name of your pipeline, select a “New Service Role” if you do not already have one, and click Next
Step2: Add Source Stage
Select the Source Provider as GithHub Version 2
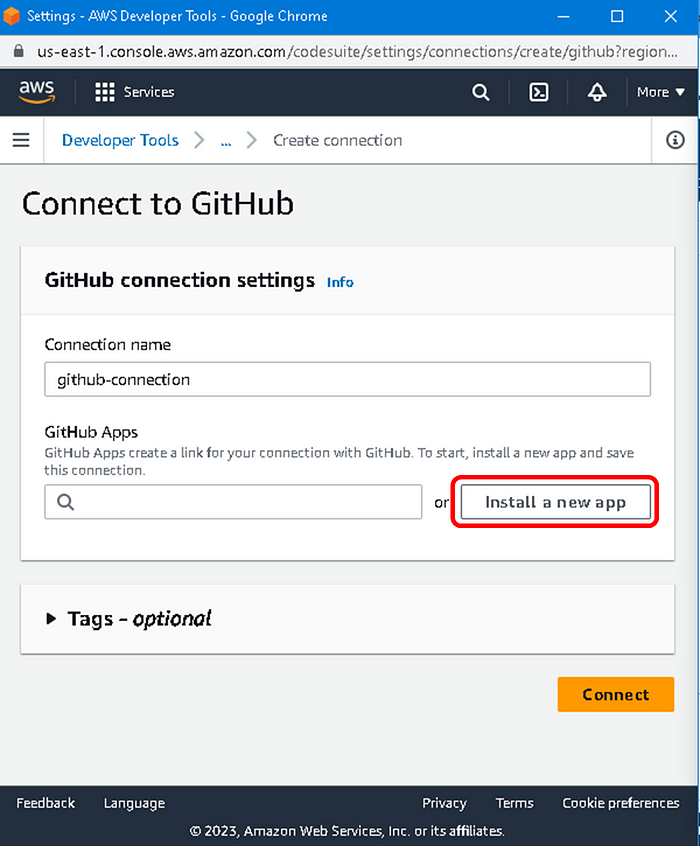
Then we need to create the address connection between GitHub and AWS so just hit the Connect to GitHub Button

A popup will appear ==> Add the connection name that you desire
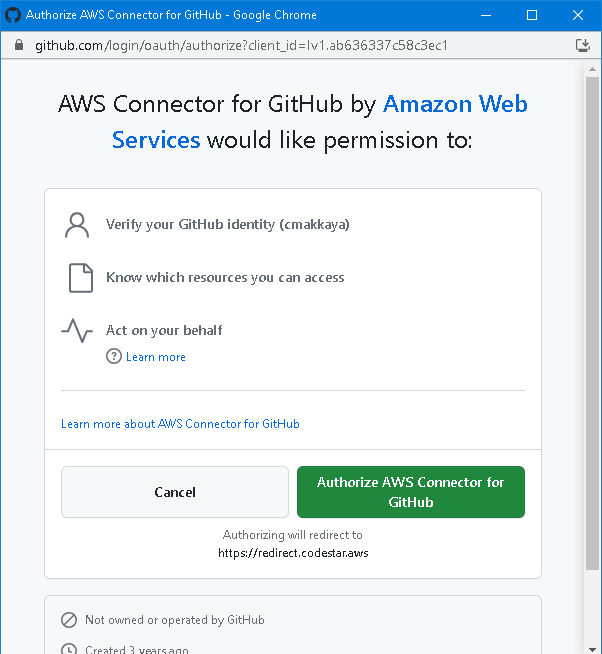
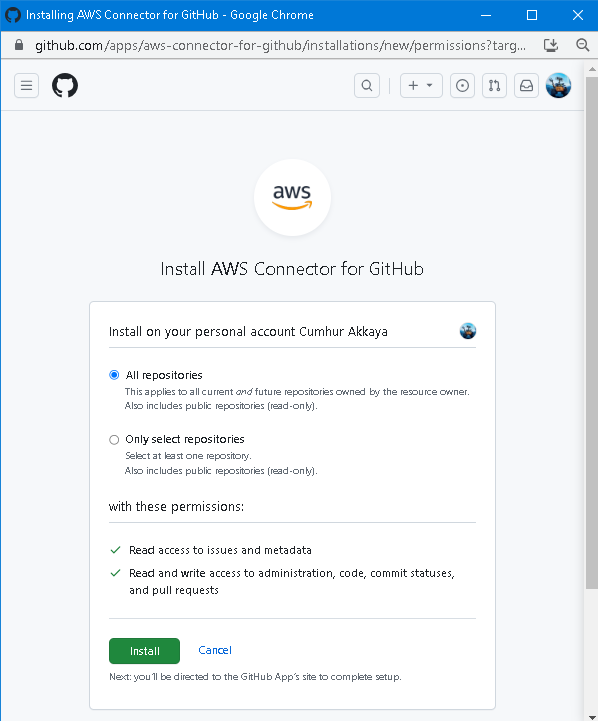
Click on the “Authorize AWS Connector for GitHub” button, as shown in Figure 17.
Click on the “Install a new app” button
In the popup window, select your GitHub account
Then Click on the “Install ” button, to include your repositories in AWS CodePipeline
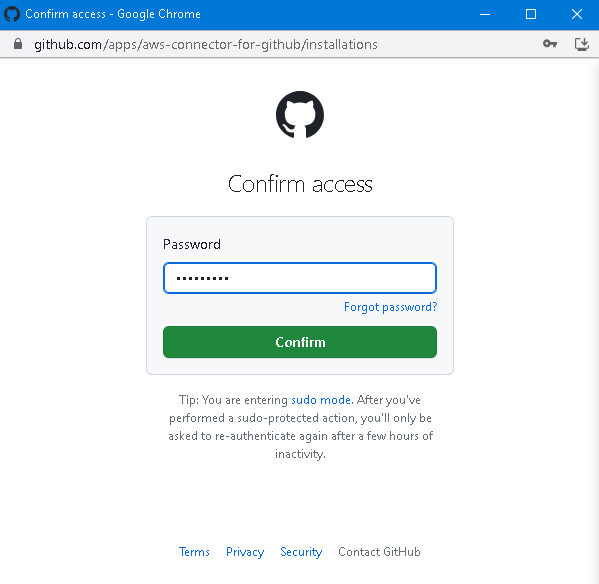
Enter your GitHub password and click on the “Confirm” button
Now it will show us the connection link number; so click connect

Your GitHub repository name that you created for this hands-on and enter the branch name, it can be “main”. Also “CodePipeline default” and click the “Next” button
NOTE: We will skip the Add Build Stage as there will not be any build state.
Click on Skip Build Stage
Next Step: Add Deploy Stage
At this stage, we will determine where CodePipeline will place the deployment. Here we enter the information of the S3 bucket that we created for this hands-on.
Remember: Check the “Extract file before deploy” Otherwise, the blog page deployed to the S3 bucket will not open.
Next Step: Review the changes
We review what we’ve done in the “Review” section, and click the Create pipeline button
When we click on our pipeline in the pipeline tab, we see that “deploy” is done and its state is “Succeeded"
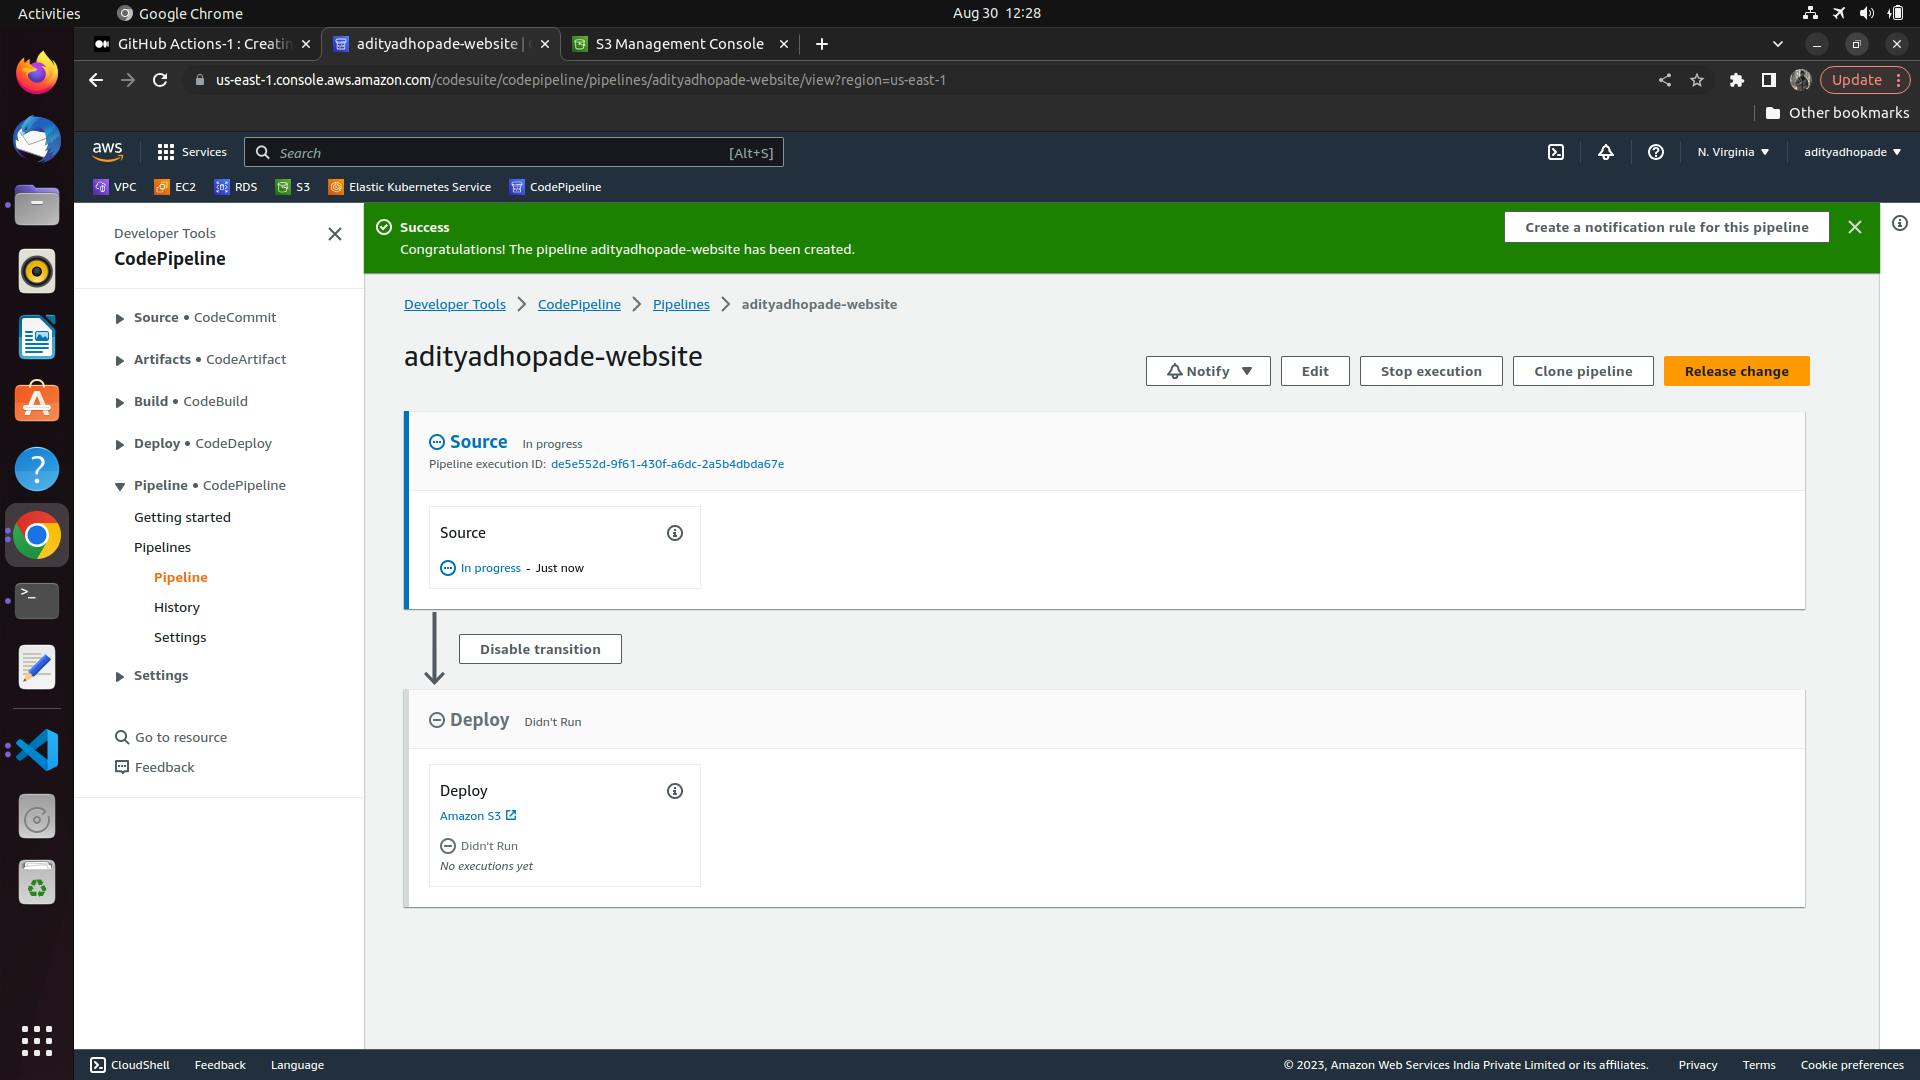
Step 4: Observing the Pipeline Triggering
When we click on our pipeline in the pipeline tab, we see that deployment is “Succeeded”
Click on your pipeline and enter it.
Under the Deploy section, it shows it’s done to Amazon S3. Click here “Amazon S3” and it will go to your S3 bucket
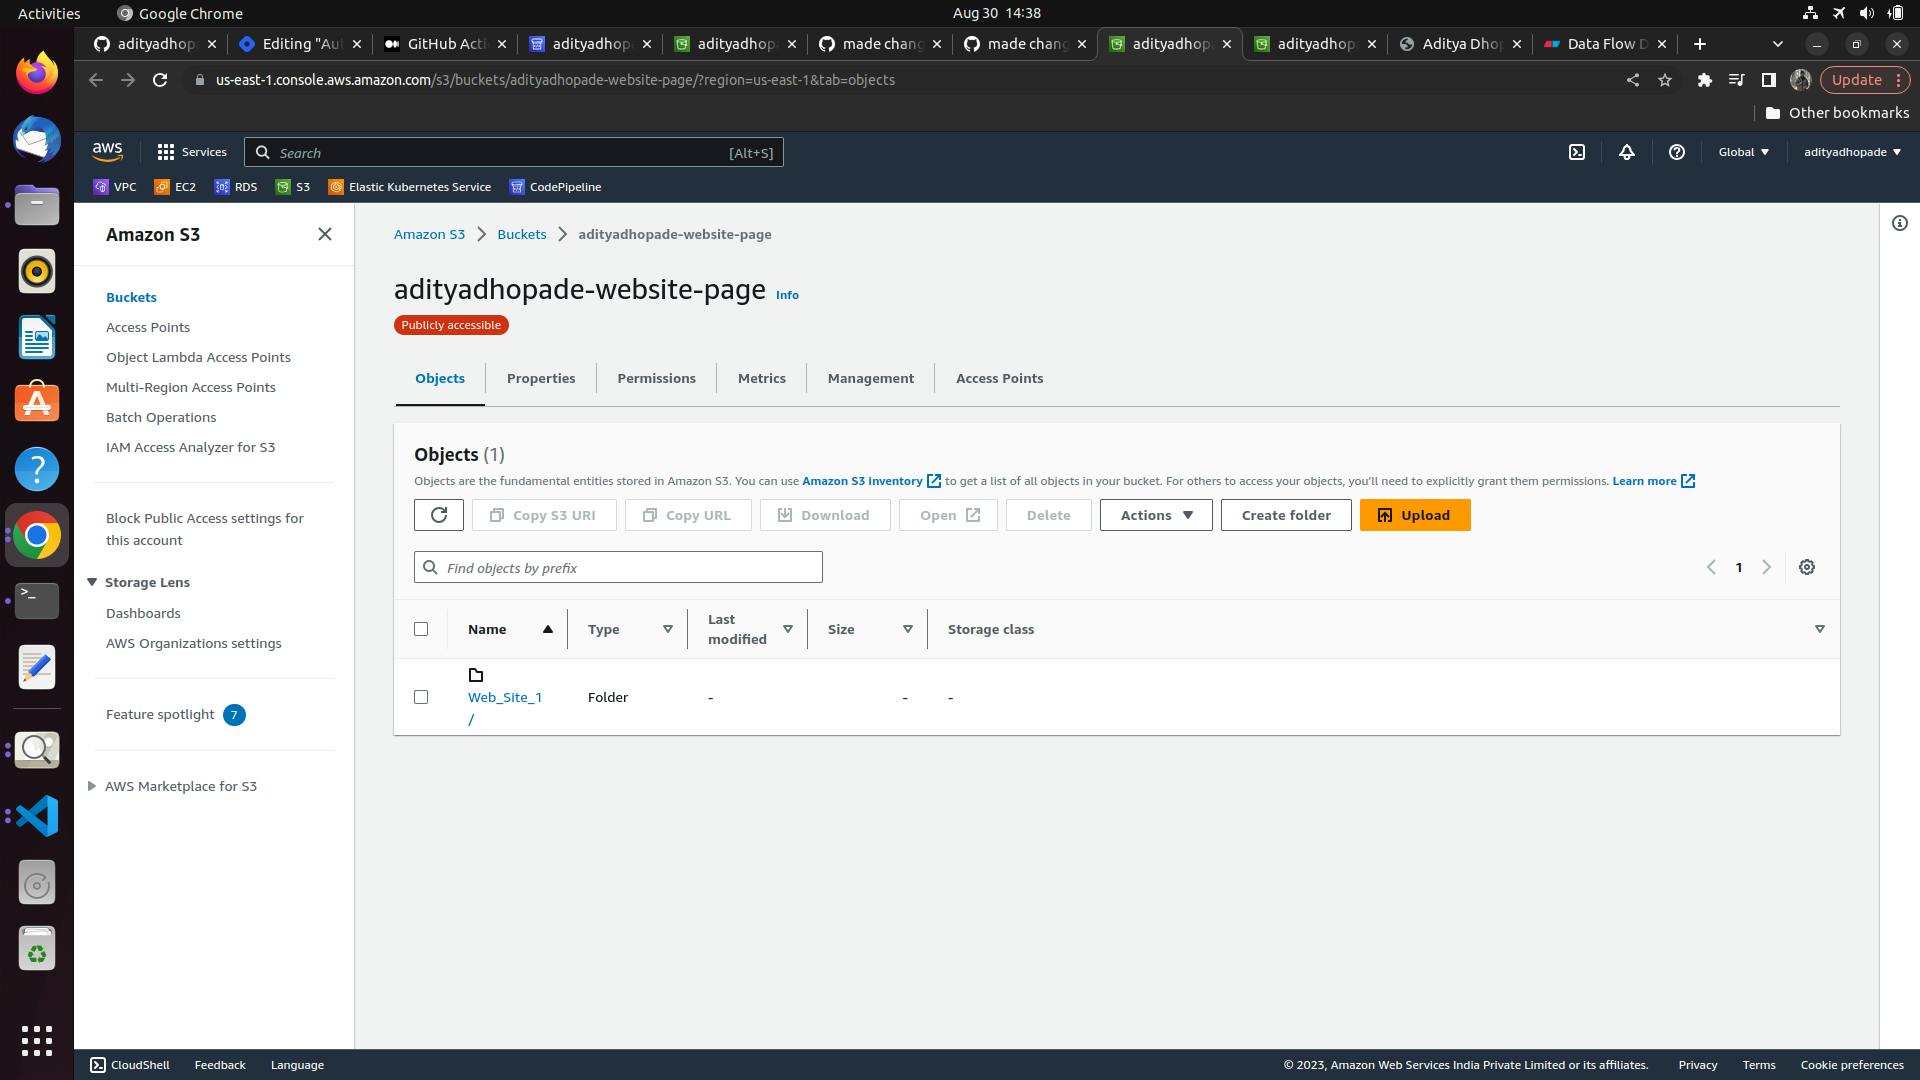
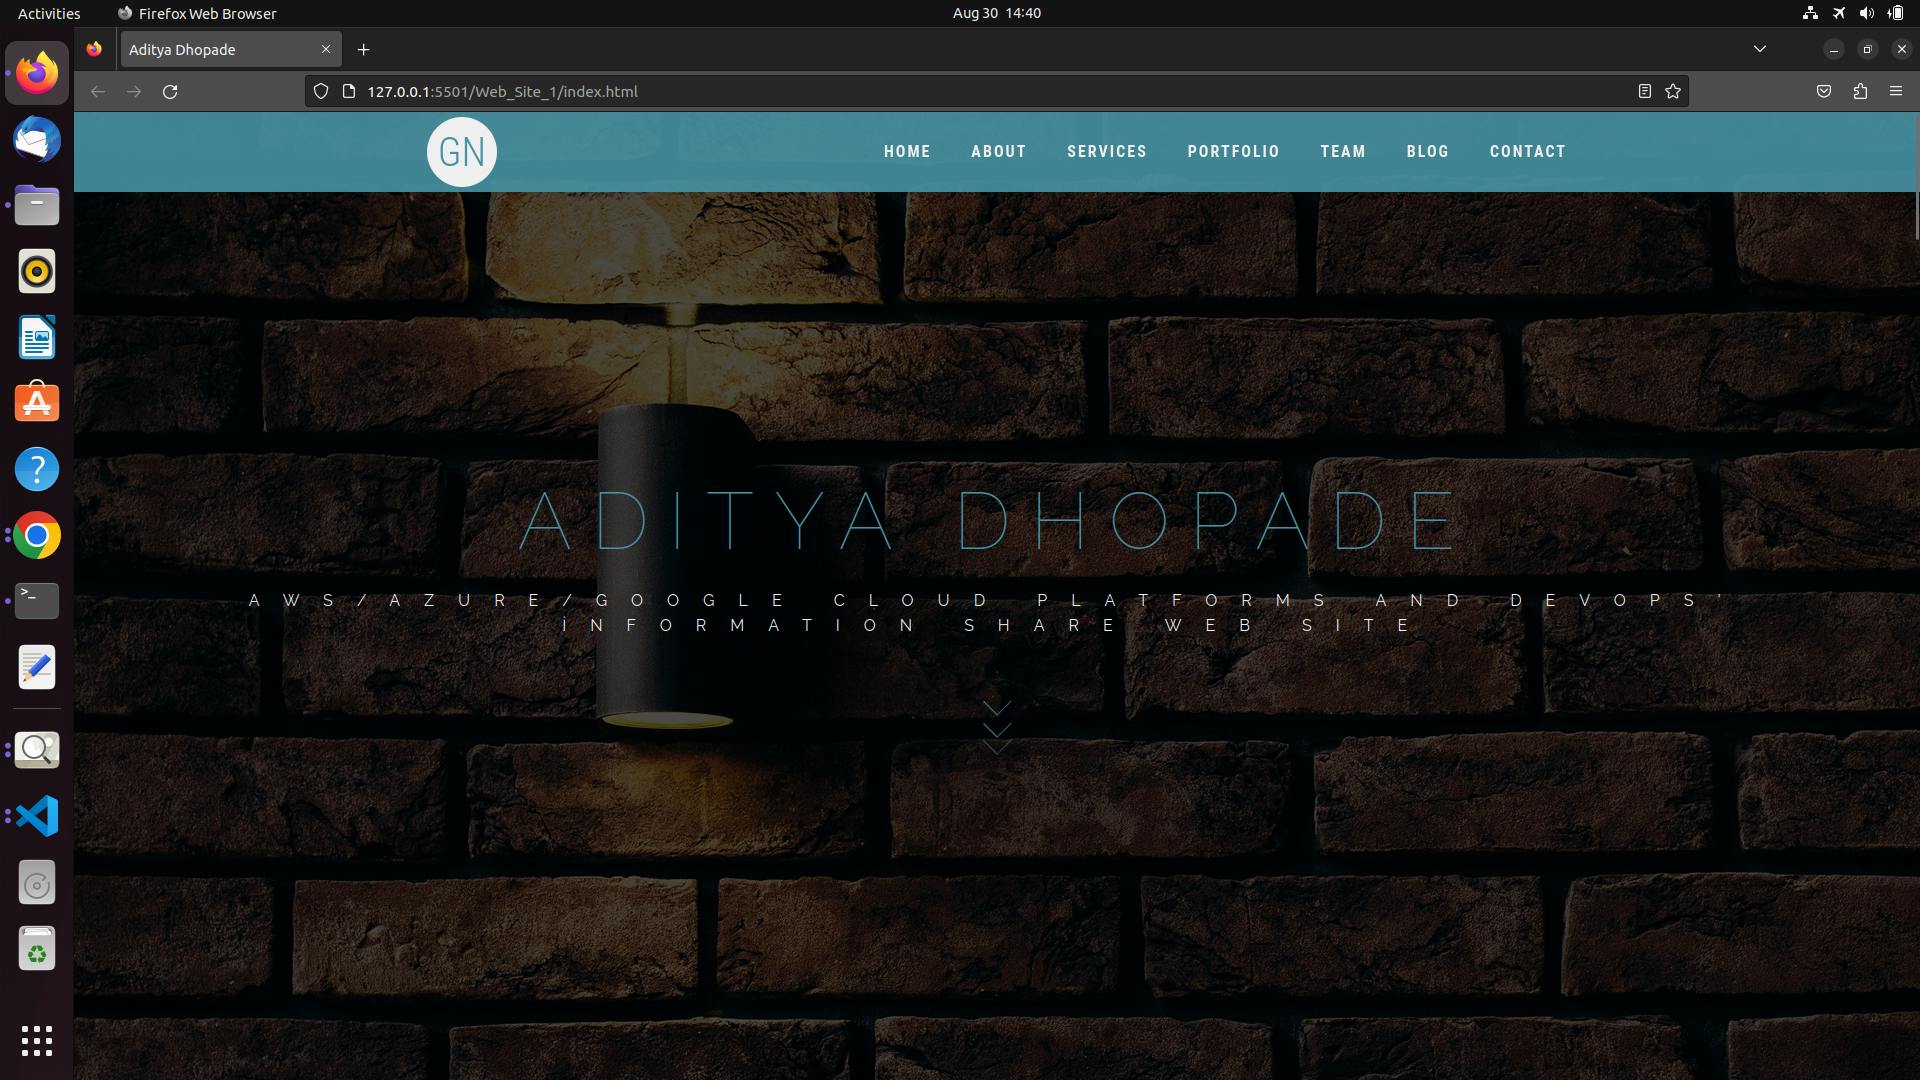
Go to the index.html page and then access the index on the browser by copying the *Object URL
Viola !! We will get our website all up and running!
Now that we have deployed a pipeline we can check if we make certain changes is it getting reflected on our website or not
So let us just make some changes in the template and push it onto our repository
We can see the changes in our GitHub dashboard

Let us observe if the pipeline is triggering or not.
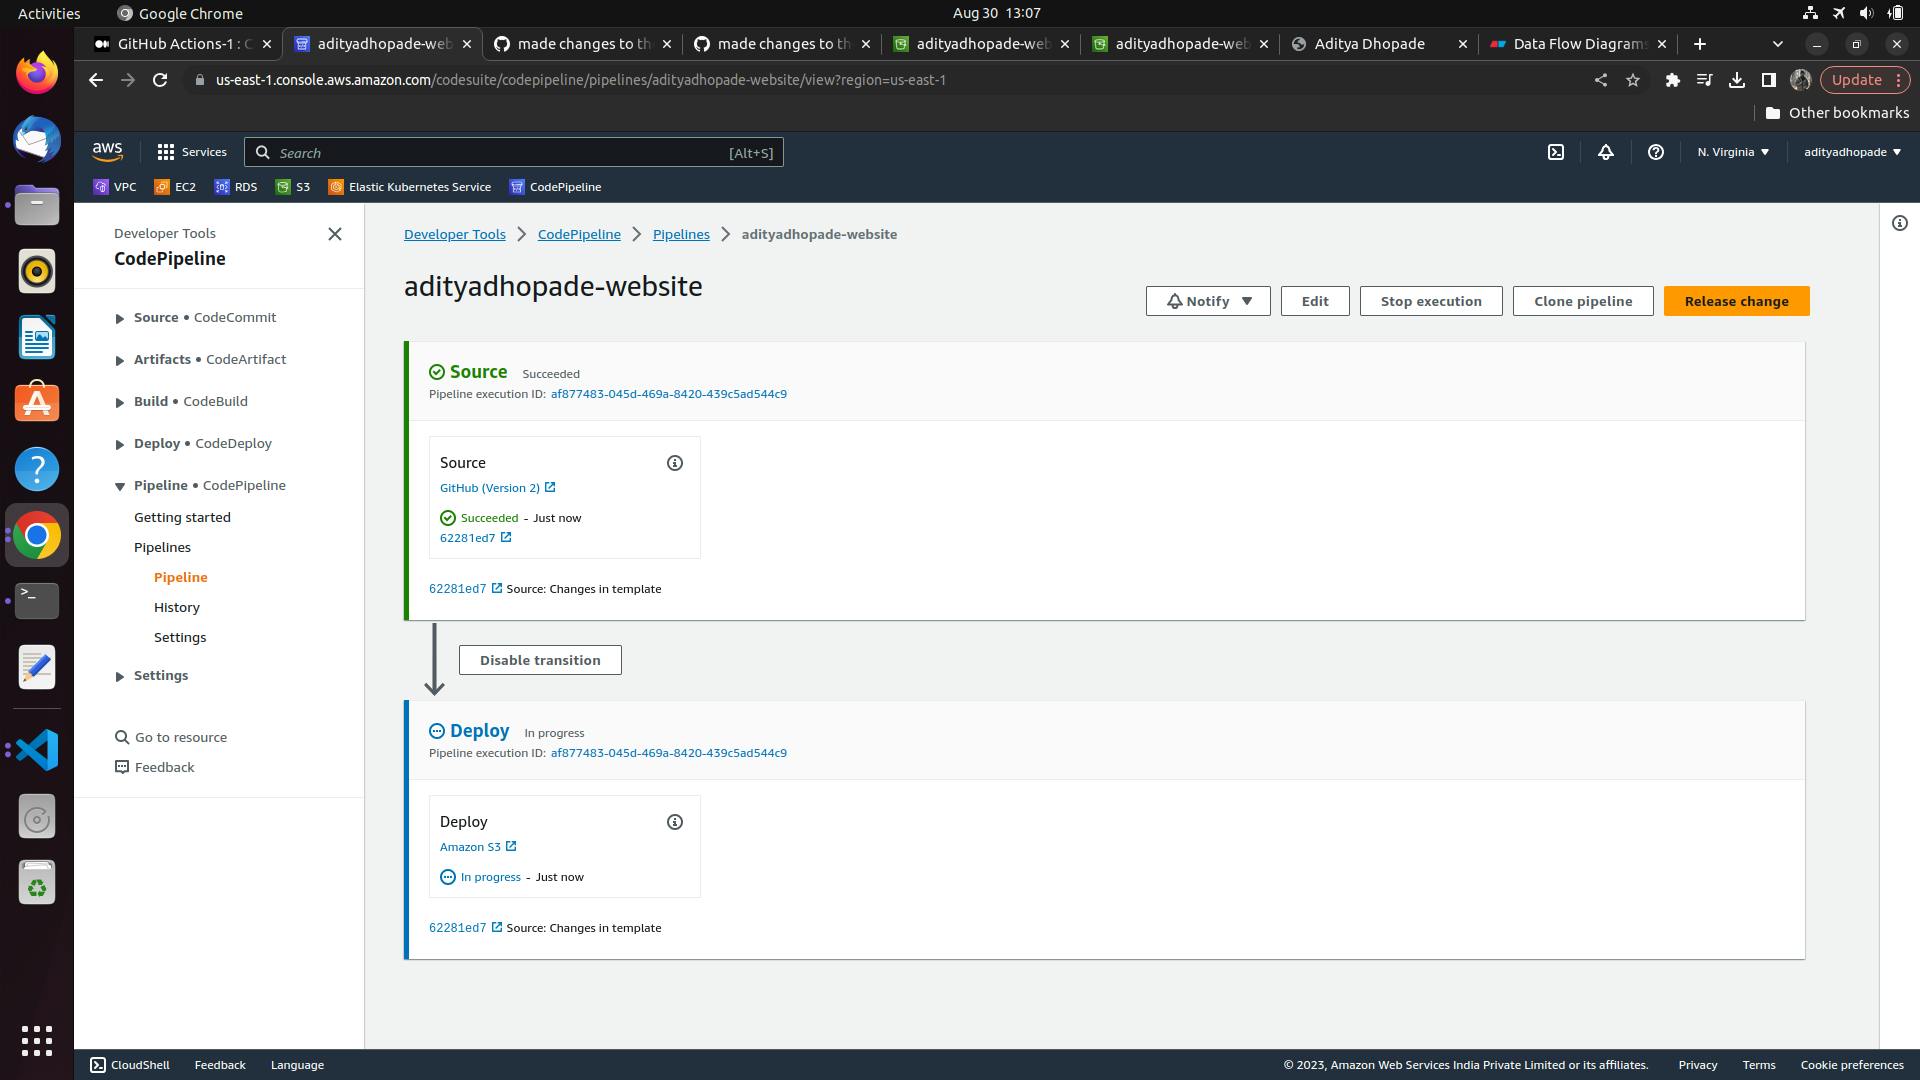
The changes are all accepted and it is getting deployed so yes now it must have made the changes to the website; We can observe it here [Down Below]

We created a pipeline easily with AWS CodePipeline. When the developer commits and pushes changes in their code to GitHub, AWS Code pipeline is automatically triggered, and CI/CD pipeline starts automatically. We will observe the result by looking at the pipeline’s outputs and the blog page, it works perfectly.
Thus, we could easily complete the test, and deploy operations of the blog page.
I hope you gain some insights by this article and will surely help you deploy your website on AWS S3 using AWS CodePipeline.