Creating CI Pipeline using GitHub Actions for Python Project
GitHub Action as C.I. and integrating a python flask application.


Why to choose GitHub Actions?
Helps to Automate the workflow
Highly Customizable; can create our own actions
Smooth Integration with other GitHub features
Active and Large Community Support
Cost Associated; free for public repositories
We will discuss the GitHub Actions in further depth below but first get started by implementing the Python project.
Implementing the Python Application
Start by creating a repository named "python-github-actions" and clone it locally
git clone https://github.com/<your-username>/python-github-actions.git
In the terminal start making some changes as the commands we will write will not be visible so we are making some changes like this.
PS1="$: "
We need to create a virtual environment (venv) here for Python; name it myenv
python3 -m venv myvenv
If the virtual environment is not already installed then we can add the following script in the terminal
sudo apt install python3.10-venv
We need to activate the virtual environment and it will activate our Python virtual environment
source myvenv/bin/activate
Then install Flask and pytest [as a good software practice] using pip
pip install flask pytest
We can also put all our requirements under the requirements.txt file here using
pip freeze > requirements.txt
Need to create an src directory to store our flask app code in the file app.py
mkdir src
touch app.py
vim app.py
Add the sample code of the flask into the app.py
from flask import Flask

app = Flask(__name__)

@app.route("/")
def index():
    return "Hello there from Python Project"

if __name__ == "__main__":
    app.run()
Try to run the app.py using python3
python3 app.py
Now let's try to create the test directory [outside of src folder] and add the file test_app.py
mkdir tests
touch test_app.py
vim test_app.py

#Add the following code into the test_app.py
from app import index

def test_index():
    assert index() == "Hello there from Python Project"
Now try to run the test case on the app.py
pytest

#It will pop an error denoting that ModuleNotFoundError: No module named 'app'
# To resolve this issue we will need as here src package dosent know what is app; so we need to add the src folder to the python path

# we can do it using the "export and adding it to the path"
export PYTHONPATH=src #[No spaces inbetween]
echo $PYTHONPATH # O/P ==> src
pytest # passed if successful
pytest -v #verbose
Add the .gitignore file with the folders myvenv/ and __pycache__/
myvenv/
__pycache__/
Push it to the GitHub repository
git commit -am "Initial commit for python application"
git push
Continuous Integration

Continuous integration (CI) is the practice of automating the integration of code changes from multiple contributors into a single software project. It’s a primary DevOps best practice, allowing developers to frequently merge code changes into a central repository where builds and tests are then run. Automated tools are used to assert the new code’s correctness before integration.
A source code version control system is the crux of the CI process. The version control system is also supplemented with other checks like automated code quality tests, syntax style review tools, and more.
C.I. using GitHub Actions
CI using GitHub Actions offers workflows that can build the code in your repository and run your tests. Workflows can run on GitHub-hosted virtual machines, or on machines that you host yourself.
GitHub runs your CI tests and provides the results of each test in the pull request, so you can see whether the change in your branch introduces an error. When all CI tests in a workflow pass, the changes you pushed are ready to be reviewed by a team member or merged. When a test fails, one of your changes may have caused the failure.
When you set up CI in your repository, GitHub analyzes the code in your repository and recommends CI workflows based on the language and framework in your repository. For example, if you use Node.js, GitHub will suggest a starter workflow that installs your Node.js packages and runs your tests. You can use the CI starter workflow suggested by GitHub, customize the suggested starter workflow, or create your custom workflow file to run your CI tests.
In addition to helping you set up CI workflows for your project, you can use GitHub Actions to create workflows across the full software development life cycle. For example, you can use actions to deploy, package, or release your project.
GitHub Actions
What are Actions in GitHub Actions?
Actions are individual tasks that you can combine to create jobs and customize your workflow. You can create your own actions, or use and customize actions shared by the GitHub community.

Steps to follow
Go to the GitHub repository
Move to the Actions Tab
Select Python Application
Click on Configure button
It will create the .github/workflows/pythonapp.yml
Commit the changes in the GitHub Gui and pull it in the local repo as well
# Erase thge content in the requiremnst.txt and replace the content by the following
pytest #It would fetch the latest version of the pytest
flask #It would fetch the latest version of the flask
The details in the script are as follows in pythonapp.yml ; Refer to the script below and an explanation of each step is mentioned in front of the keyword.
# This workflow will install Python dependencies, run tests and lint with a single version of Python
# For more information see: https://docs.github.com/en/actions/automating-builds-and-tests/building-and-testing-python

name: Python application #name of the pipeline

on: # the build will execute on
  push: # pushing
    branches: [ "main" ] # on the main branch
  pull_request: # pulling
    branches: [ "main" ] # from the main branch

permissions: # setting up permissions for the users
  contents: read # can only read

jobs: # what to execute on getting triggered is written in the jobs
  build: # Building the pipeline

    runs-on: ubuntu-latest # It is a github-hosted runner ; where our build will run on the ubuntu os

    steps: # steps to execute; if any of step this fails pipeline fails
    - uses: actions/checkout@v3 # This action checks-out your repository under $GITHUB_WORKSPACE, so your workflow can access it.
    - name: Set up Python 3.10 # name of the step
      uses: actions/setup-python@v3 # This actions is helpful in setting up the python env
      with:
        python-version: "3.10" #with the specified python version
    - name: Install dependencies
      run: | # script to run in the following build step
        python -m pip install --upgrade pip
        pip install flake8 pytest #Flake8 is a Python linting tool that checks your Python codebase for errors, styling issues and complexity
        if [ -f requirements.txt ]; then pip install -r requirements.txt; fi
    - name: Lint with flake8 #Flake8 is a Python linting tool that checks your Python codebase for errors, styling issues and complexity
      run: |
        # stop the build if there are Python syntax errors or undefined names
        flake8 . --count --select=E9,F63,F7,F82 --show-source --statistics
        # exit-zero treats all errors as warnings. The GitHub editor is 127 chars wide
        flake8 . --count --exit-zero --max-complexity=10 --max-line-length=127 --statistics
    - name: Test with pytest # src package dosent know what is app; so we neeed to export here the PYTHONPATH=src
      run: |
        export PYTHONPATH=src
        pytest
The workflow in the GitHub Actions will look like this
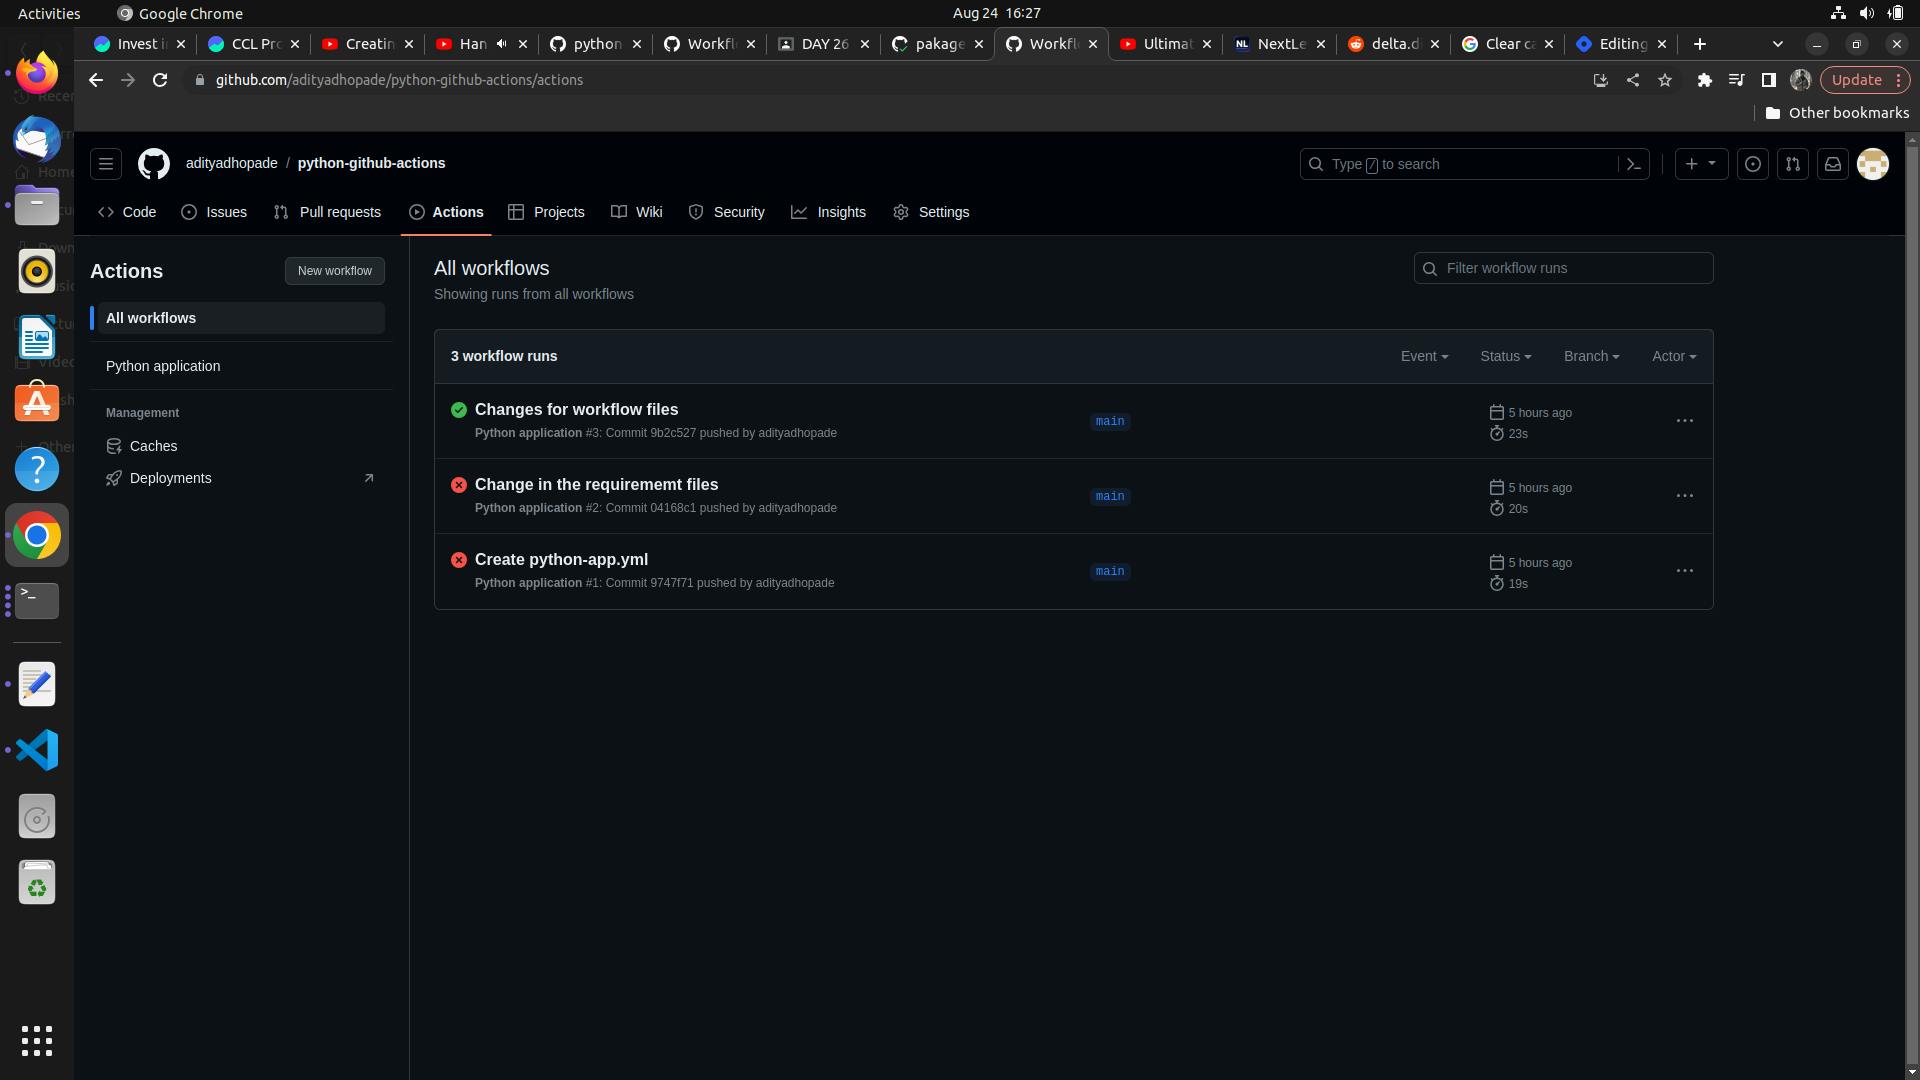
With the following contents in the workflow builds

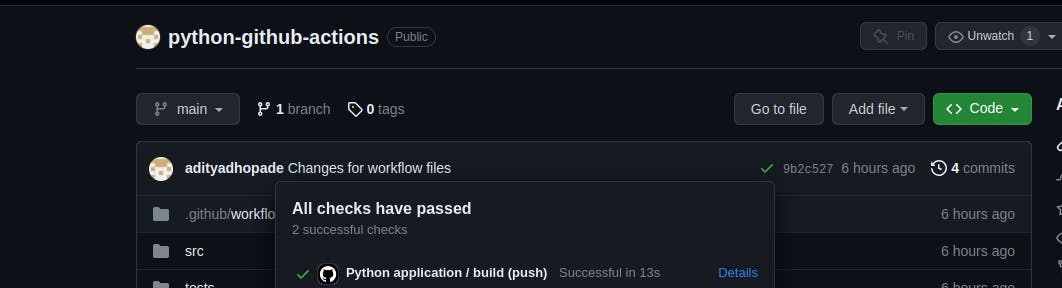
When the build is successful it will show us the green tick; Denoting that the build is successful
Hope that you enjoyed this article and helps you learn the fundamentals of GitHub Actions. In the next article, we will try to understand the Continuous Deployment part which will act as the extension to this project.