Jenkins HA Setup on AWS using Terraform, Ansible and Packer
Jenkins HA Setup on AWS using Terraform, Ansible and Packer


Table of contents
- What is High Availability?
- Why look for HA in the Applications?
- How can we set up the HA for Jenkins?
- What are we gonna perform?
- Prerequistes:
- 1 . Generate the token using ssh-keygen ==> Add the token into the Parameter Store
- Create the IAM role for the Jenkins Agent using Terraform
- Build the Jenkins Controller & Agent AMI's using Packer
- Deploying the Jenkins Controller Auto Scaling Group and Load balancer
What is High Availability?
High availability is the ability of a system to operate continuously without failing for a designated period.
Why look for HA in the Applications?
To reduce interruptions and downtime, it is essential to be ready for unexpected events that can bring down servers. At times, emergencies will bring down even the most robust, reliable software and systems. Highly available systems minimize the impact of these events, and can often recover automatically from component or even server failures.
How can we set up the HA for Jenkins?
This can be done in multiple ways.
- The poor Approach would be one which could be down for some point but still does its work It would be using the Virtual machines and setting up the Java so the time for startup here will cost us more than spinning up the new pods. So this approach still works!
Another Approach would be having the below setup here.
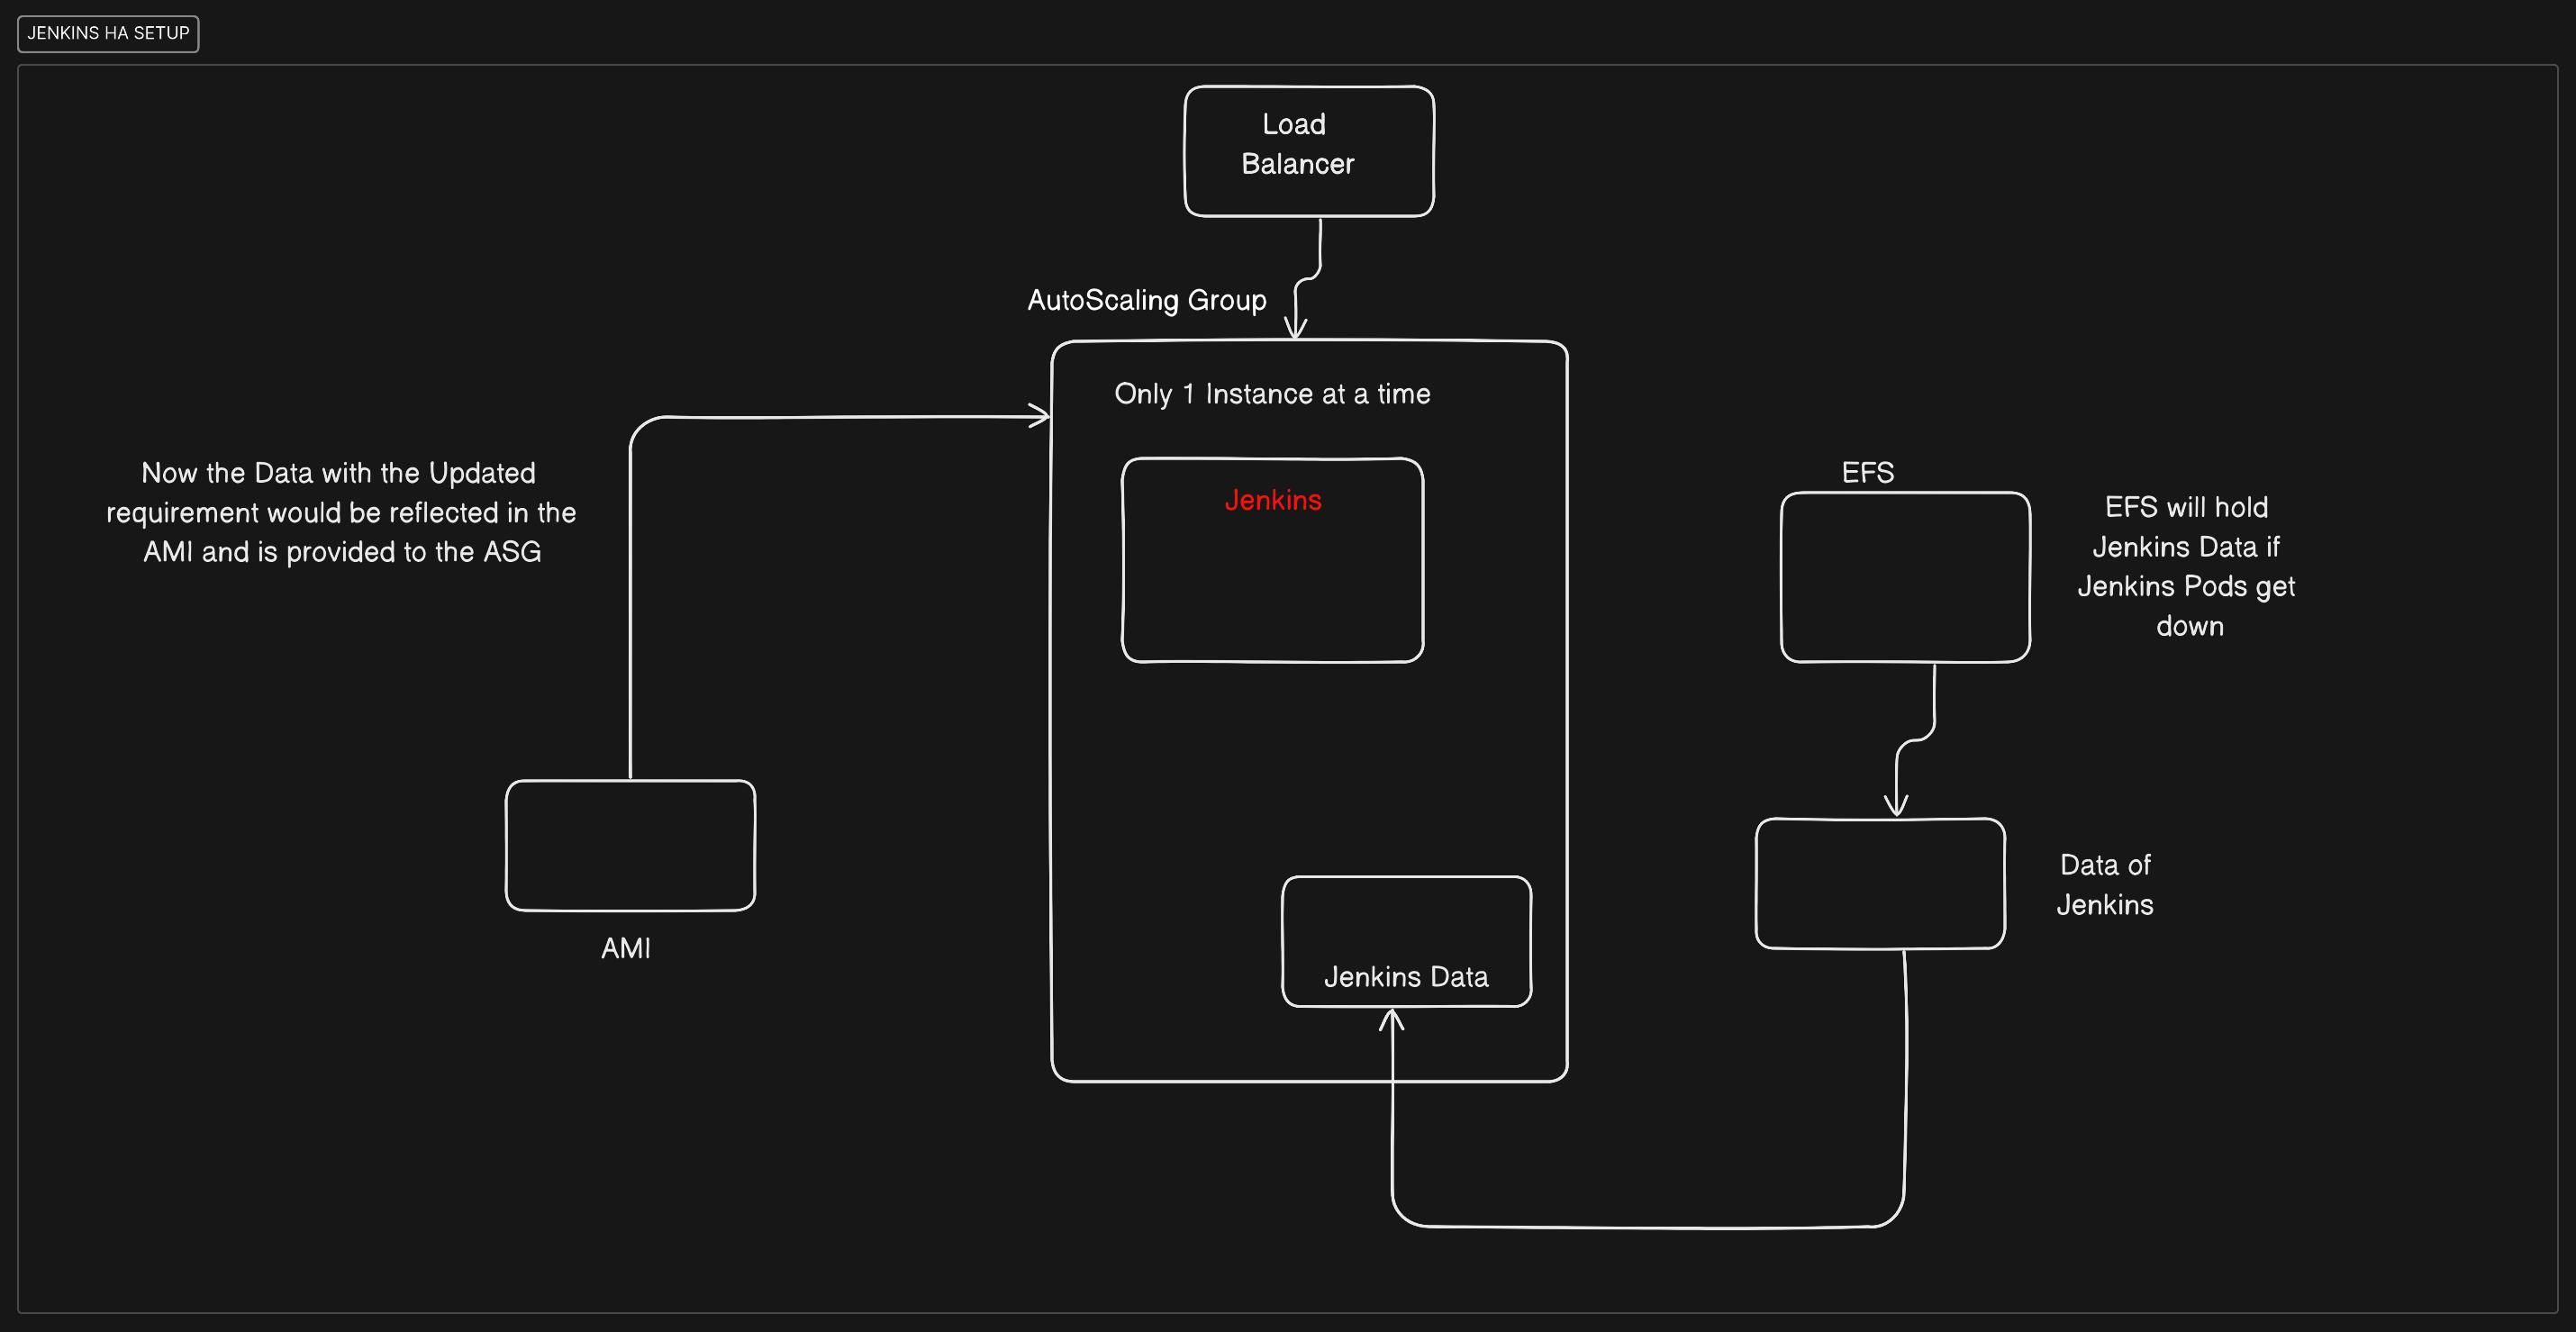
What are we gonna perform?
We will have our Jenkins Application in the AutoScaling Group of AWS and for backing it up in the case of Downtime we will use Elastic File Storage (EFS) to store the Data in different AZ so that when the Pods of the Jenkins start it will resume the same state where it was abrupted.
So with the new changes, we are going to create the AMI which is developed with the help of Packer; we will then send this information to the AutoScaling group of Jenkins.
The Application Load Balancer will then be useful to map the Jenkins application for users to access as the IP of the AutoScaling Group can change.
We will be provisioning the resources using the Terraform and configuring them using the Ansible Playbook
Prerequistes:
Installations: [This needed to be done]
Terraform
AWS CLI
Ansible
Packer
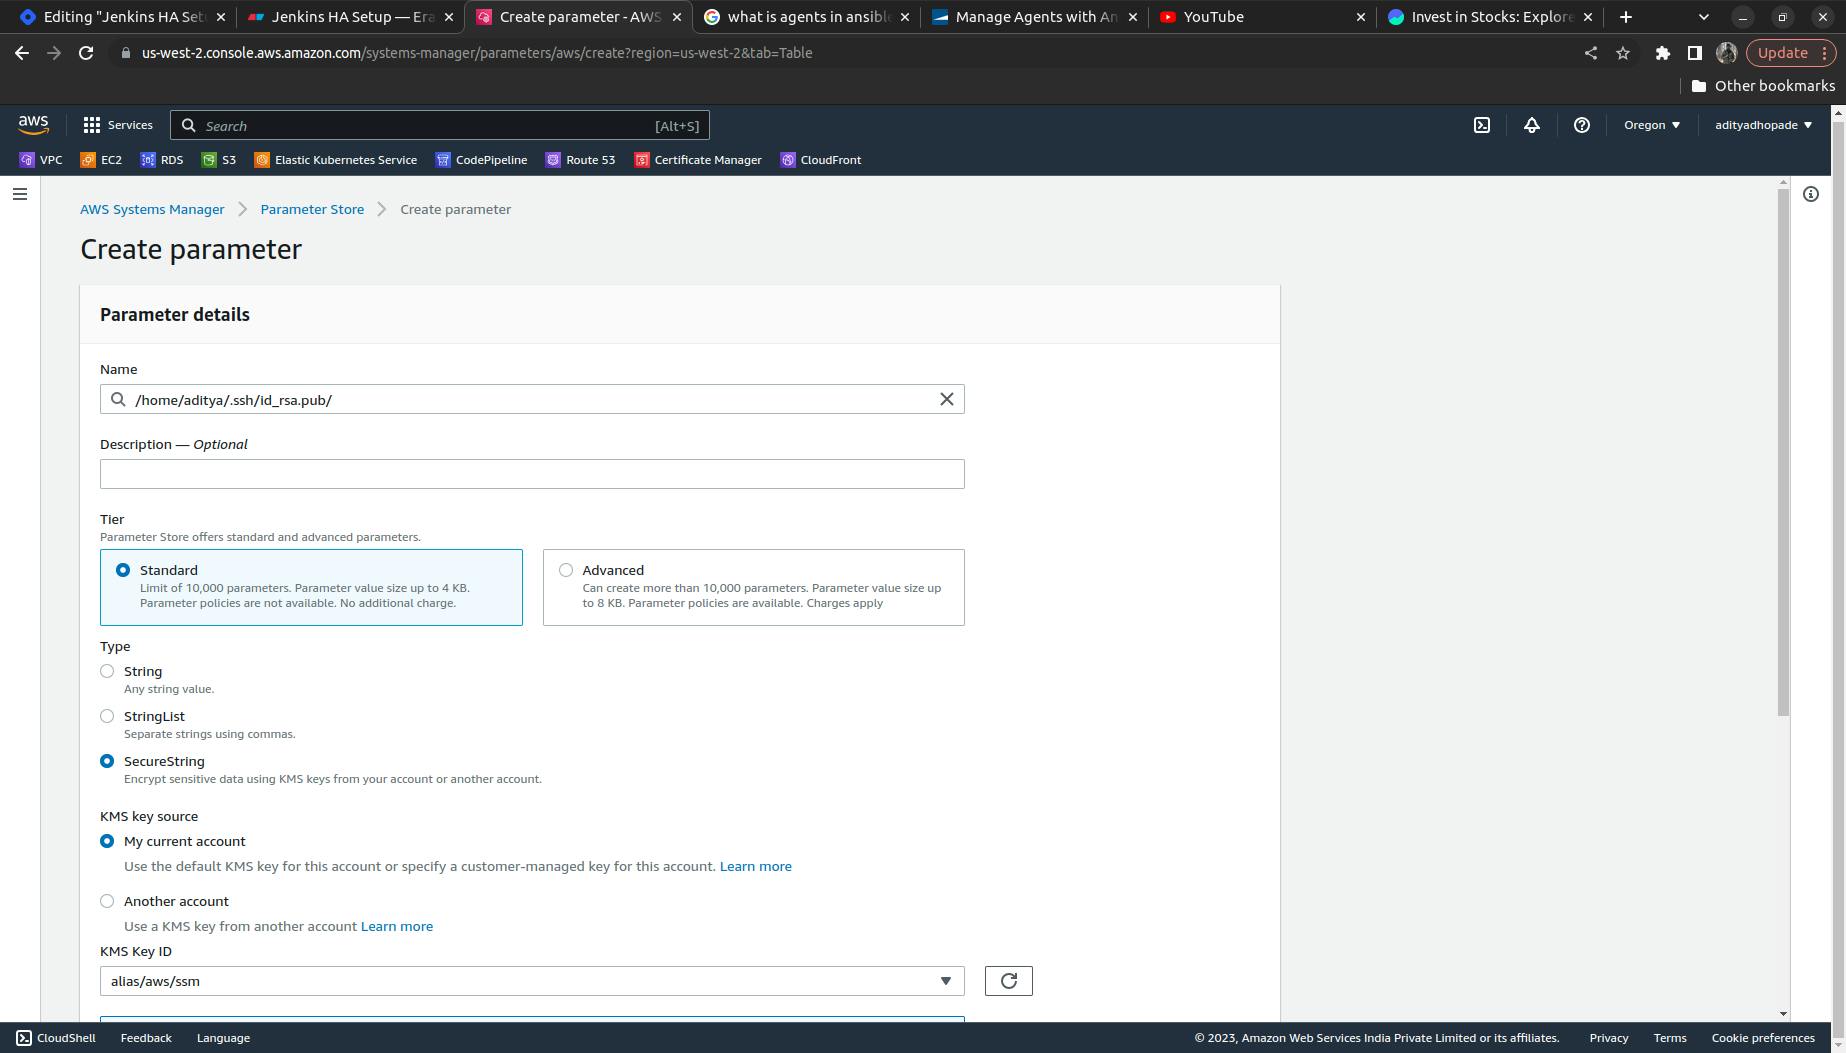
Upload the Keypair in the AWS Parameter Store in AWS System Manager for storing the credentials of the AWS Account.
We are going to use the Agent AMI and Controller AMI here for providing and configuring the resources.
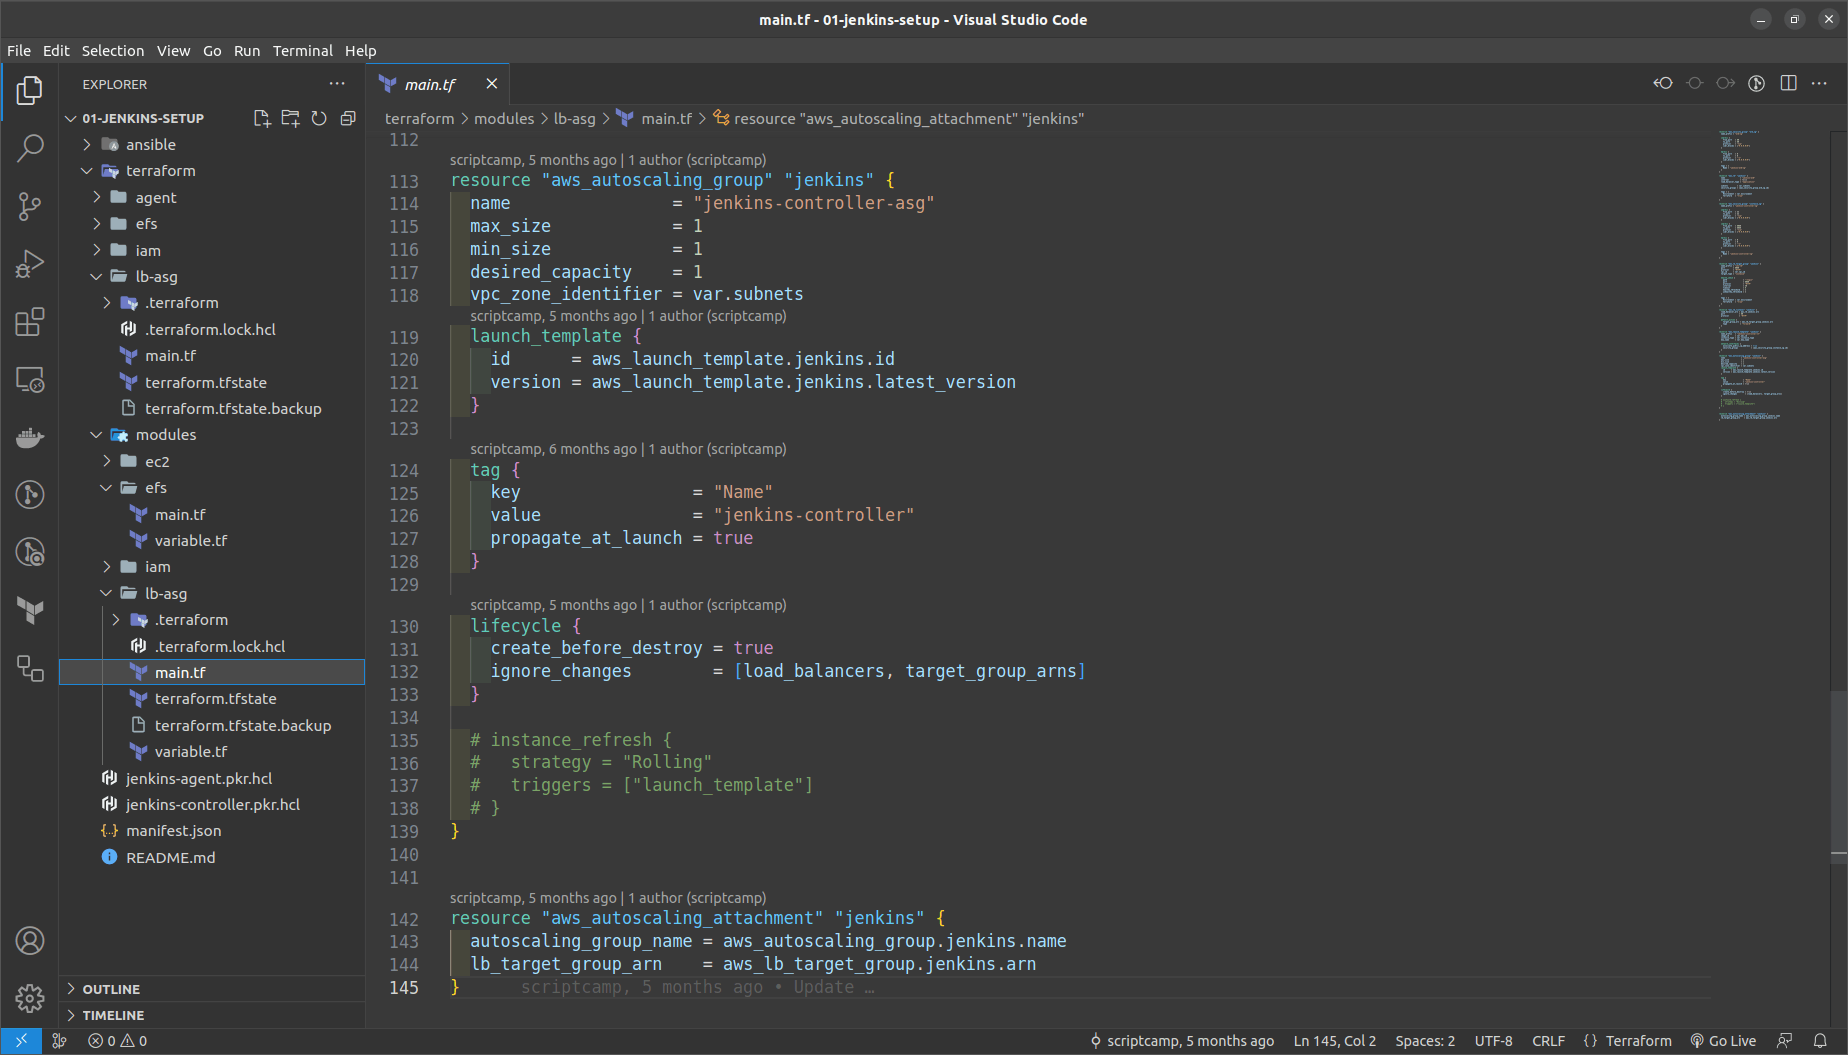
There would be the creation of the ASG of Jenkins with min set to -1 and max +1 (creating only 1 instance of Jenkins controller at a time)
Once the controller is deployed we will deploy the agent server also we will validate the Jenkins with the Agent Controller with the required configuration
Also will explore how to upgrade Jenkins controller by updating the new AMI to Autoscaling Group.
[MUST CHECKOUT] Checkout the Repository:
Now Enough fiddling let's start doing the work !
1 . Generate the token using ssh-keygen ==> Add the token into the Parameter Store

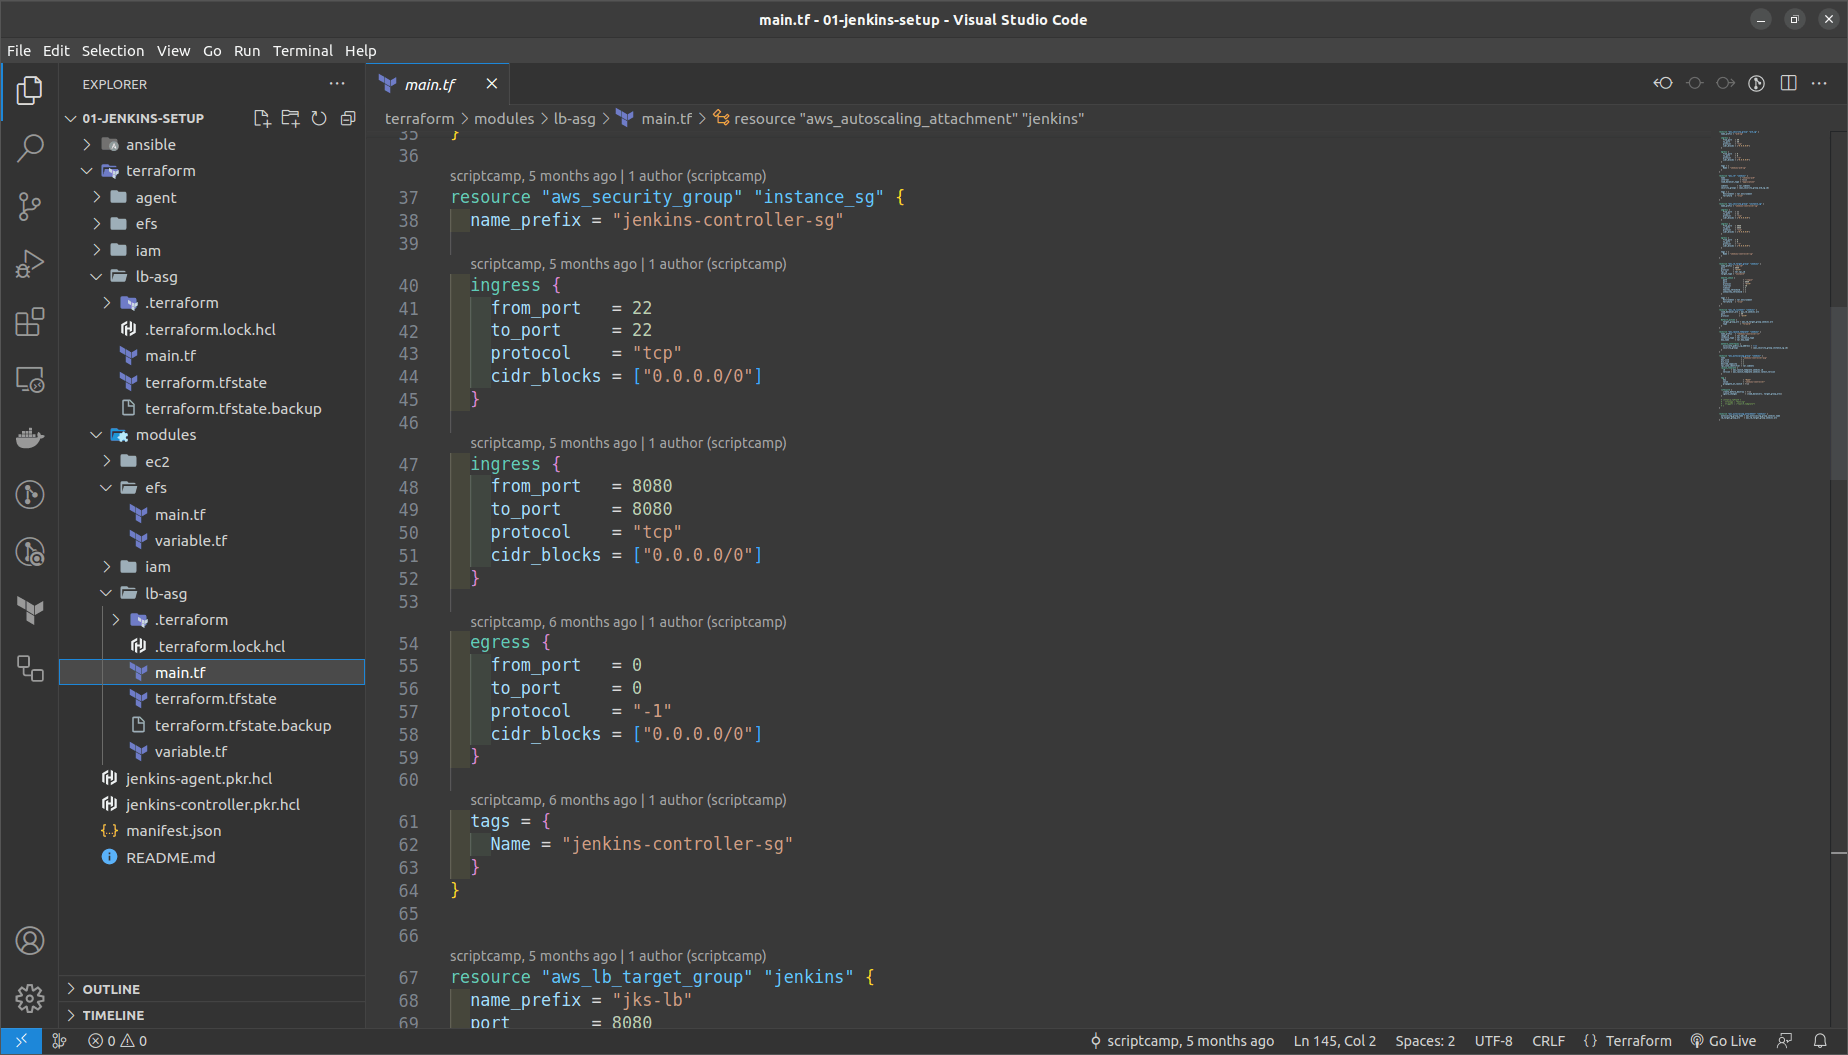
Create the IAM role for the Jenkins Agent using Terraform
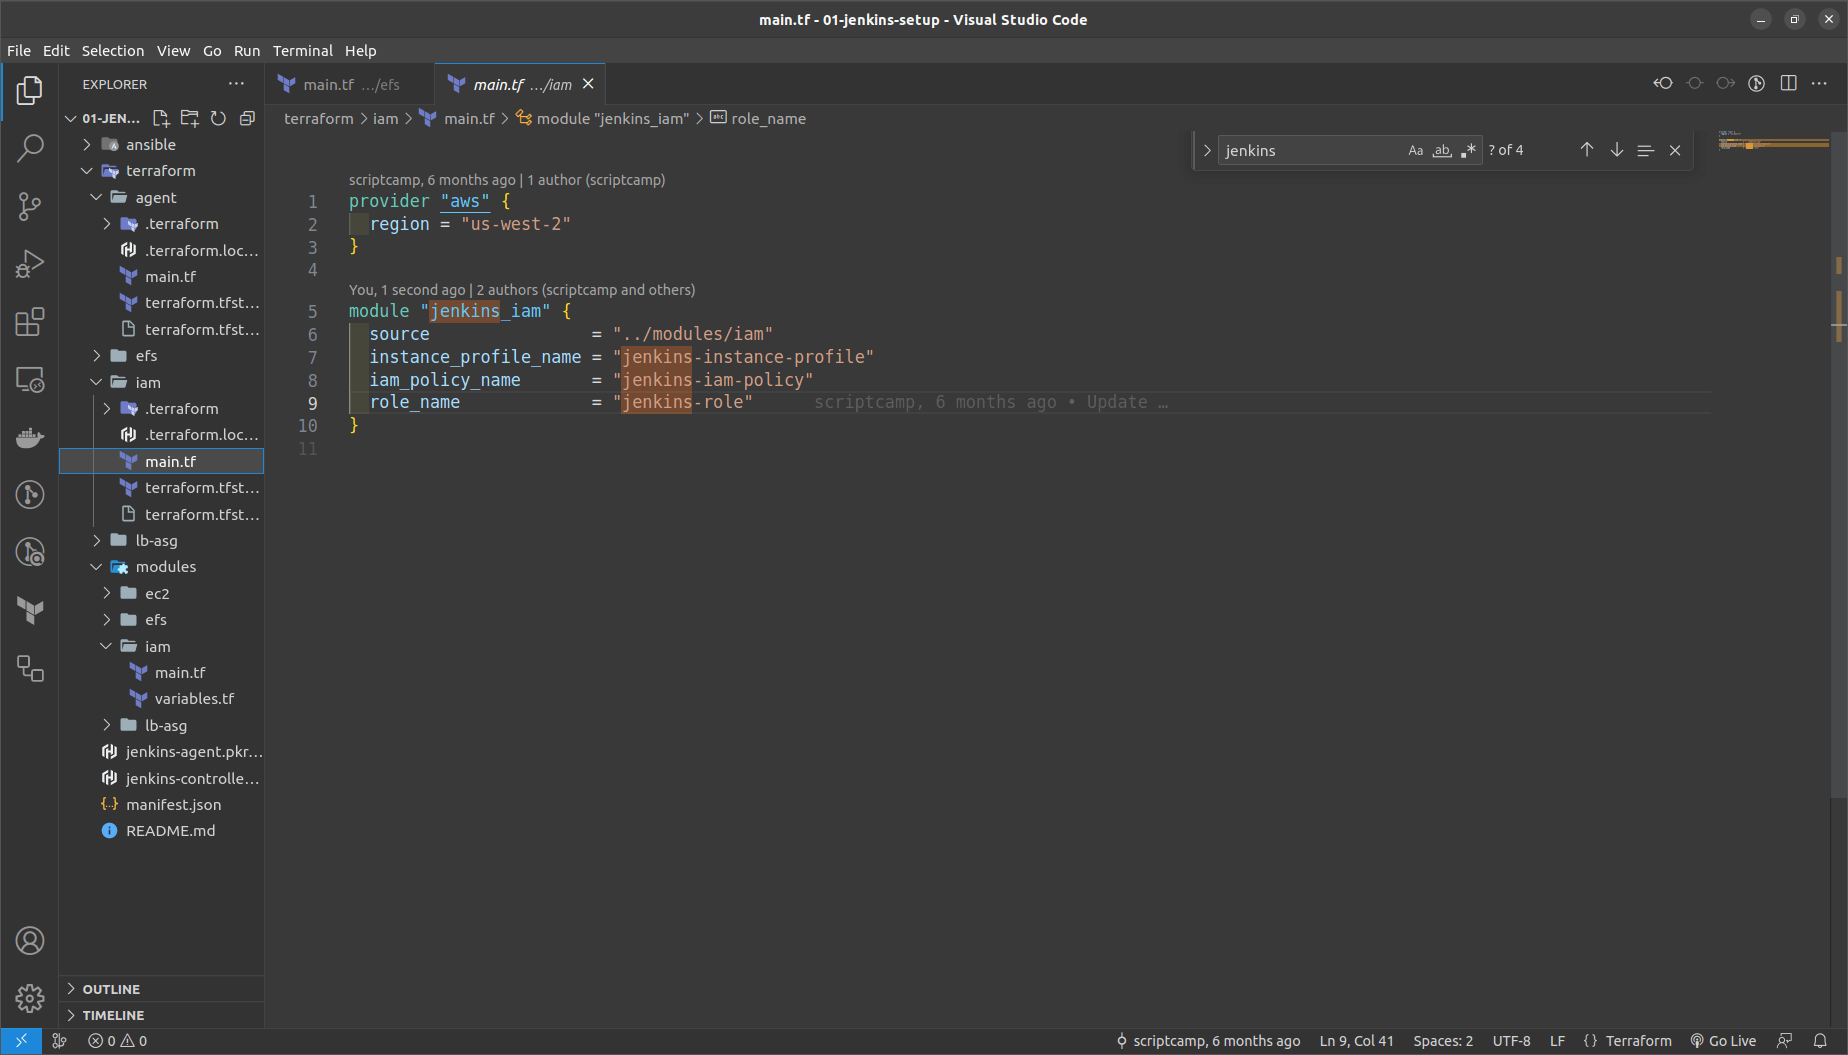
Here the modules contain the core logic to provision.
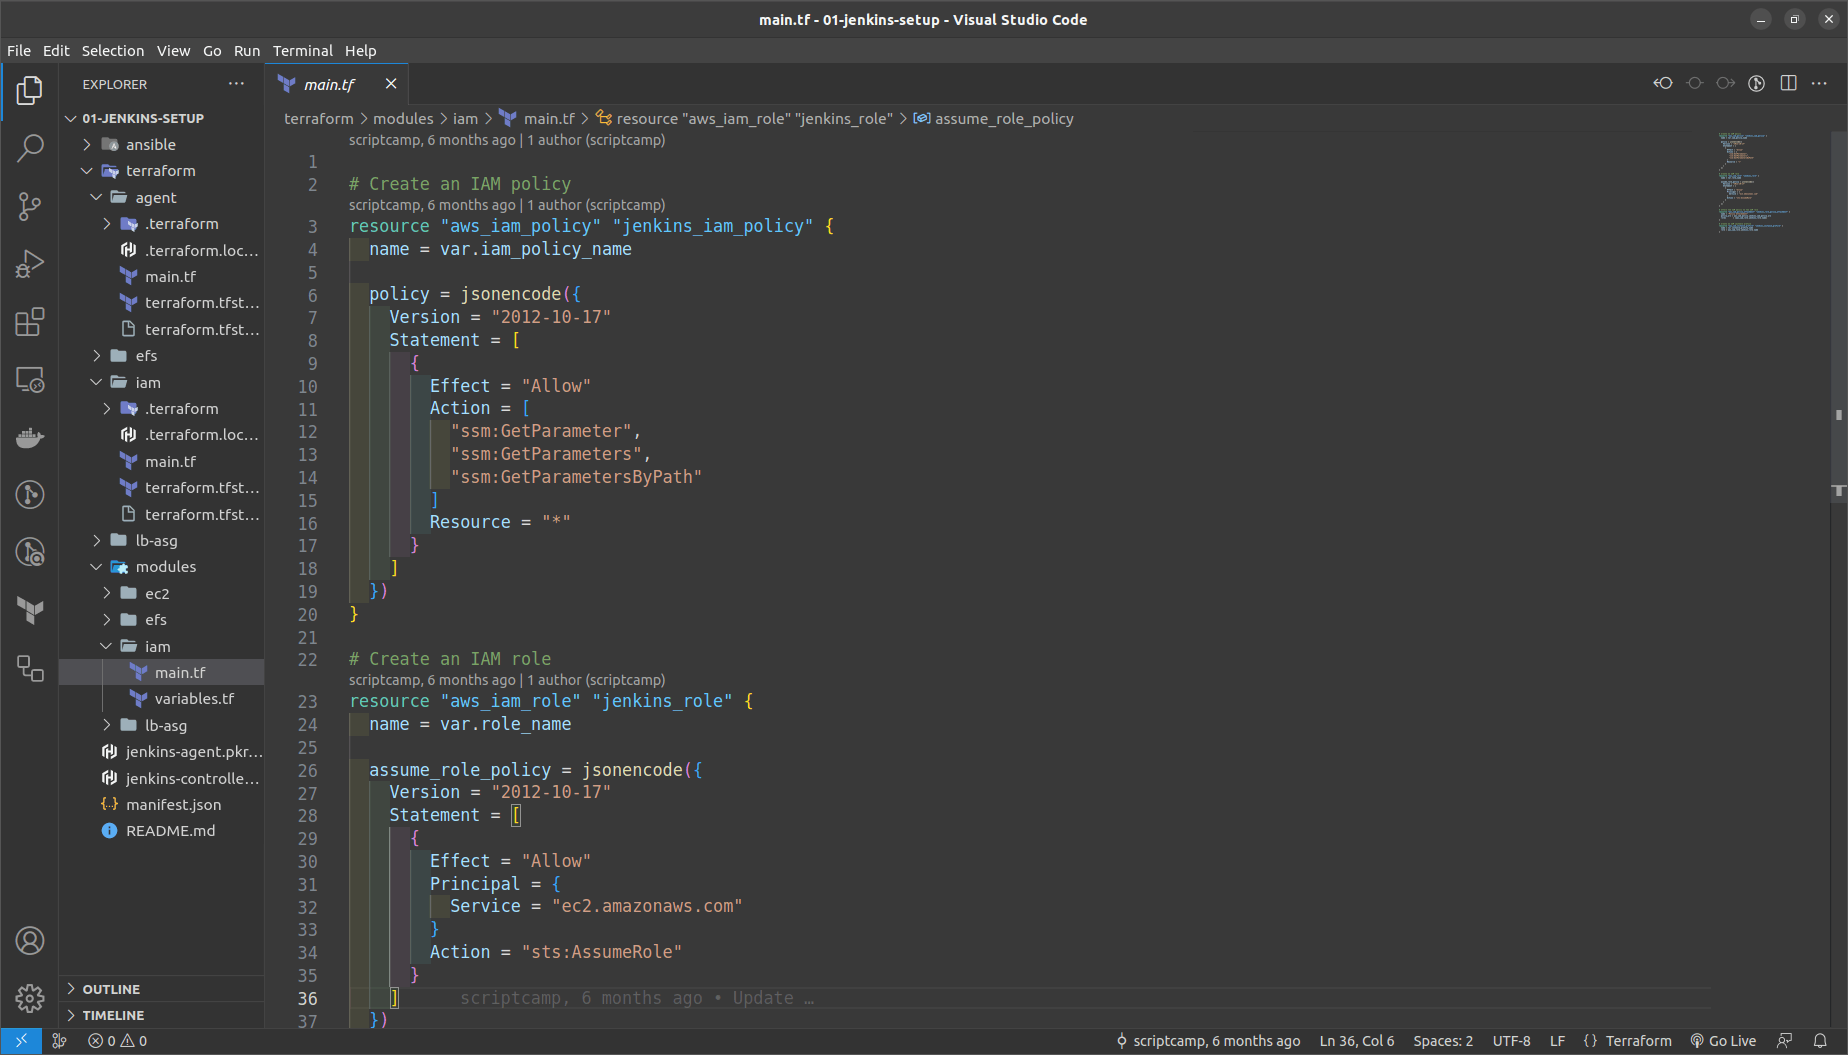
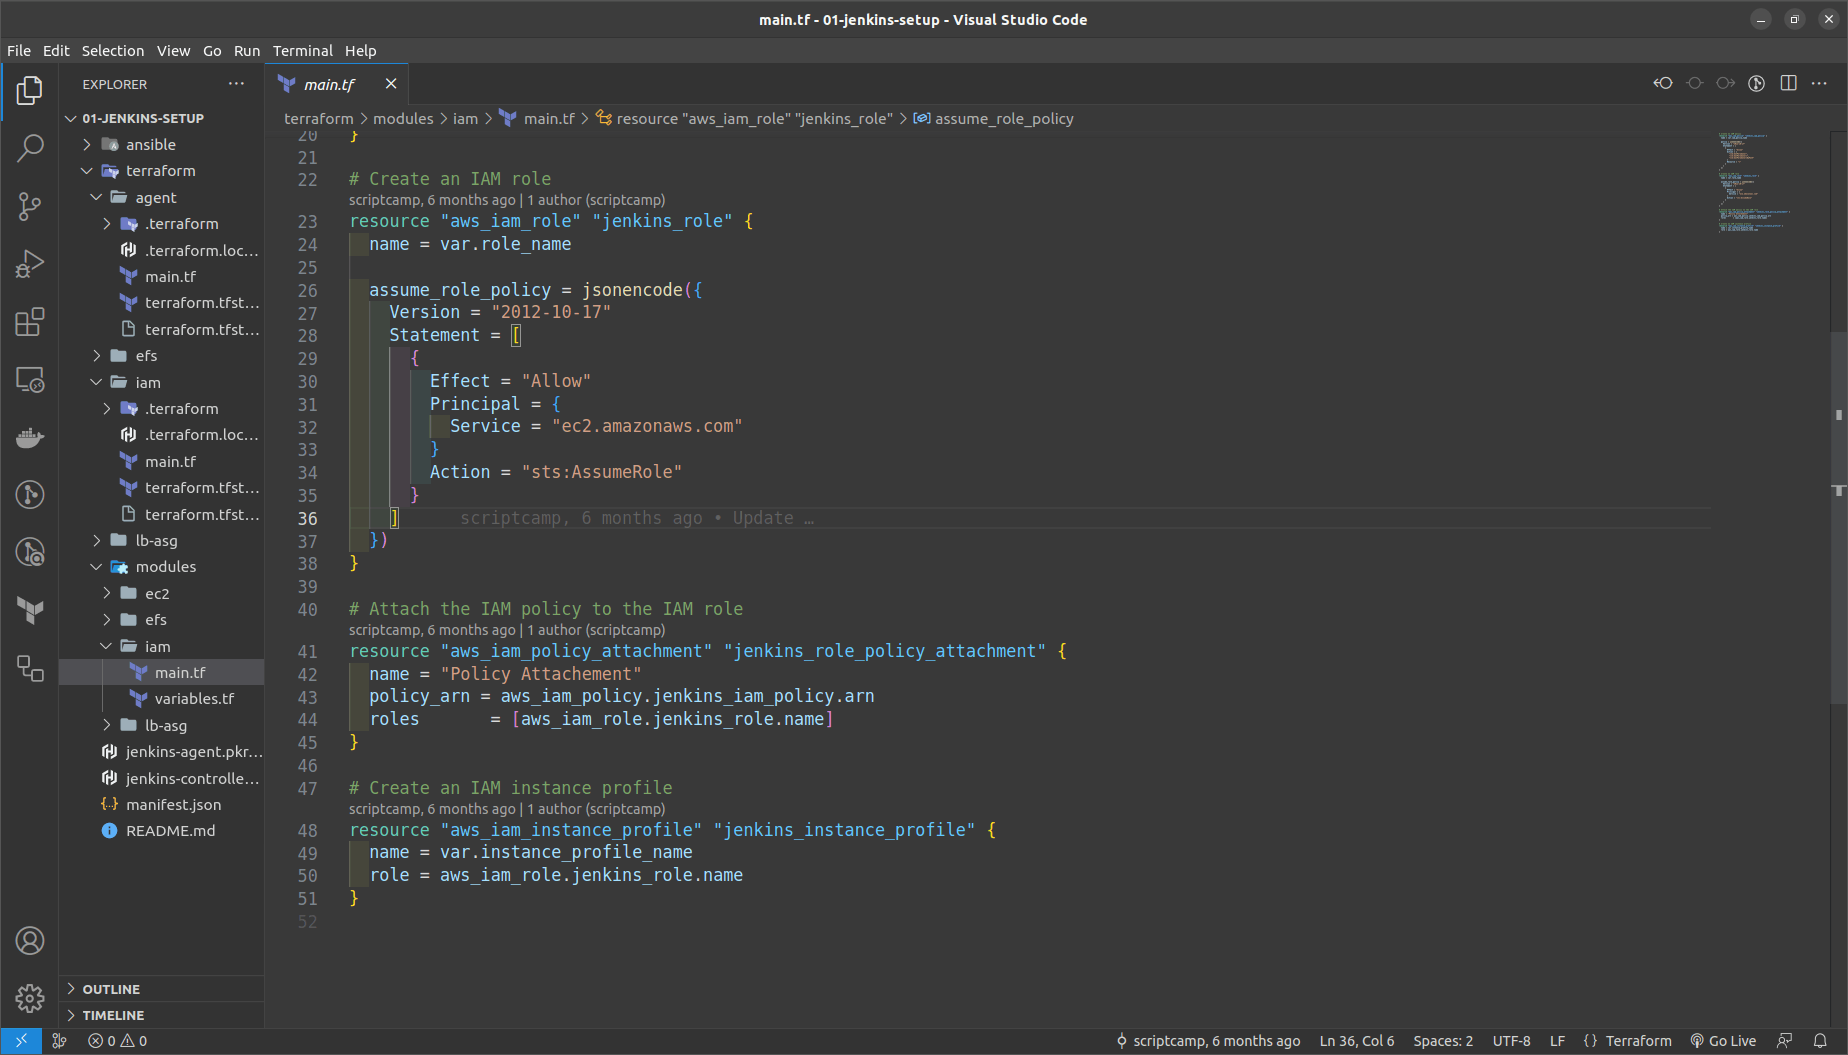
Now move to the terraform folder > iam in that run the following commands to generate and check the resources accordingly on AWS console.
terraform init
terraform fmt
terraform validate
terraform plan
terraform apply --auto-approve
NOTE: We will provision all the resources within the Terraform folders subfolder and not within modules.
- Now we need to provision the EFS Resource
NOTE: Replace your VPC_ID, SUBNET_ID in us-west-2 ; Also try to generate a new key in the us-west-2 region if it does not exist for now.
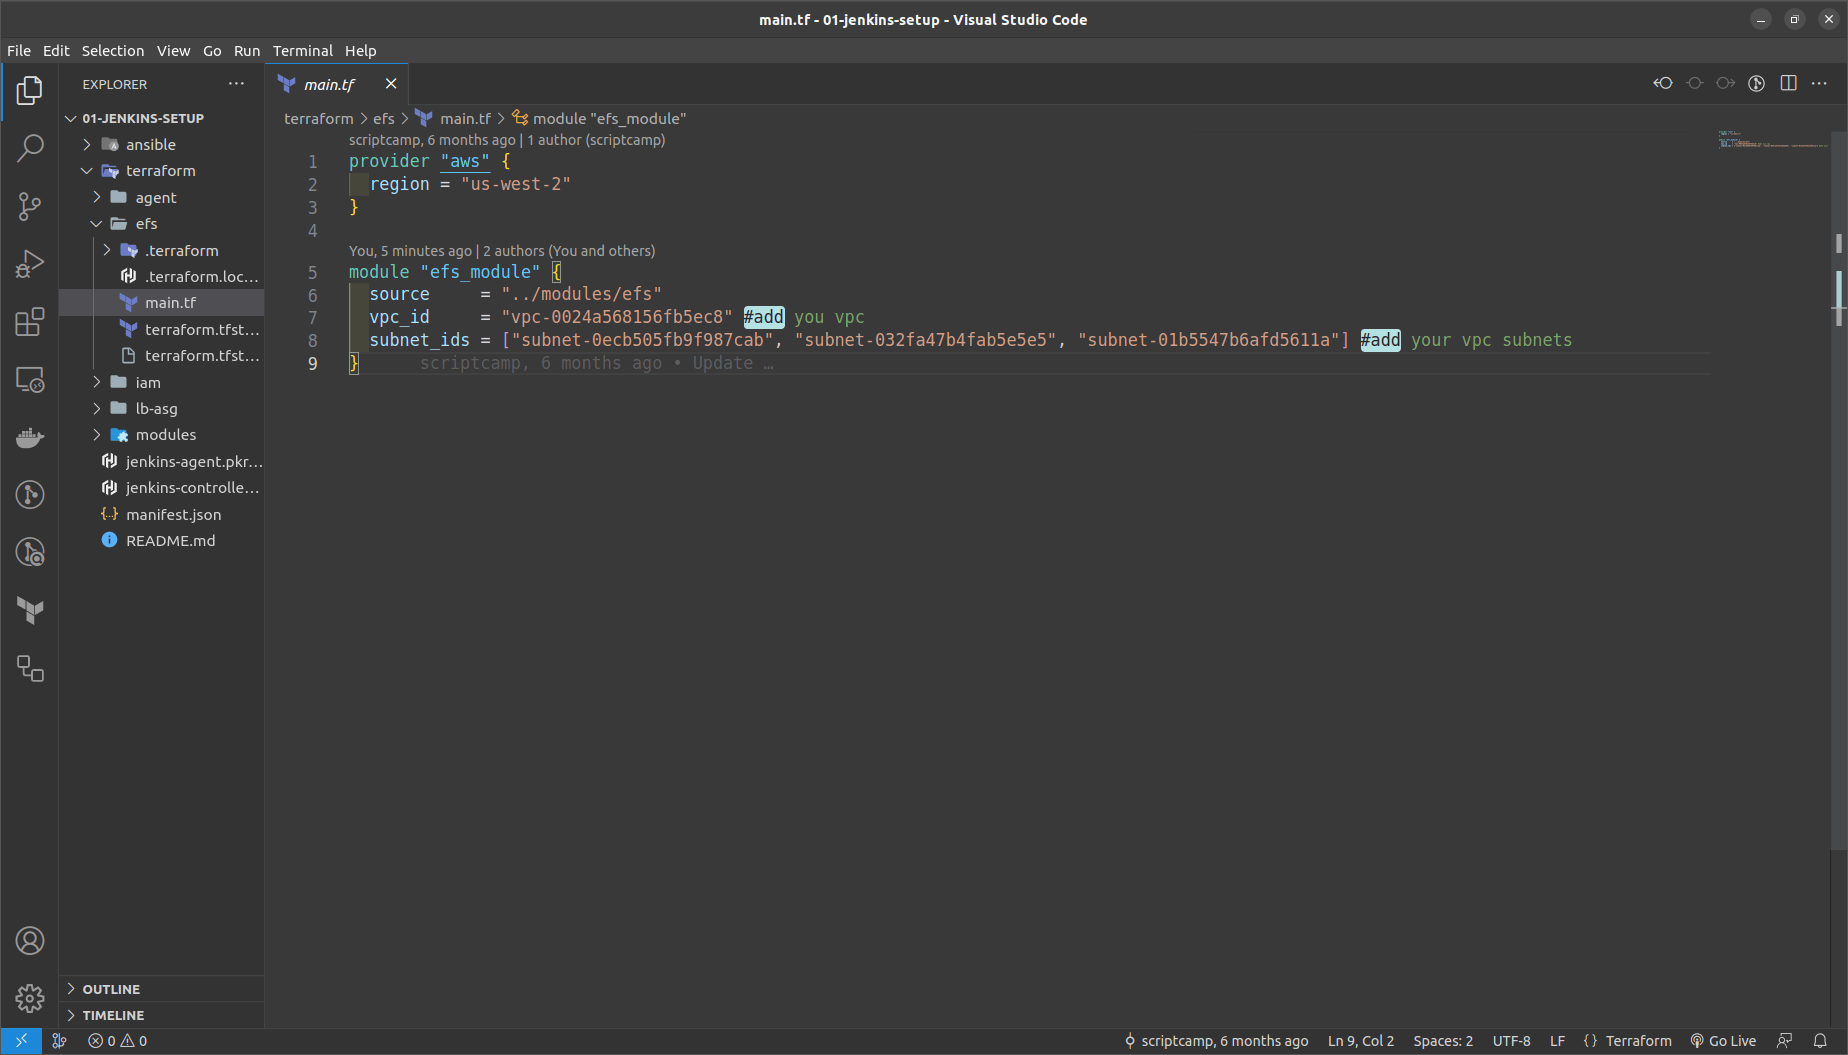
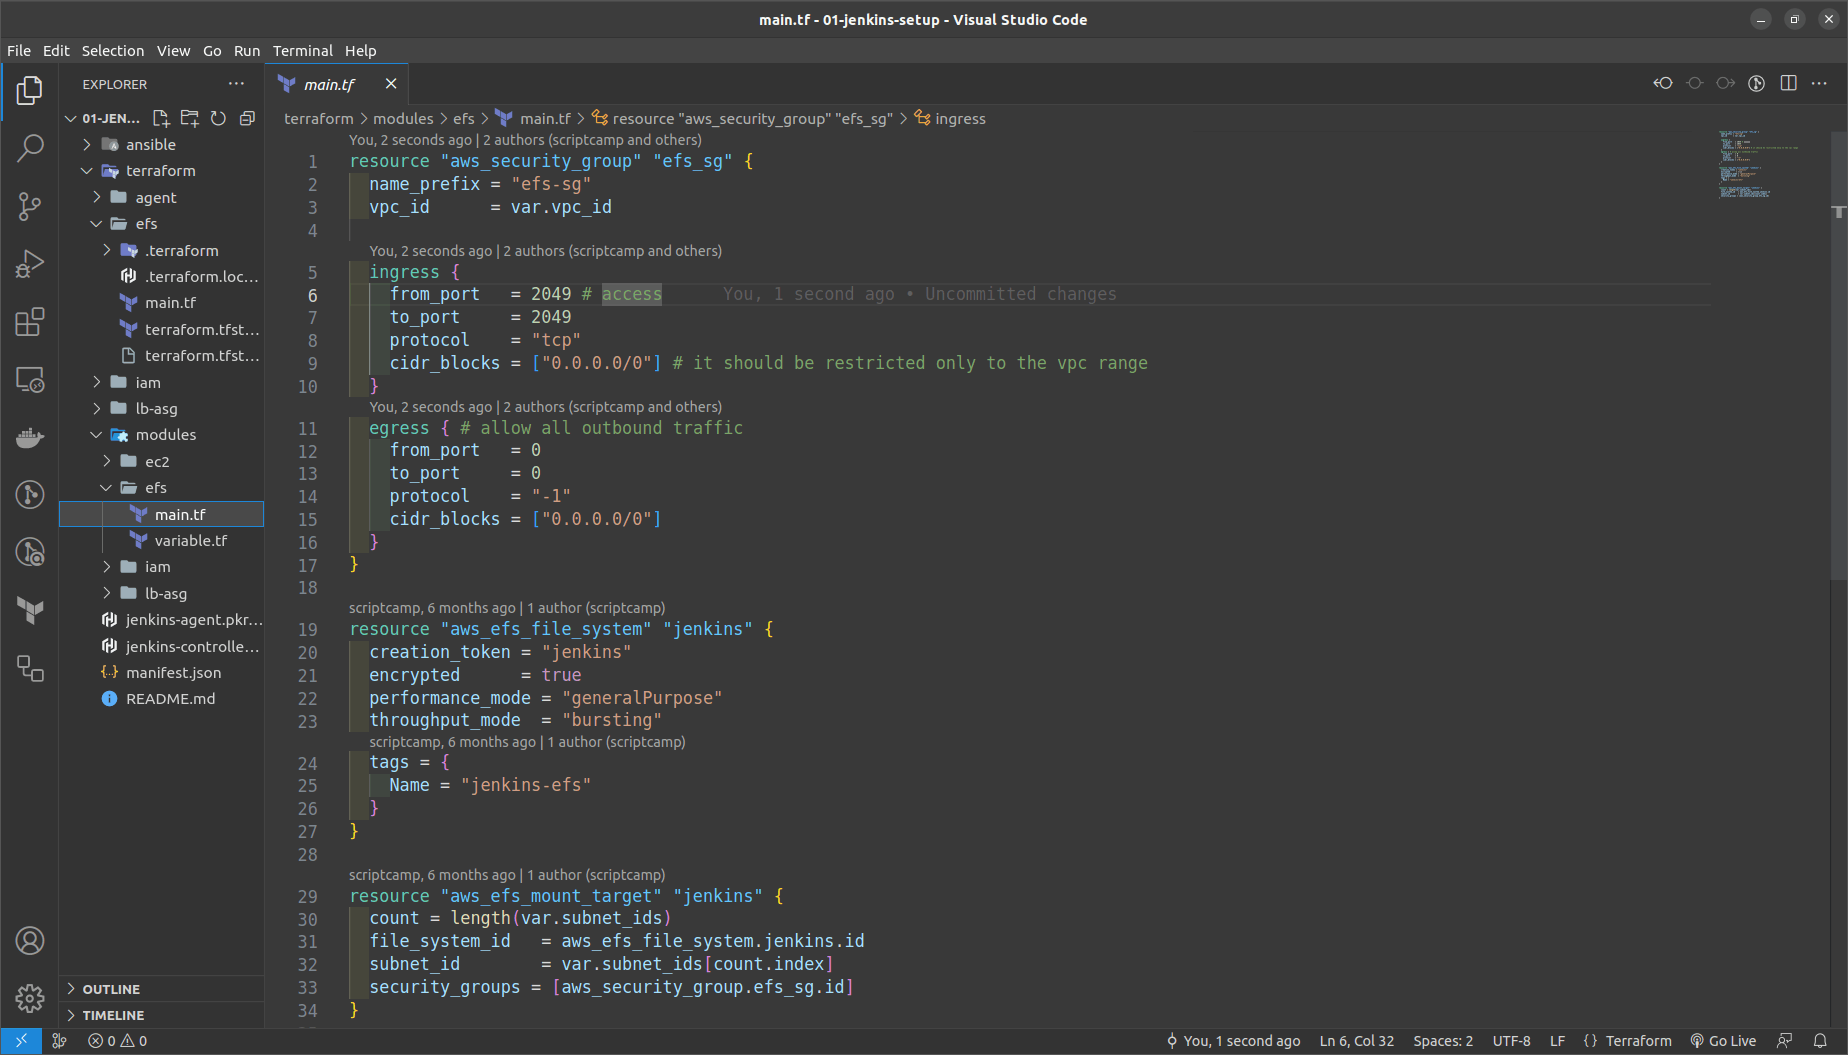
same steps to provision as above move to terraform folder > efs and run commands
terraform init
terraform fmt
terraform validate
terraform plan
terraform apply --auto-approve
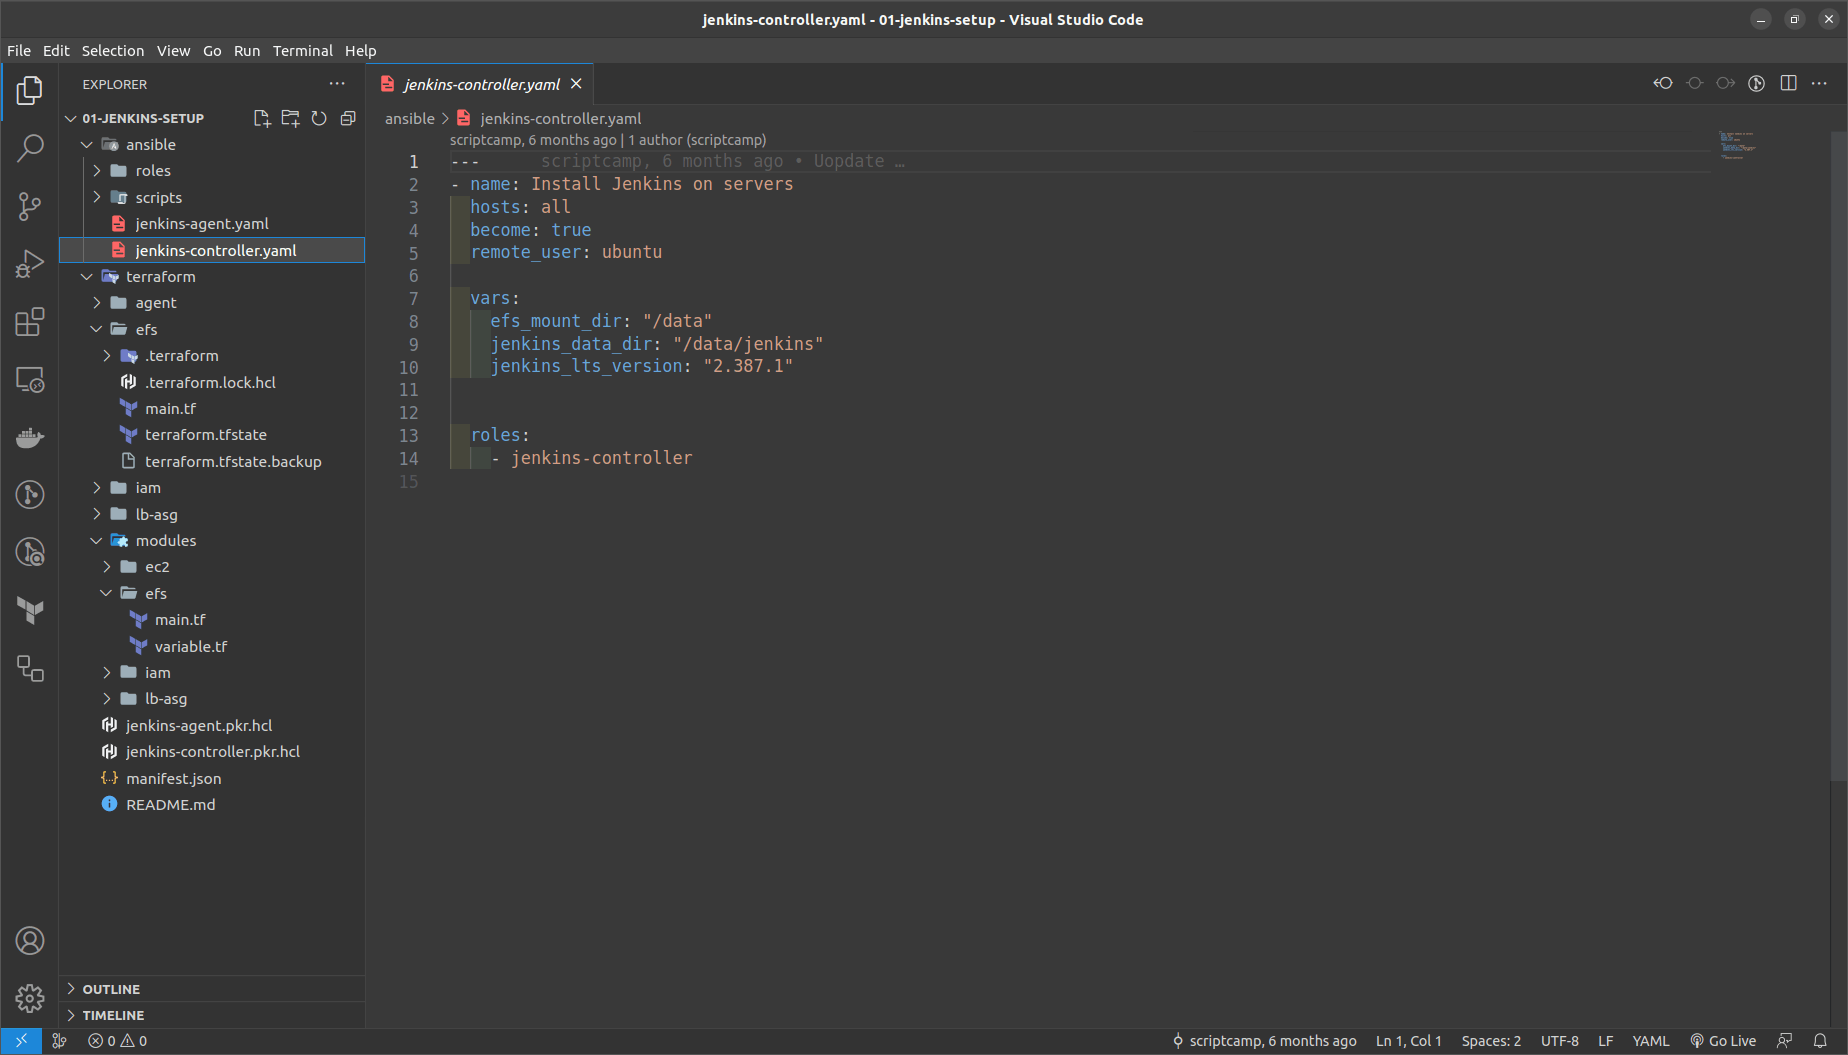
Build the Jenkins Controller & Agent AMI's using Packer
Refer to file jenkins-controller-ami.pkr.hcl
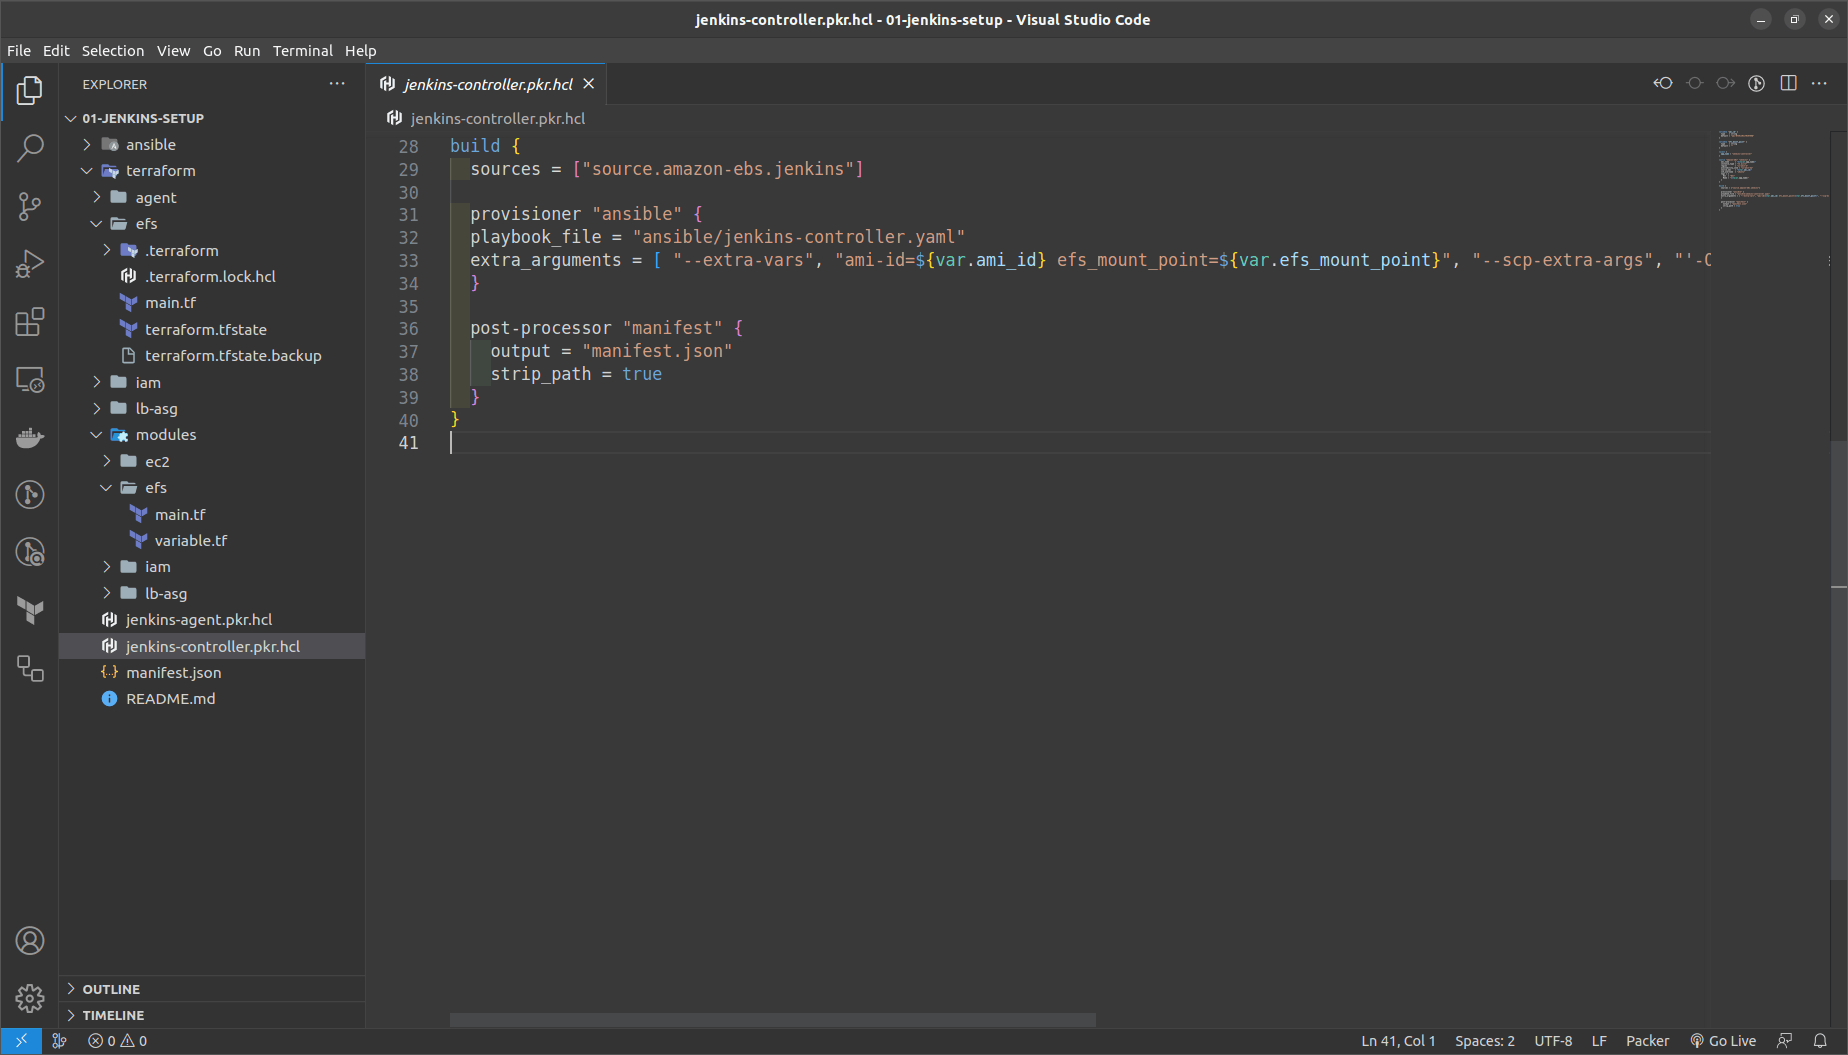
It will include the task.yml within contains many file to execute base, efs, jenkins
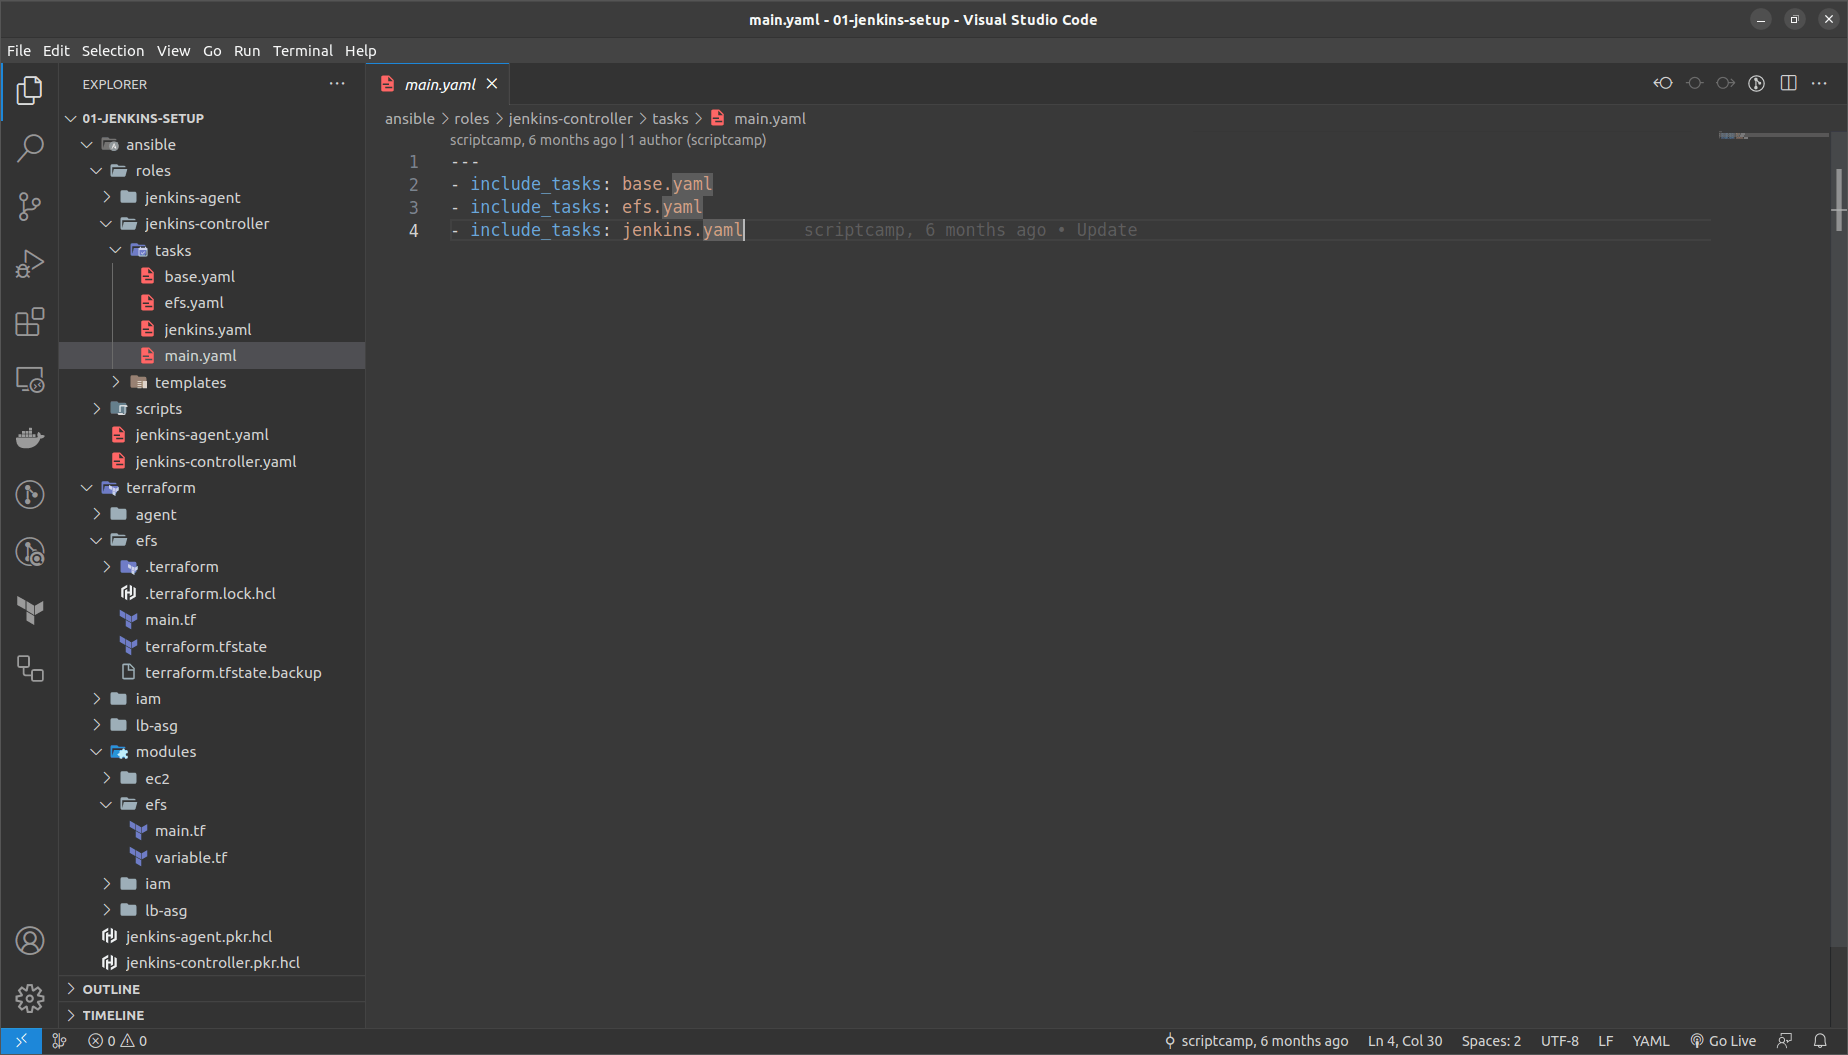
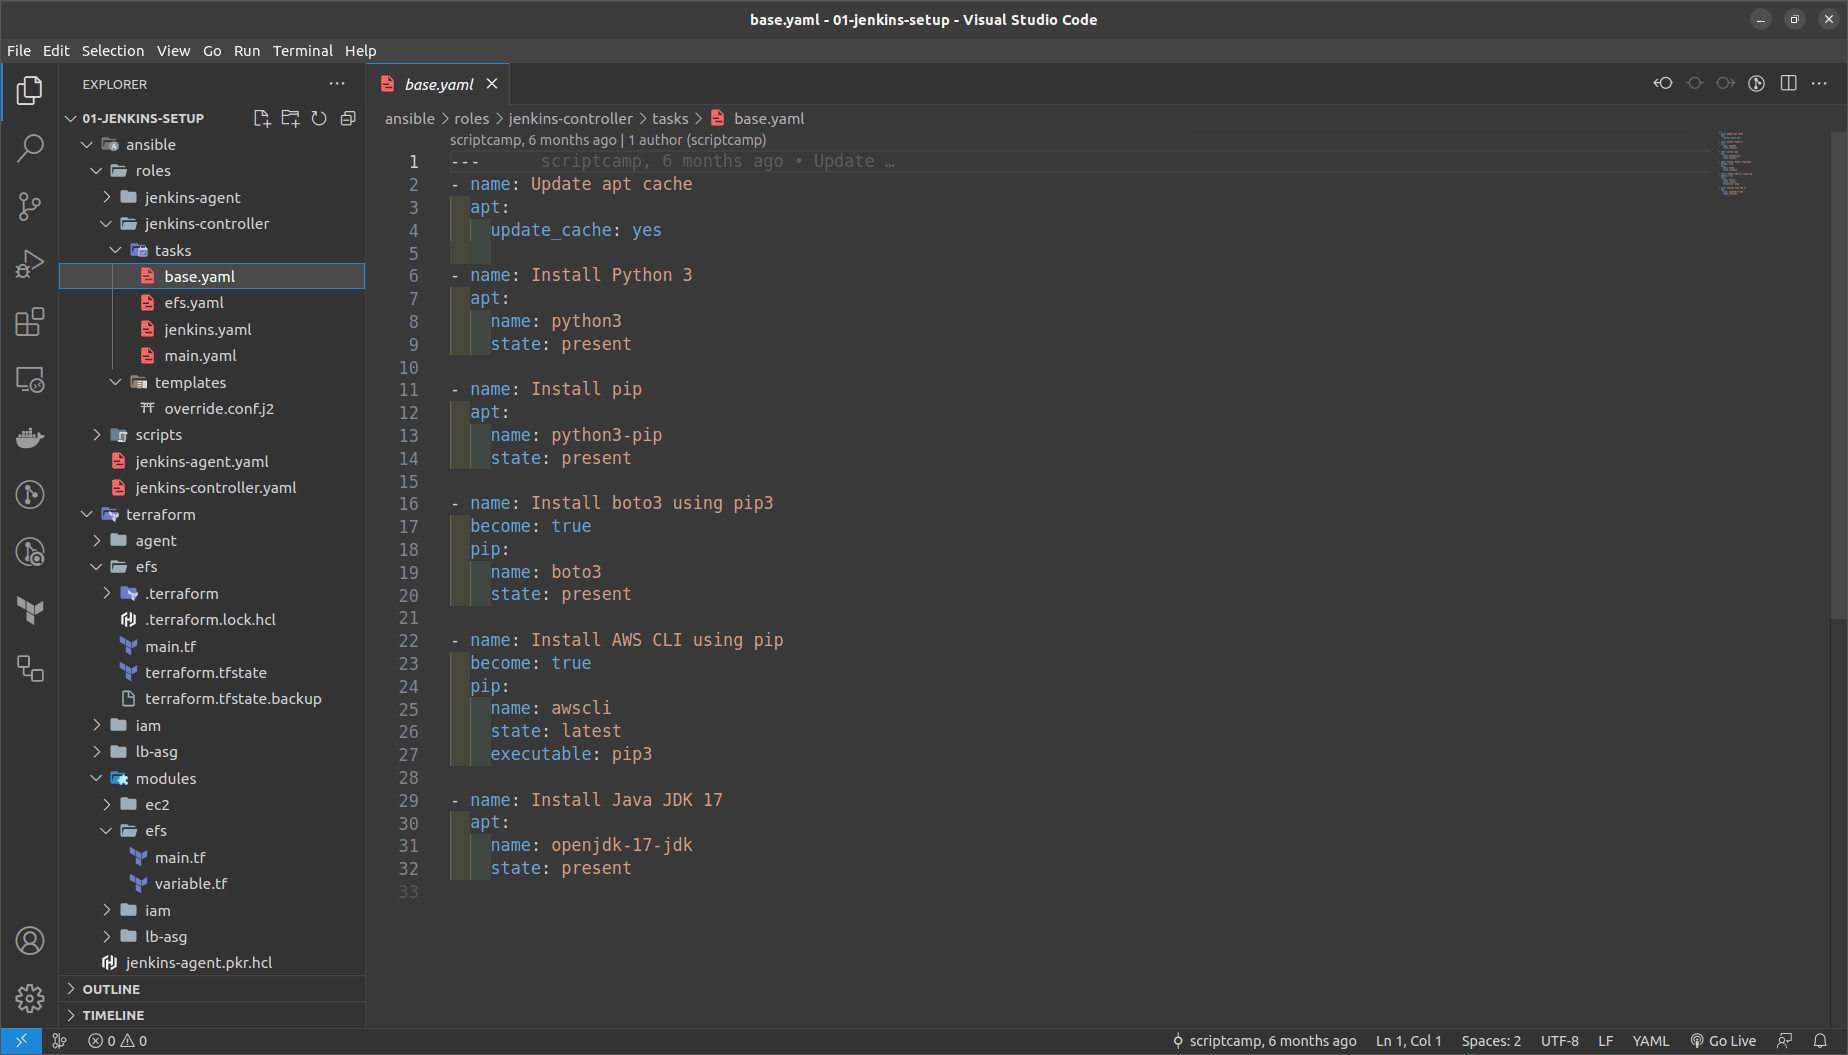
base.yml ==> Installs Python, AWS CLI, java in it
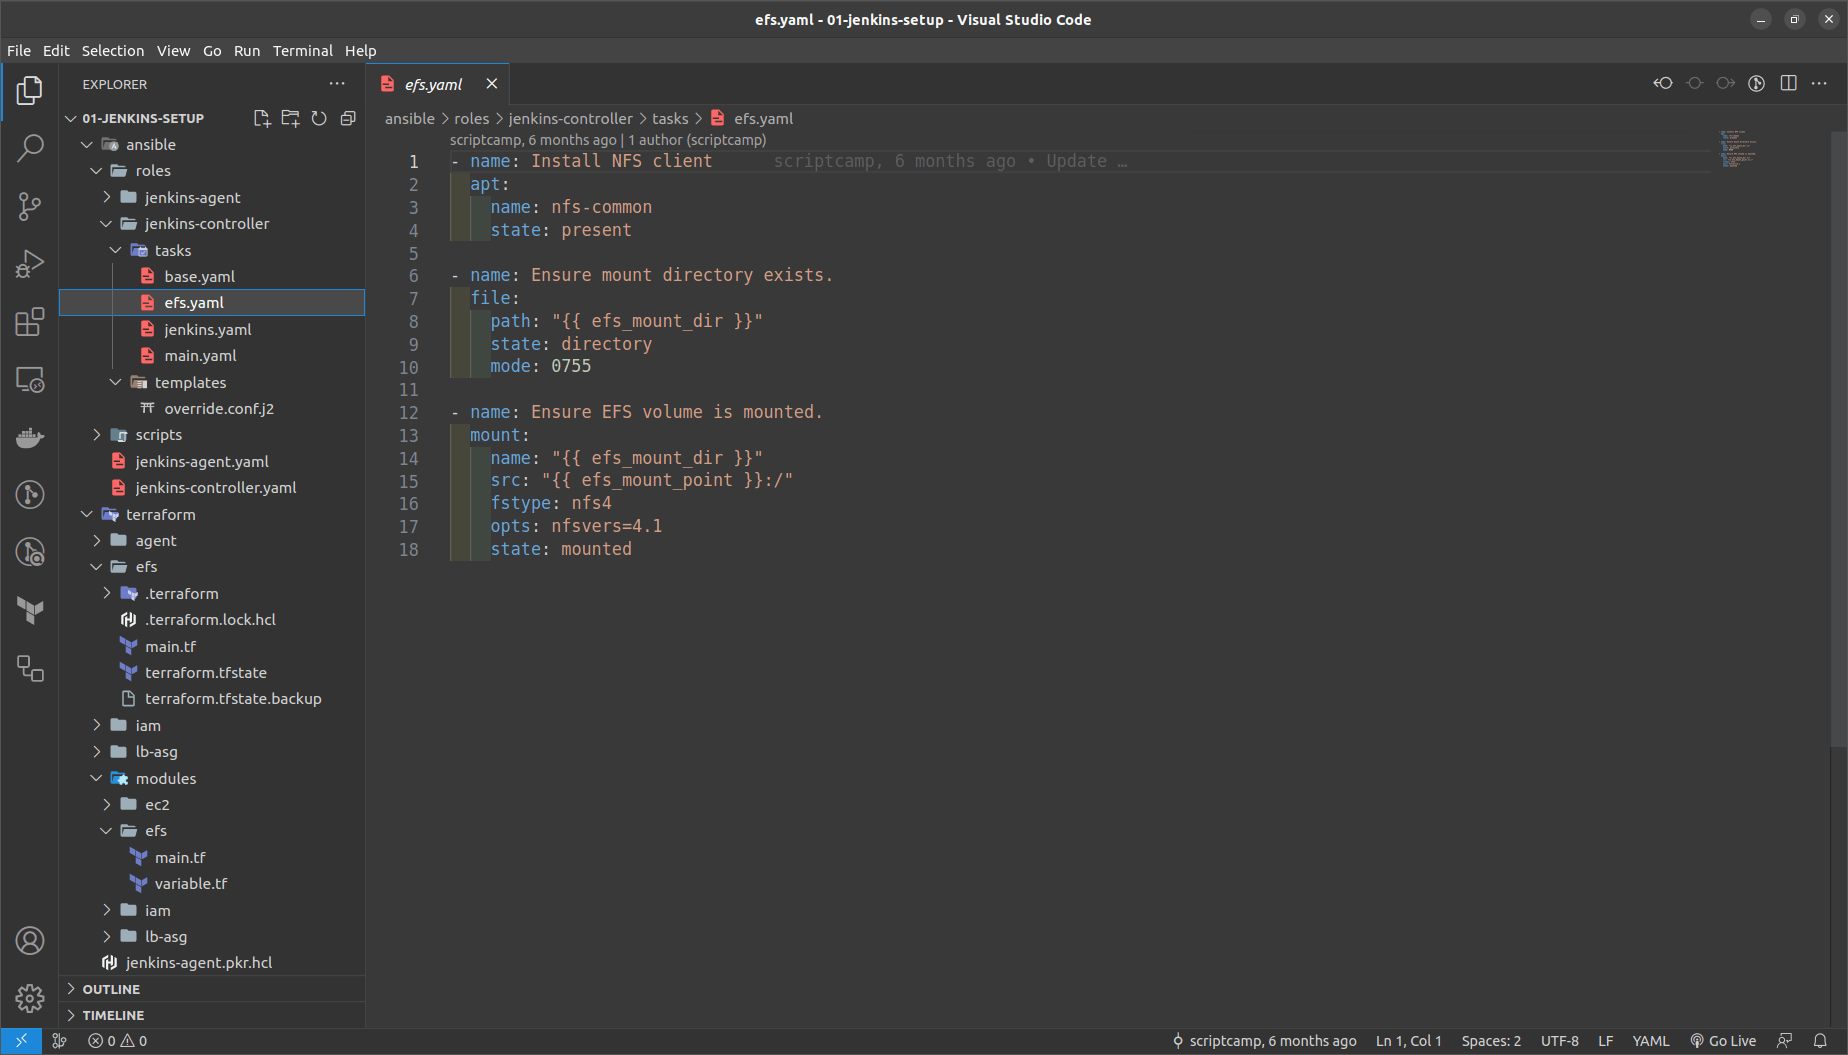
efs.yaml ==> Mounts the EFS DNS endpoint to the / Data directory
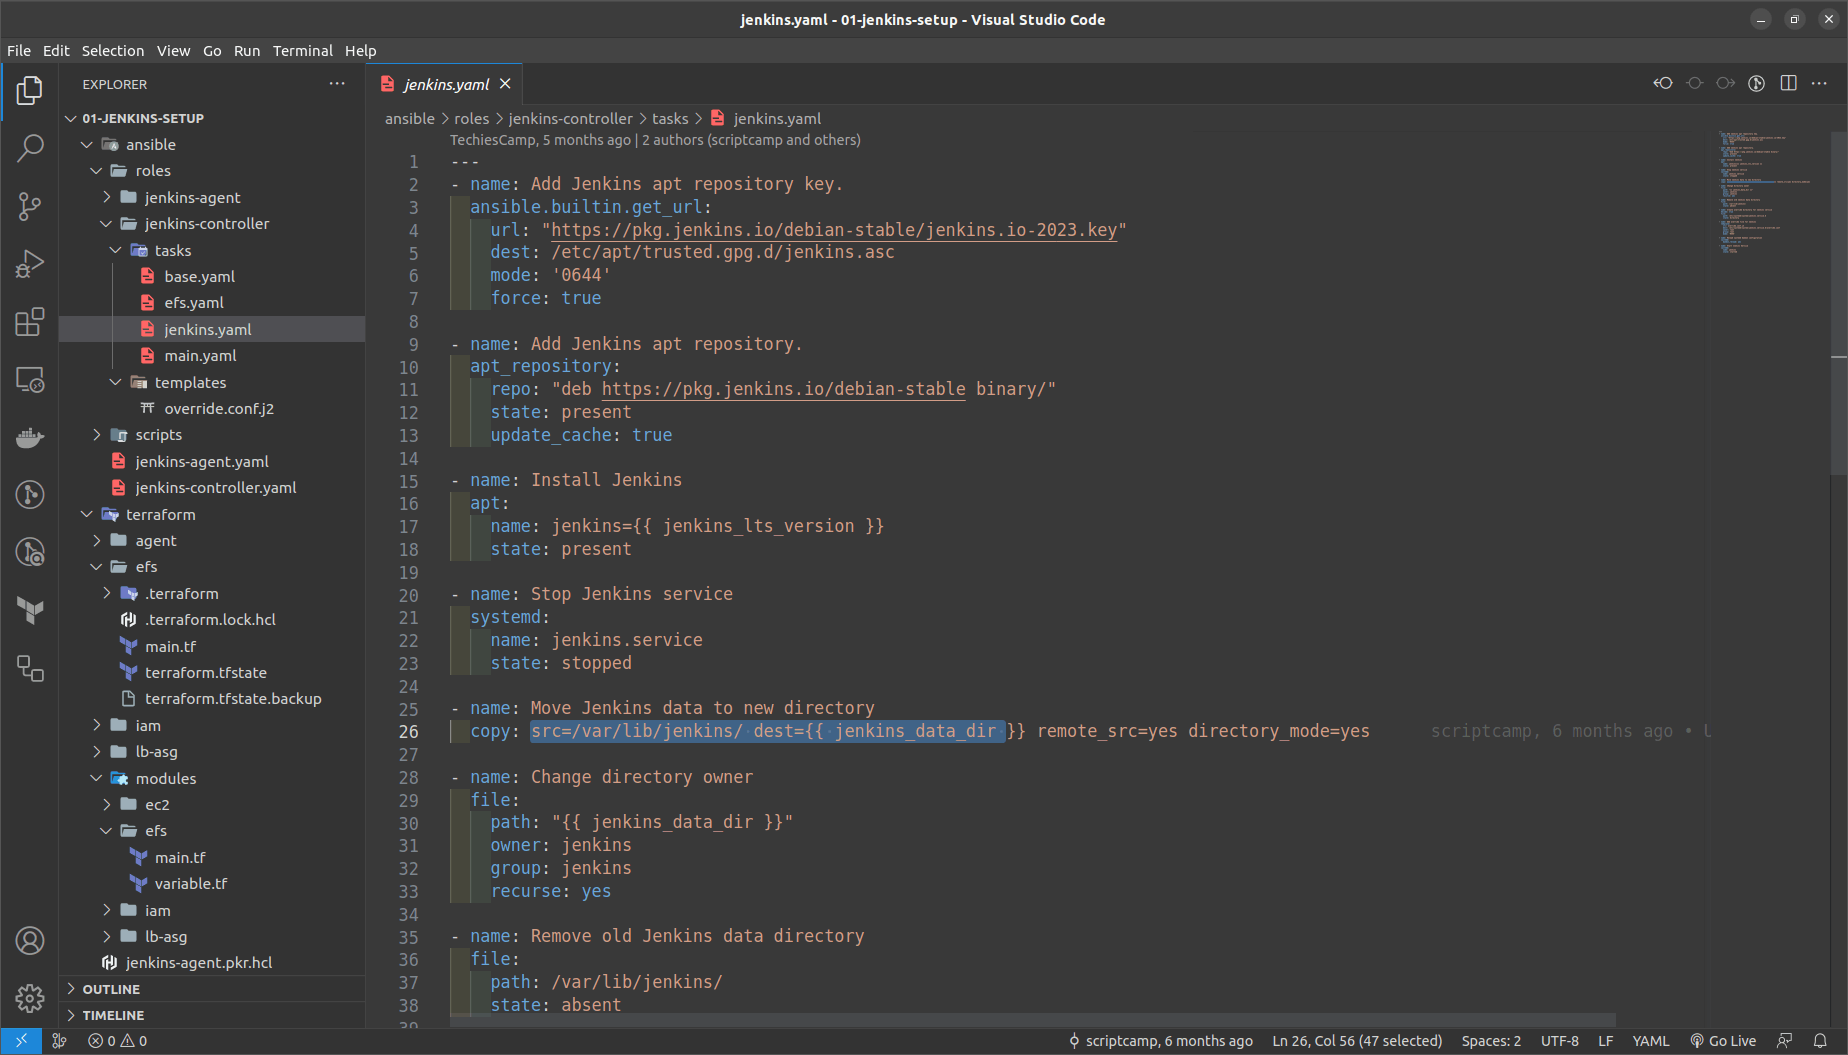
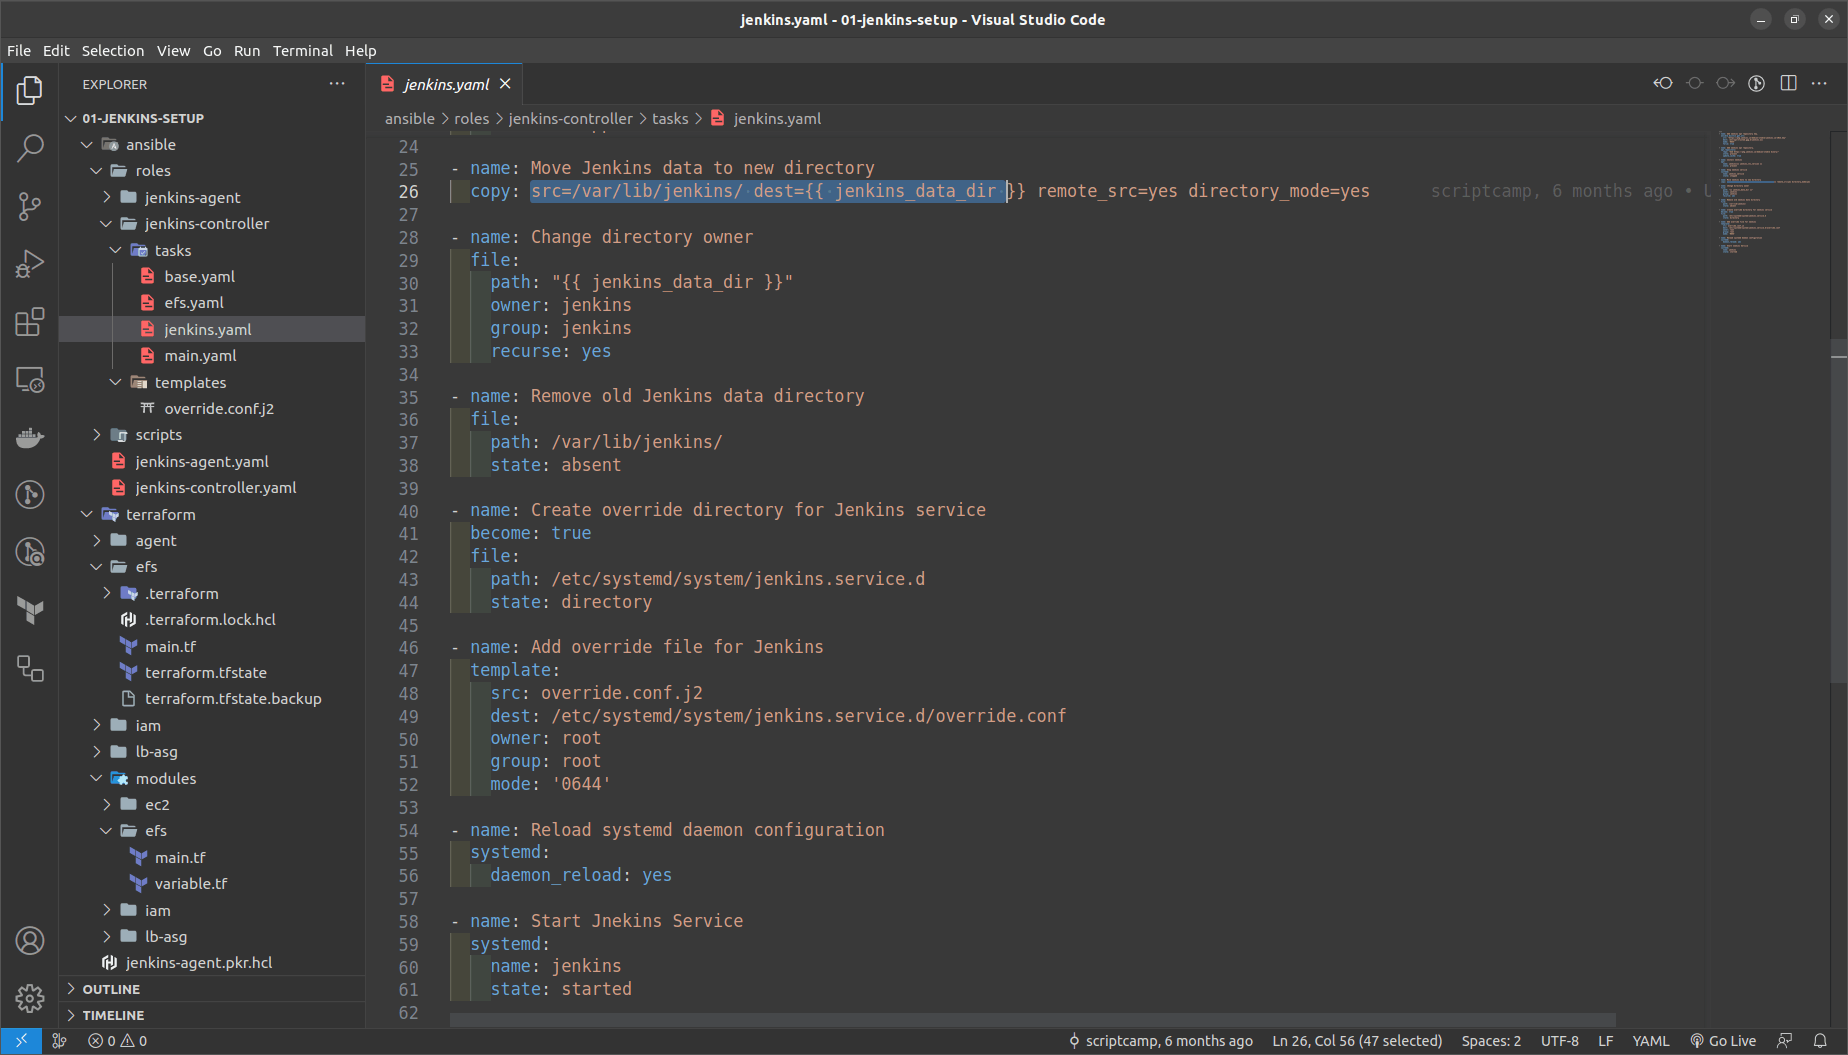
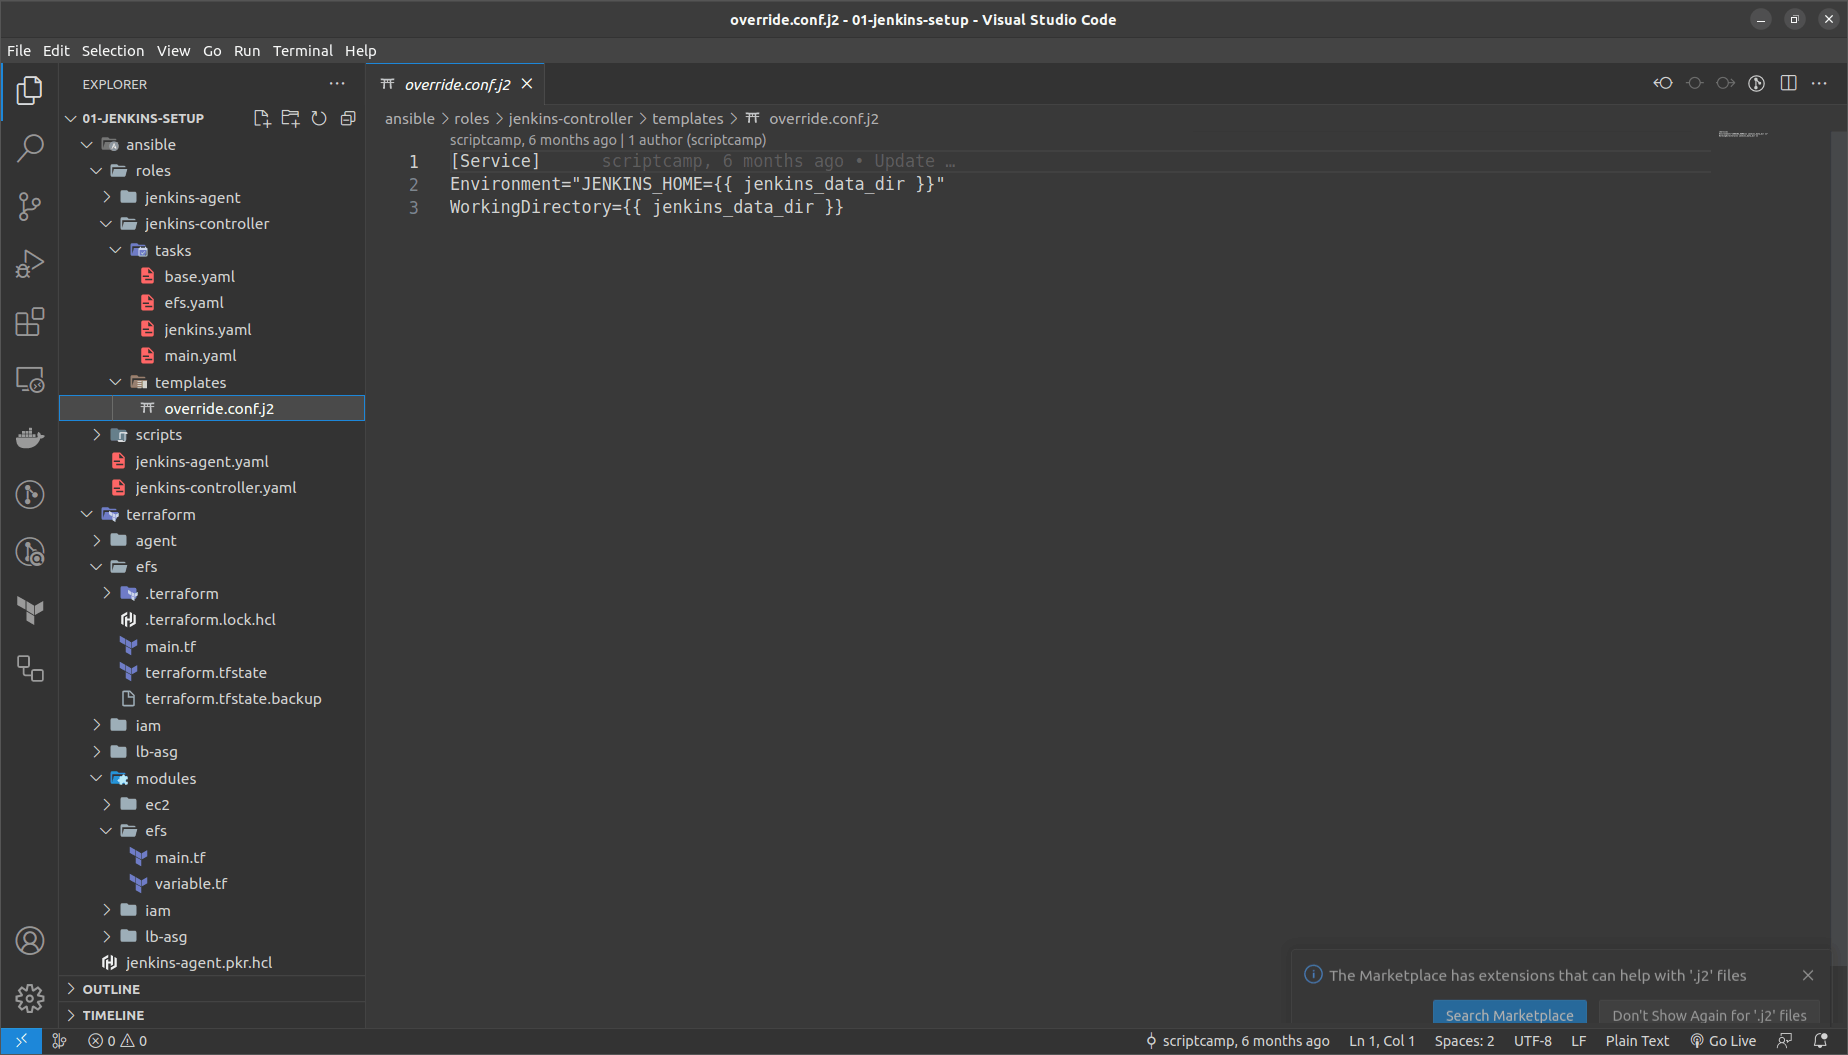
jenkins.yaml ==> We are adding and ovverirde.conf file from the /var/lib/data to the new loaction /data/jenkins directory
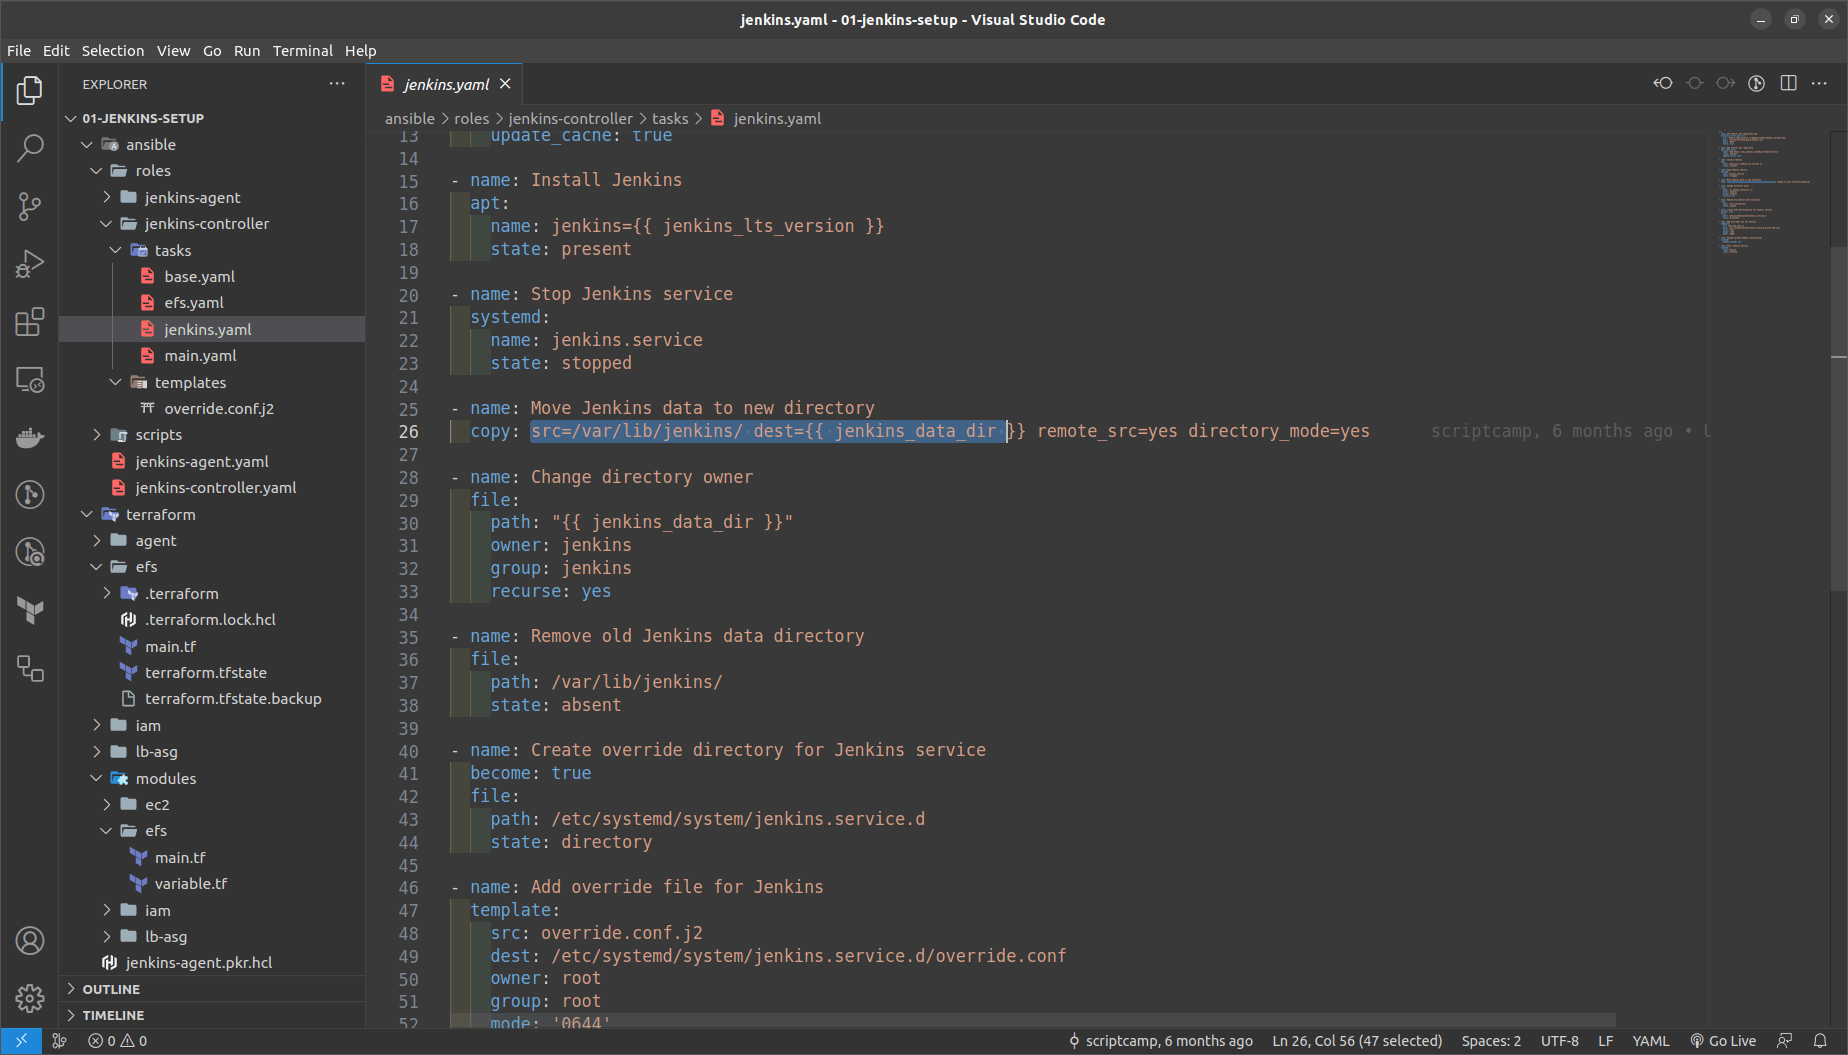
Override.conf file is added as the ansible template
Then run the command in the out of the terraform folder
packer build -var="efs_mount_point=fs-<your-generated-dns-name-efs>" jenkins-controller.pkr.hcl
It would require around 10-15 minutes to build up the AMI Image
NOTE: Copy the AMI ID of the generated AMI we will require that in the next stages.
We again go the same steps for the Agents AMi packer file as above
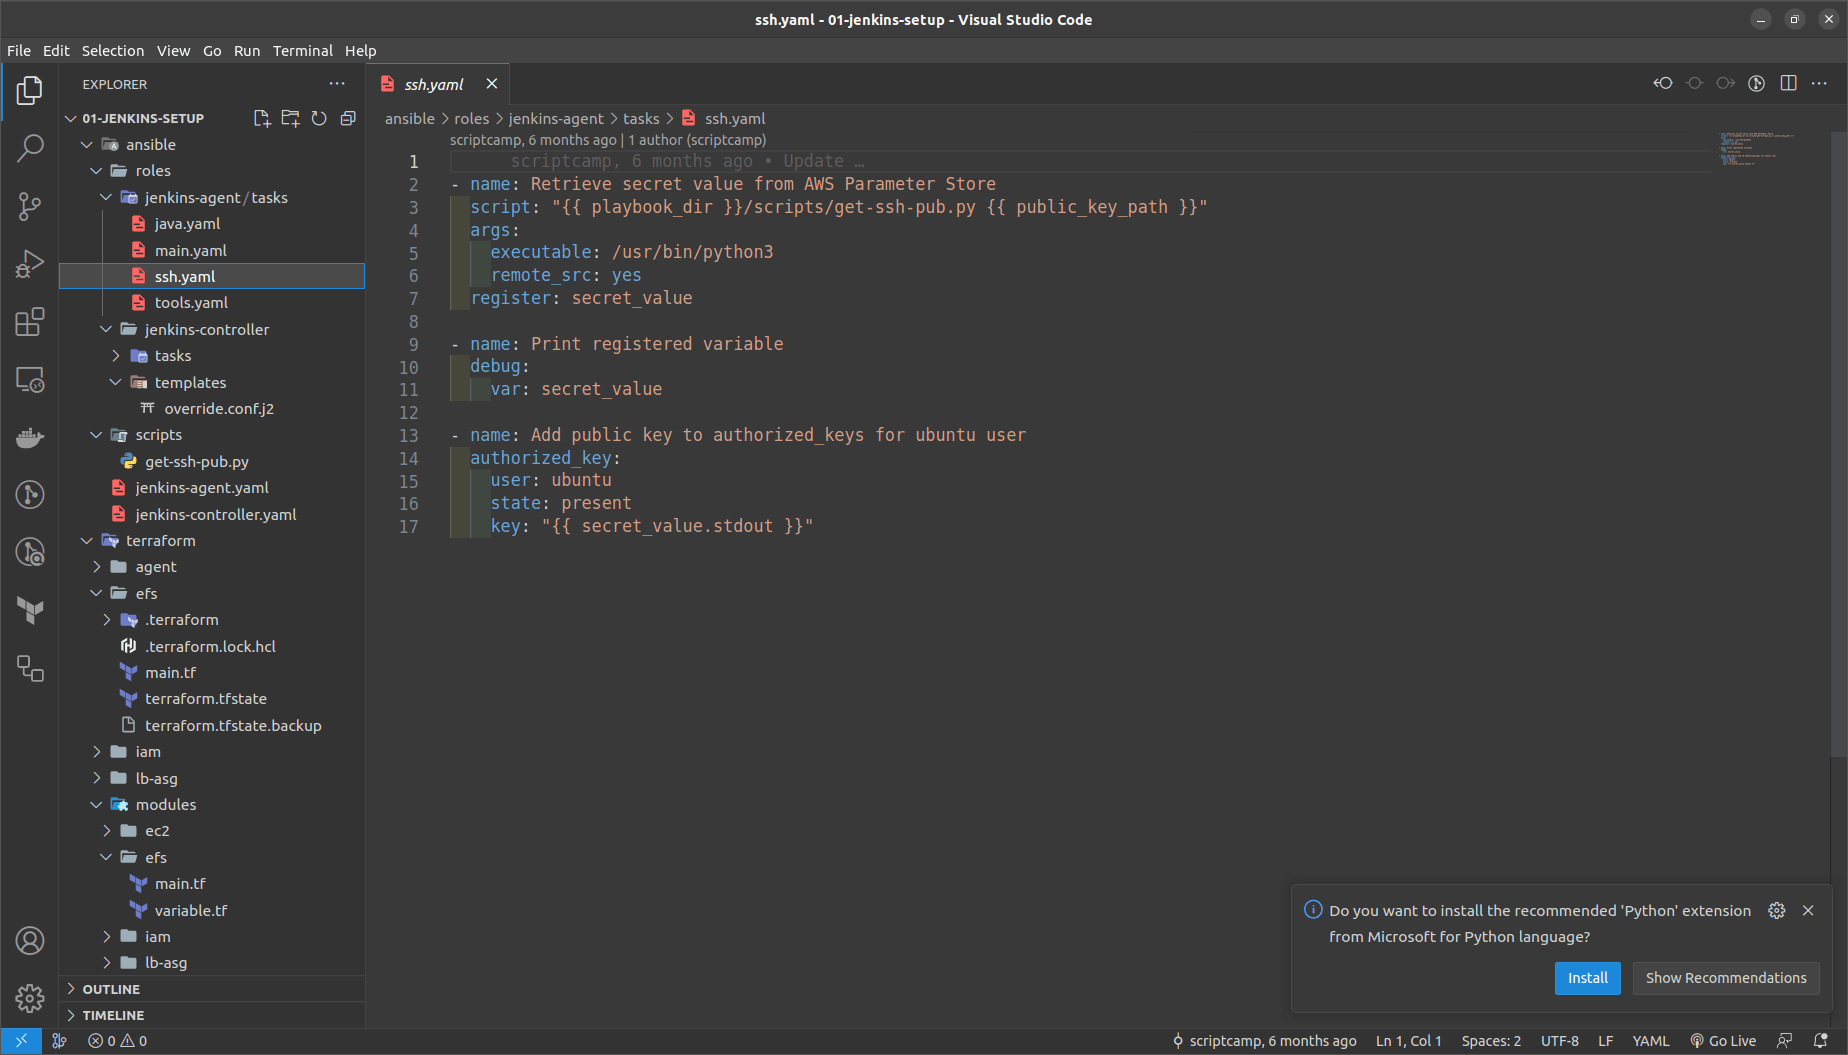
in the ssh.yaml it consists of a script in python which executes what it does is it retrives the public key id_rsa.pub AWS parameters that we have stored in it and adds ssh to authorize the keys

then run the command outside the terraform folder here as
packer build -var "public_key_path=<lcoation of your id_rsa.pub file >" jenkins-agent-pkr.hcl
NOTE: Copy the AMI ID of the generated AMI we will require that in the next stages.
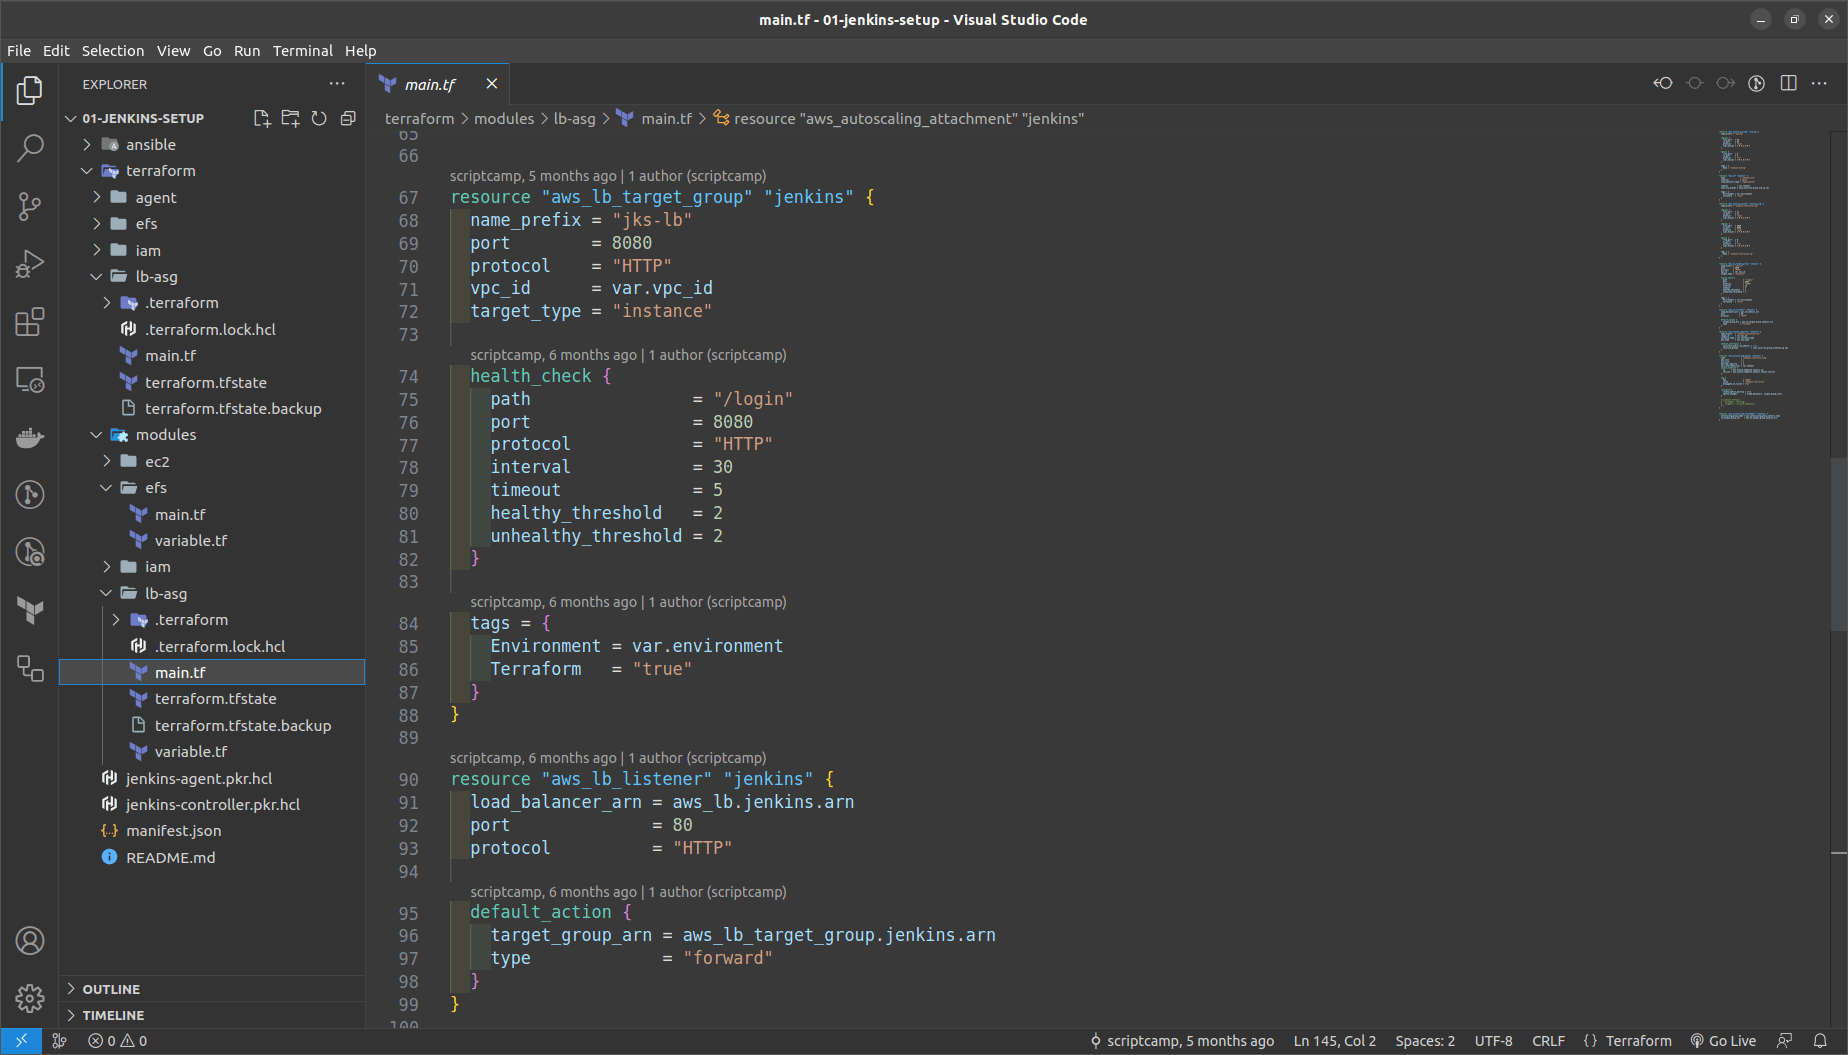
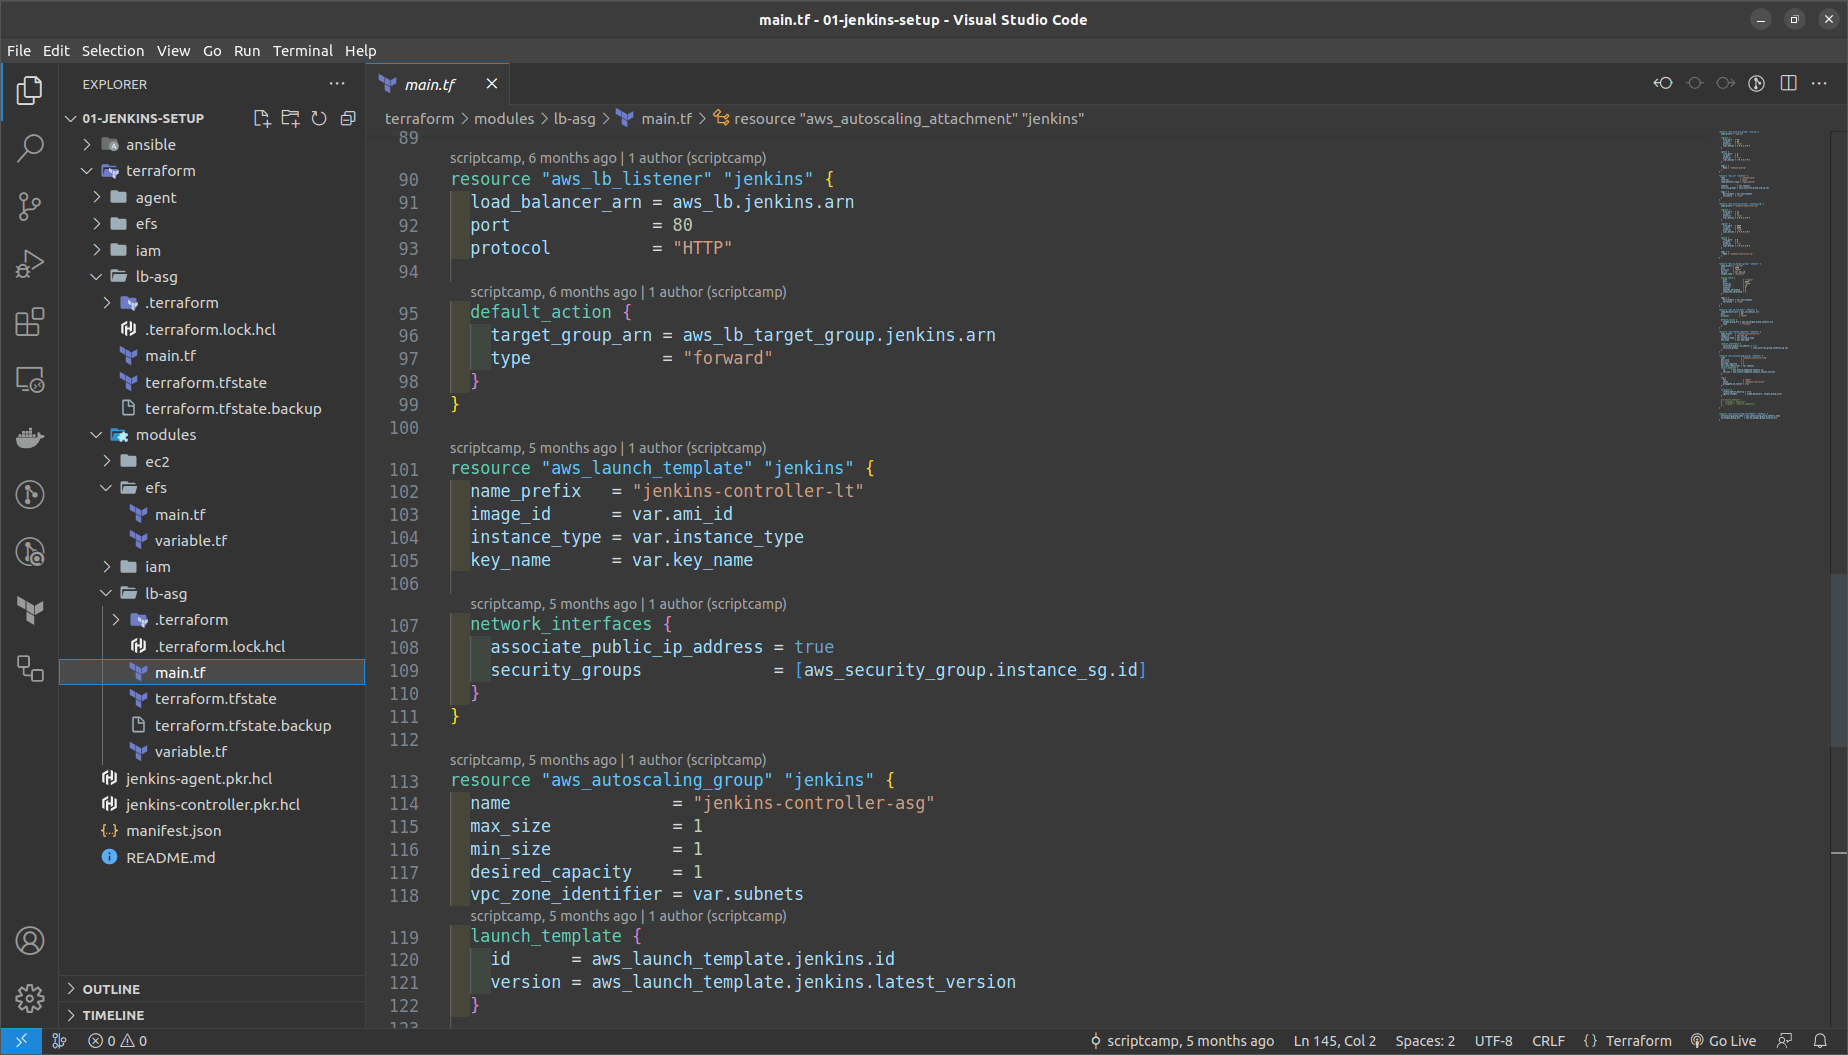
Deploying the Jenkins Controller Auto Scaling Group and Load balancer
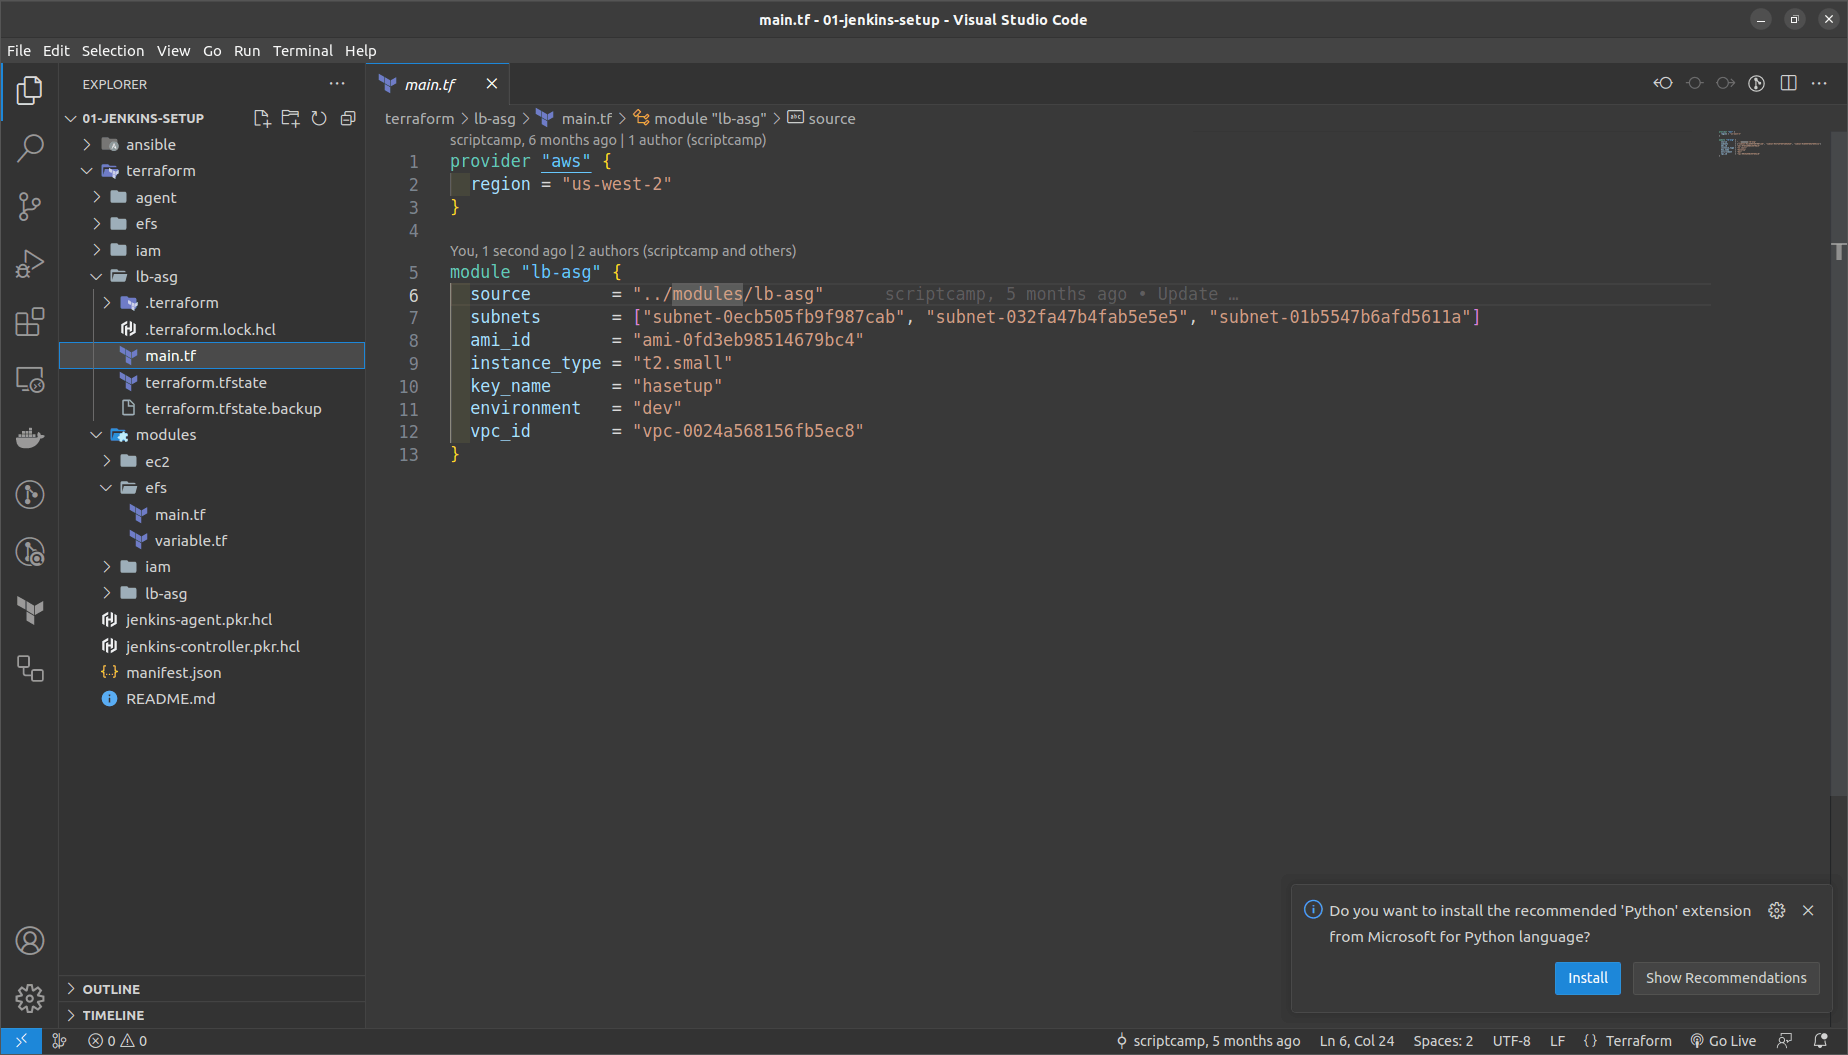
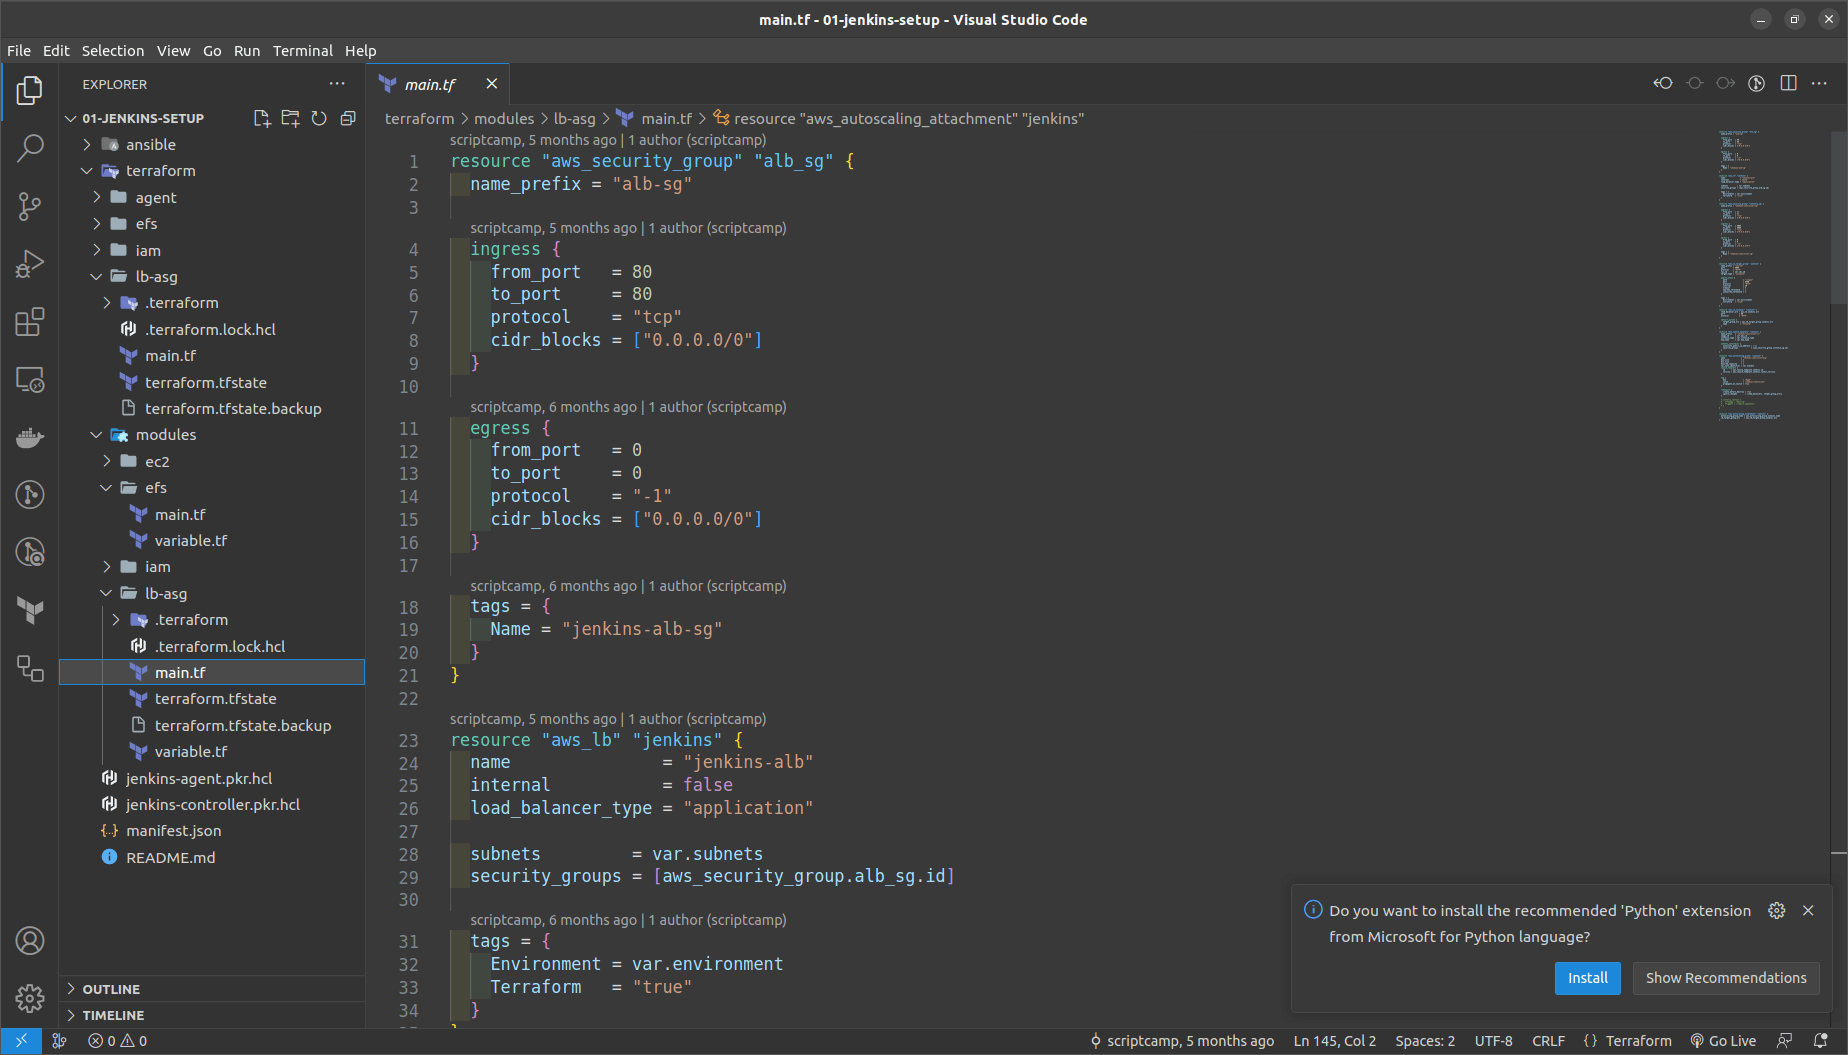
GO to the terraform folder > lb_asg in main.tf
NOTE: Replace here the vpc_id,ami_id of jenkins controller, subnets_id, key_name ==> the keypair created in the us-west-2
Run the commands in the terraform > lb_asg folder
terraform init
terraform fmt
terraform validate
terraform plan
terraform apply --auto-approve
Once the resource is generated then just try to get the ASG in the console.
To get the public IP of Jenkins CLI we get it by the command
aws ec2 describe-instances --filter "Name=tag:Name,Values=jenkins-controller" --query 'Reservations[].Instances[?State.Name==`running`].PublicIpAddress' --output text
After that try ssh into the Jenkins ASG created
ssh -i <path to-your-key> ubuntu@<puiblic-ip-of-jenkins-controller>
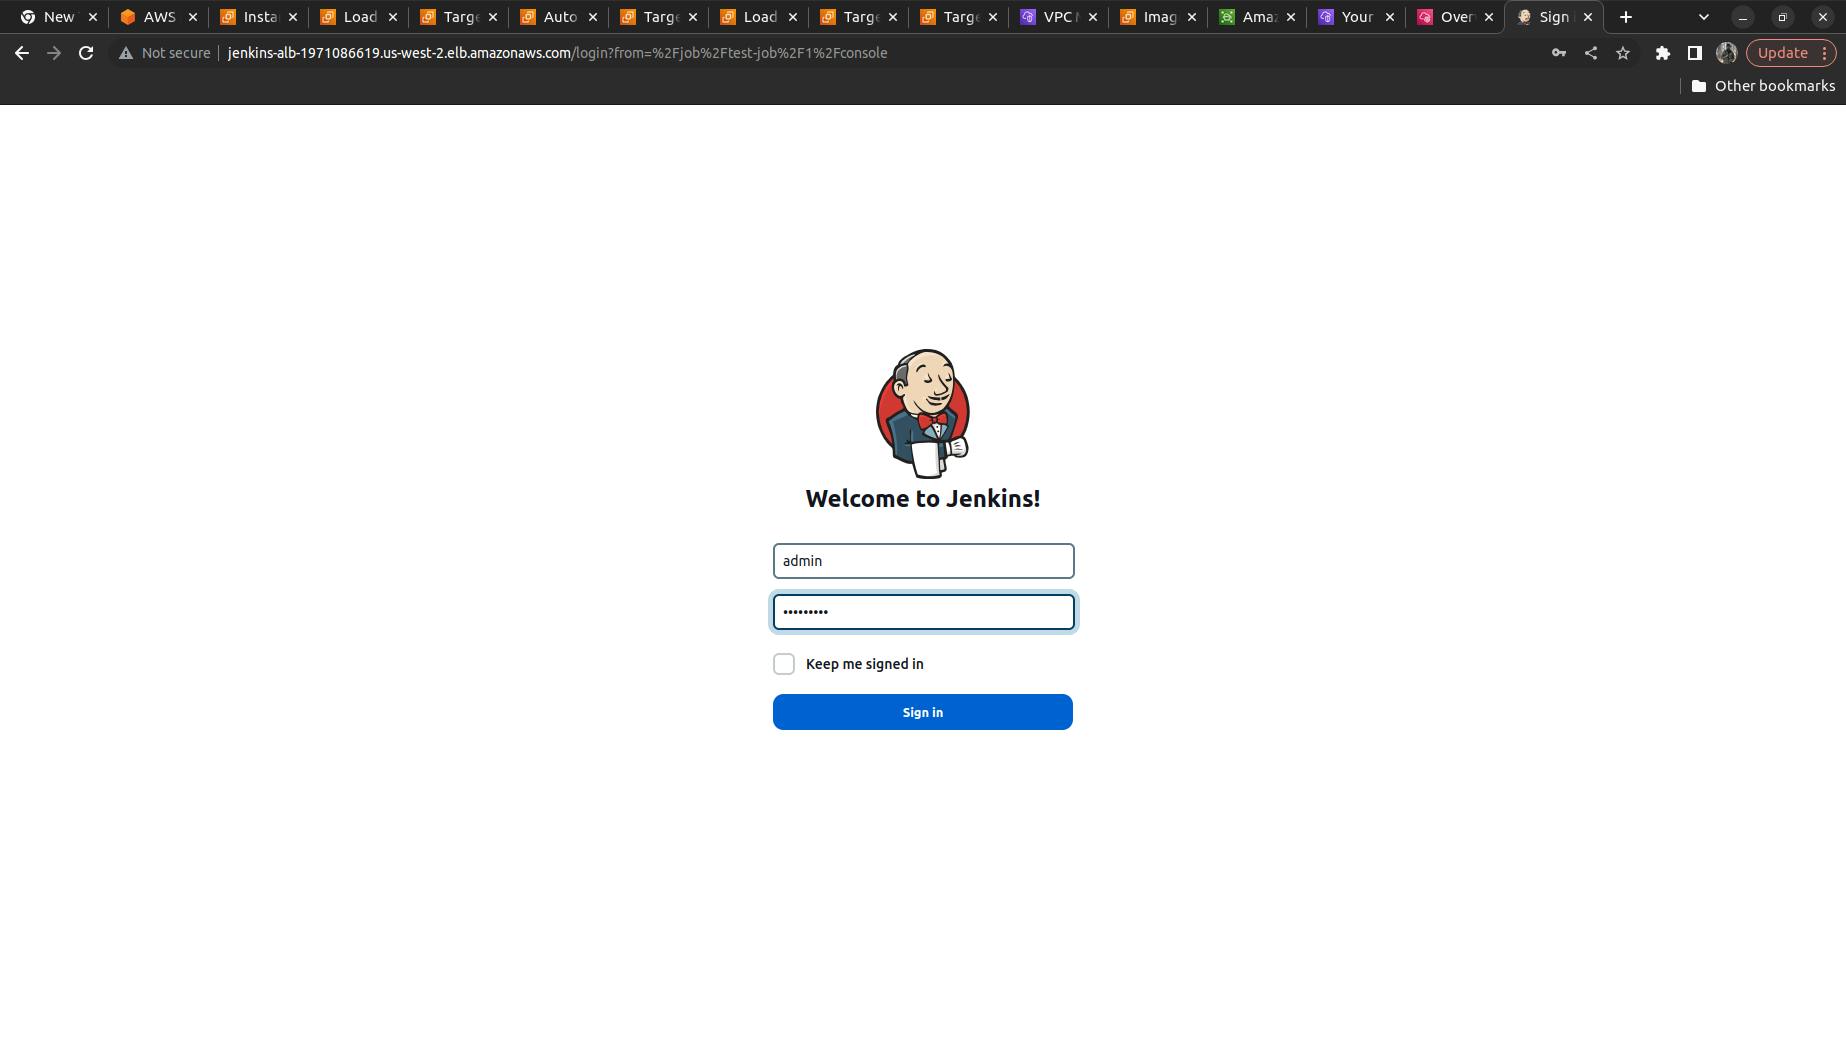
To see the Jenkins Running onto the system refer to the Load balancer ==> Jenkins ALB ==> Refer the DNS name and copy to the browser our Jenkins app successfully runs there
Login into Jenkins and create the admin user here
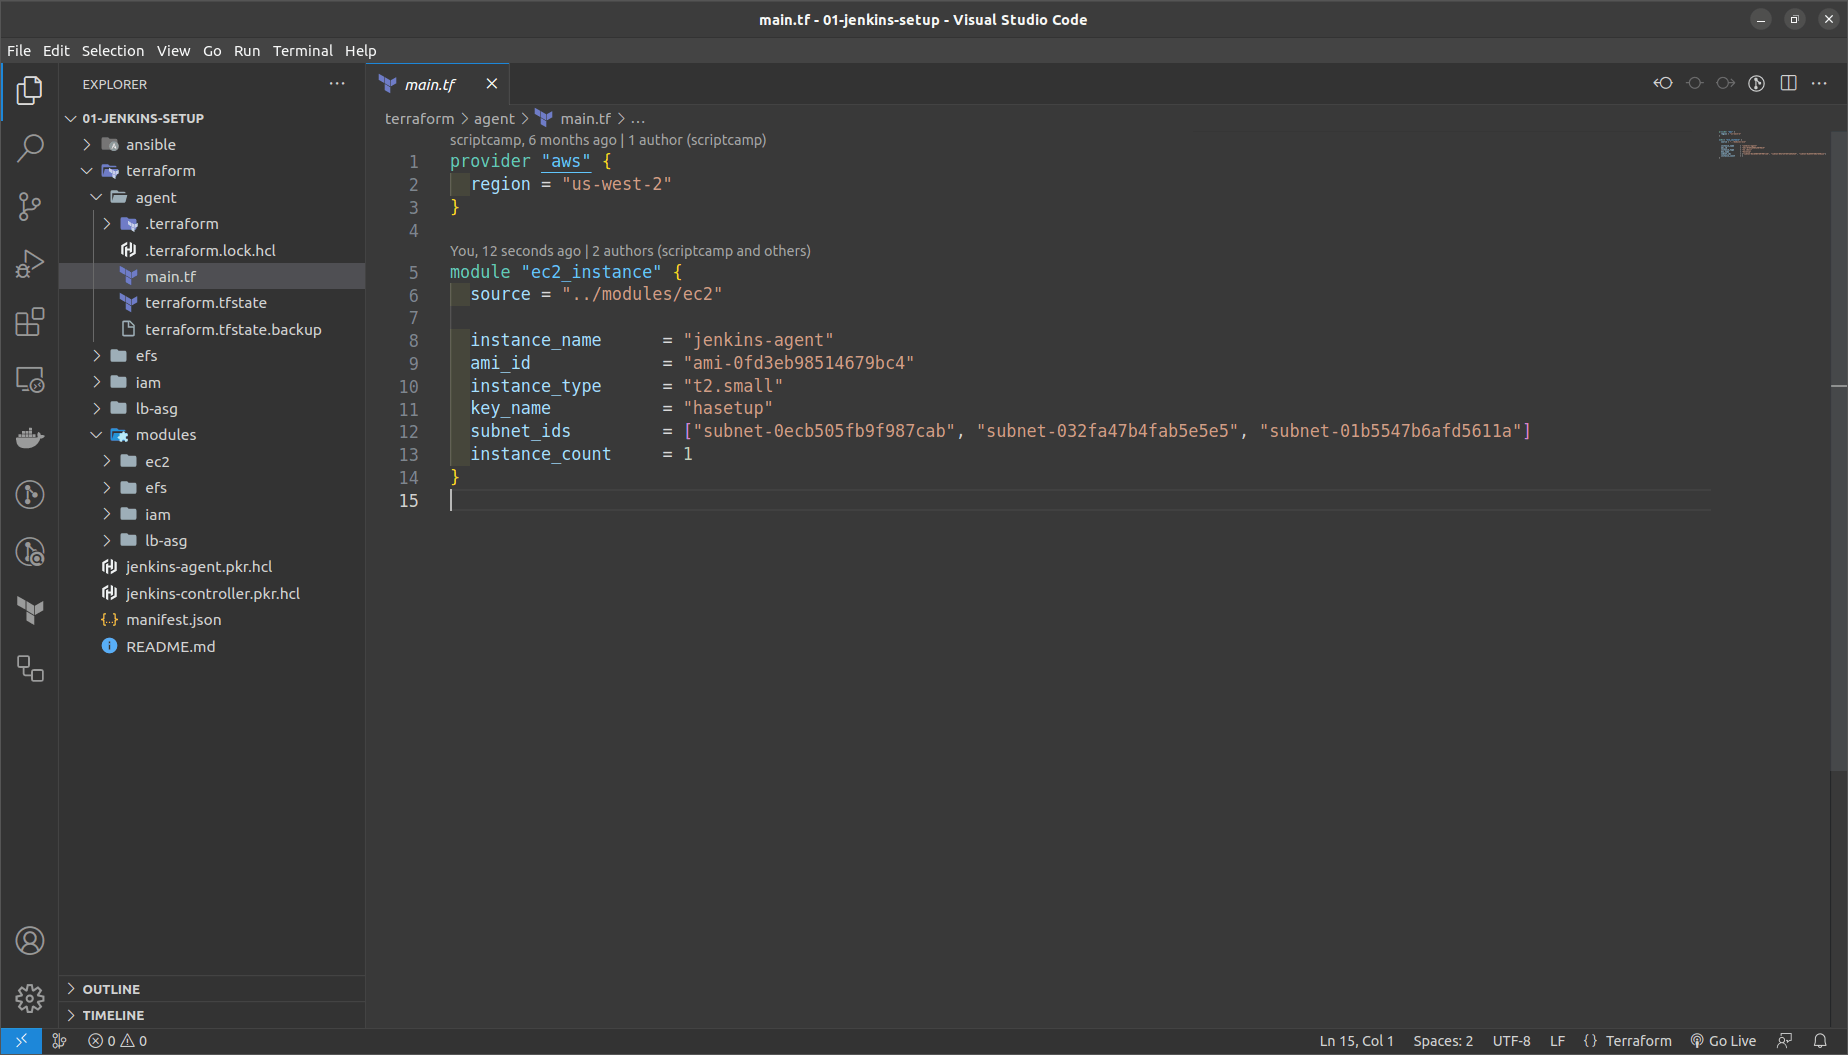
- Deploy the Jenkins Agent
In main.tf replace the ami_id, keyname, subnet_id
If you want more than 1 agent then we can increase it by using the instance_count
As we have the controller and agent in place now we can move forward with the following
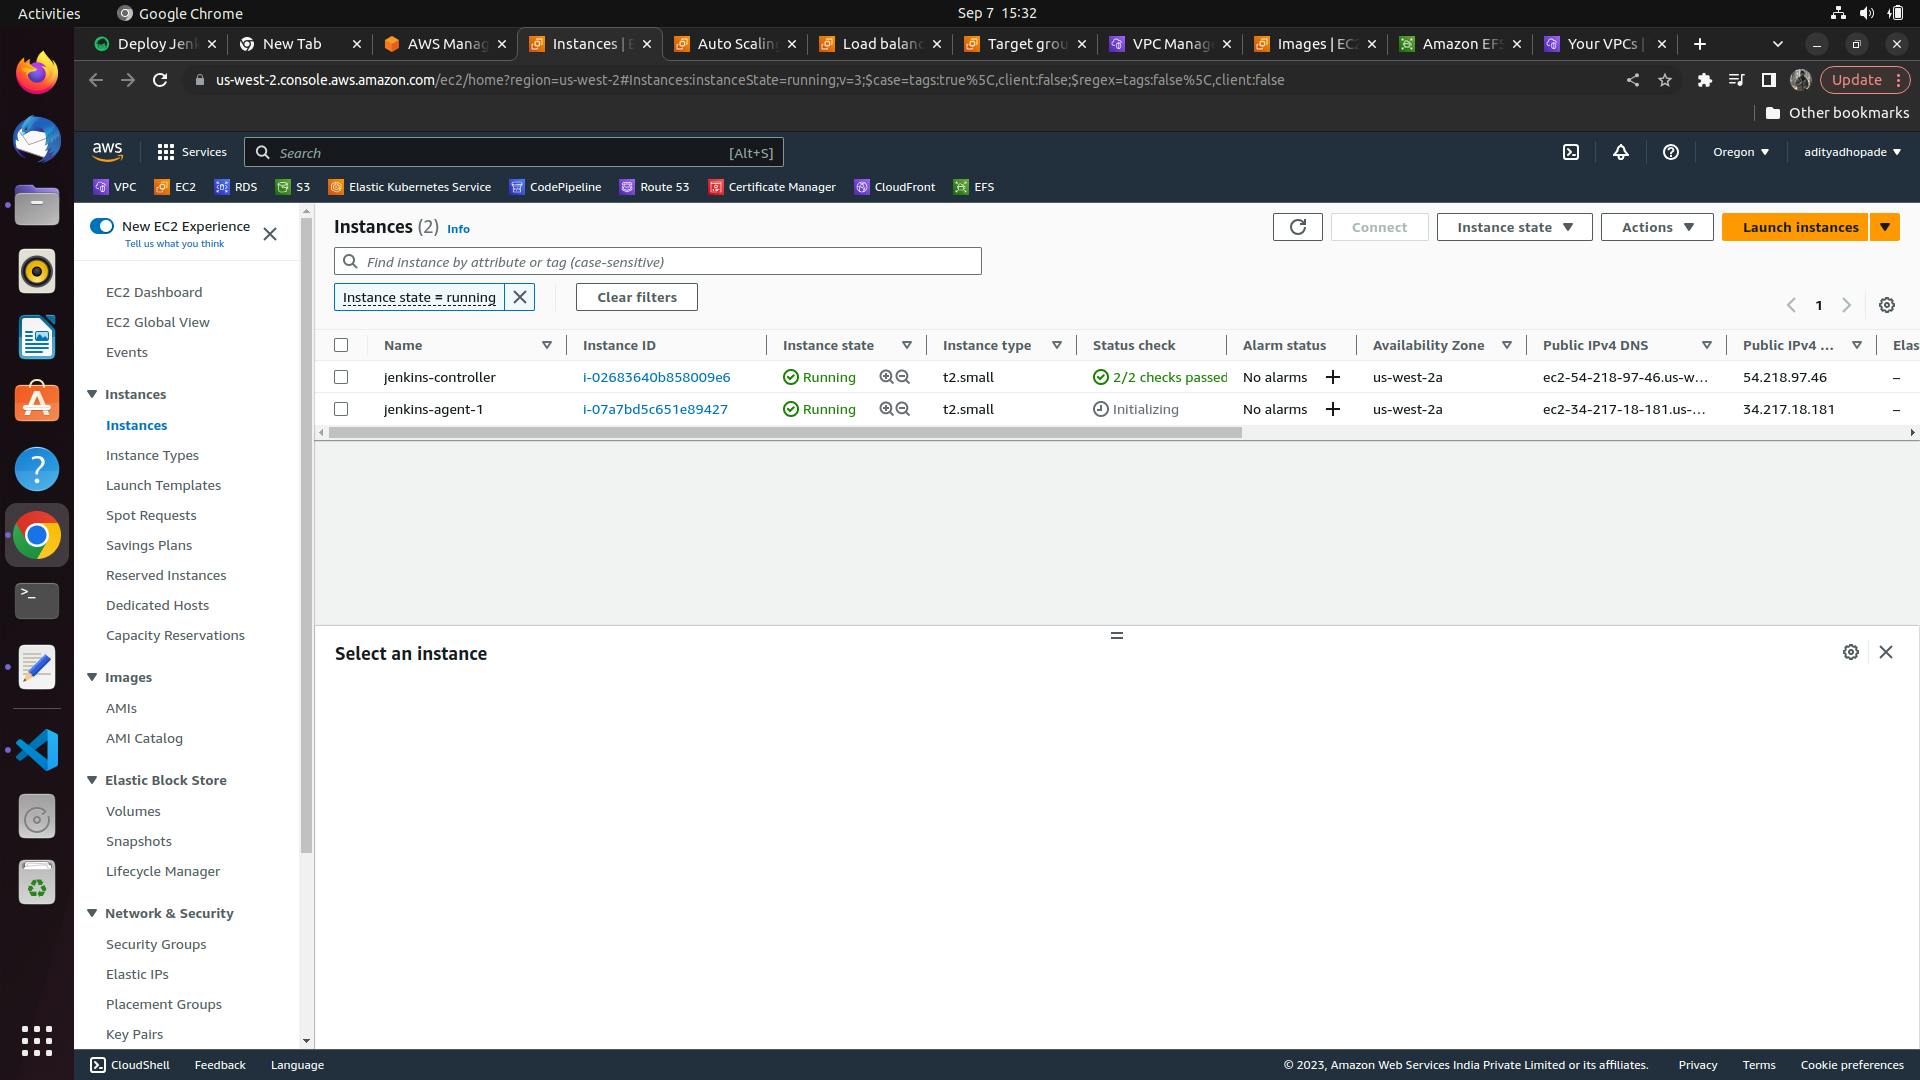
We will try to add the Jenkins Agents here.
Go to Jenkins Dashboard running previously
manage ==> Manage Nodes and Clouds ==> Add a New Node ==> Name it as Agent-01
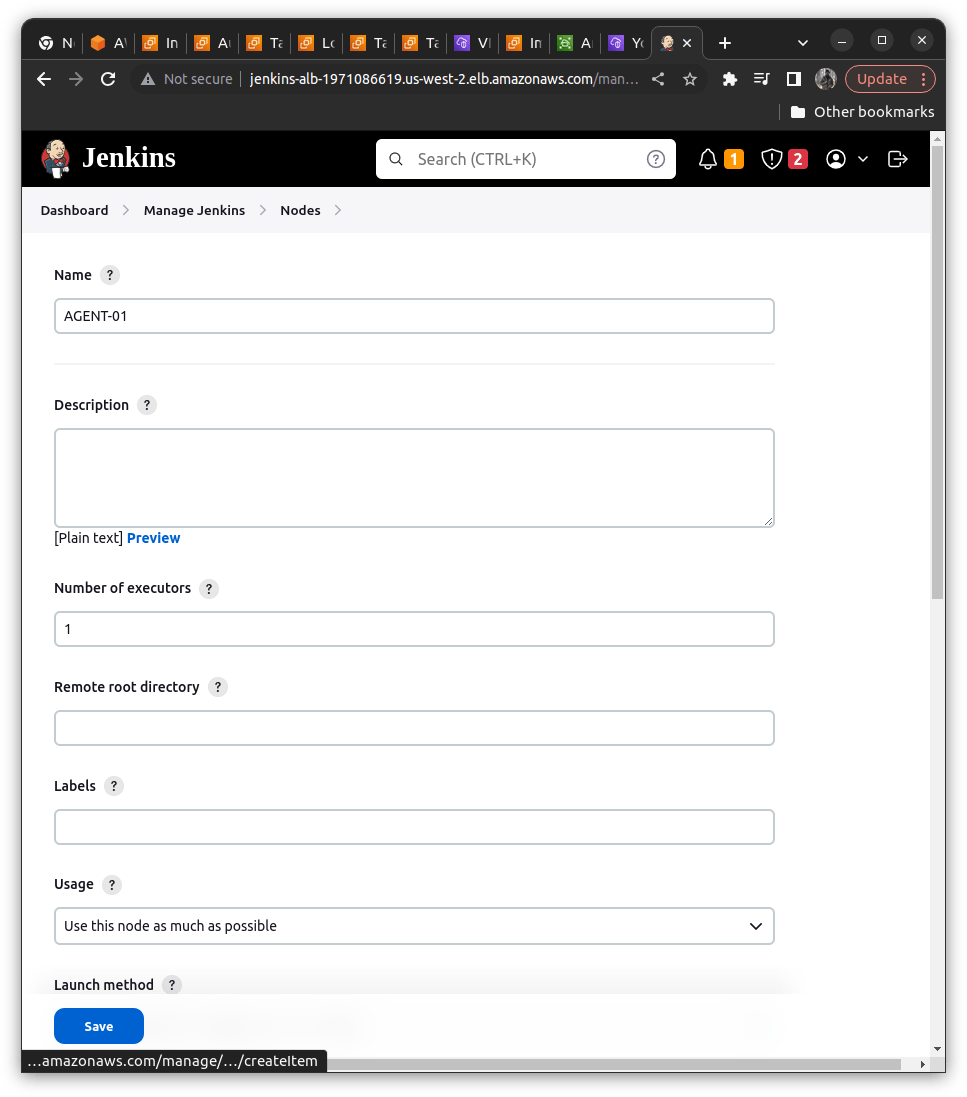
Add the fields as indicated in the Screnshots below
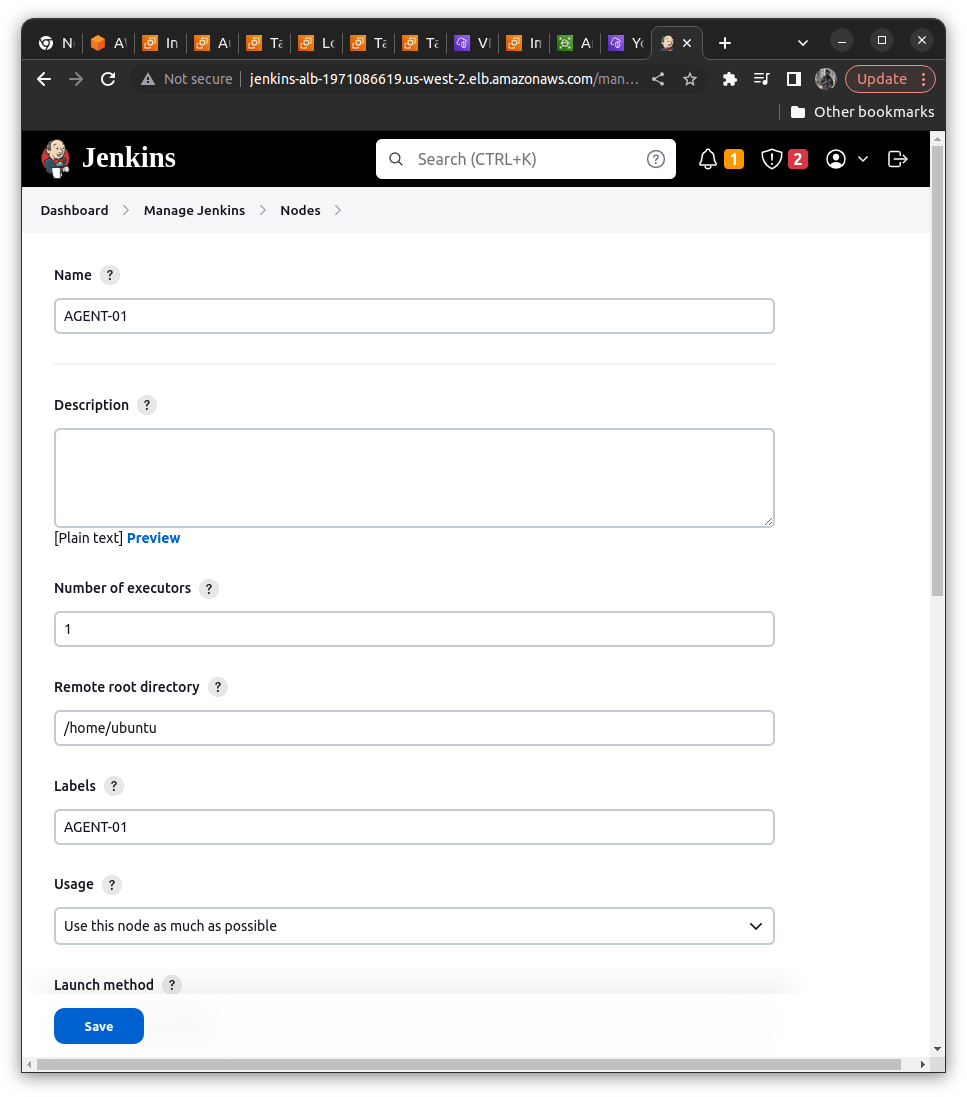
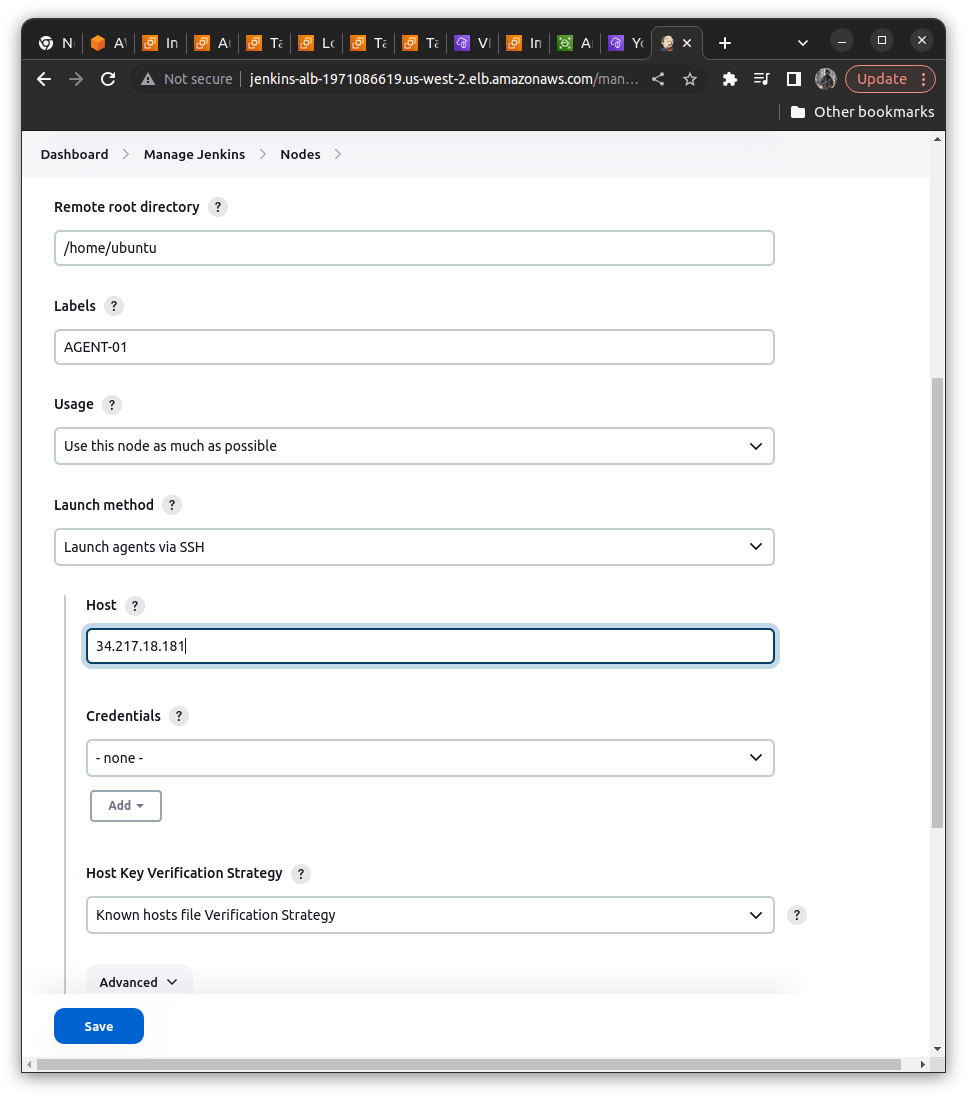
Select launch via SSH Method
In Host Add the IP of Jenkins Agent instance on EC2
Credentials ==> Add Jenkins
kind ==> SSH Username with Private Key
Add ID and Description in it ==> Add as below
id = jenkisn-ssh-cred
description = ssh auth for an agent
Add the user as Ubuntu
Add the Private Key ==> Enter Directly and add the id_rsa from the aws parameter store here directly
Under the credentials enter the cred that we have created just now
In the Host Key verification select the Non-verification Strategy
Hit Save
By adding all the above steps we can see that our agent gets added to jenkins dashboard.
Now we need to verify whether jenkins controller is able to connect via SSH or not
Click on the Agent Node ==> Build It ==> See logs
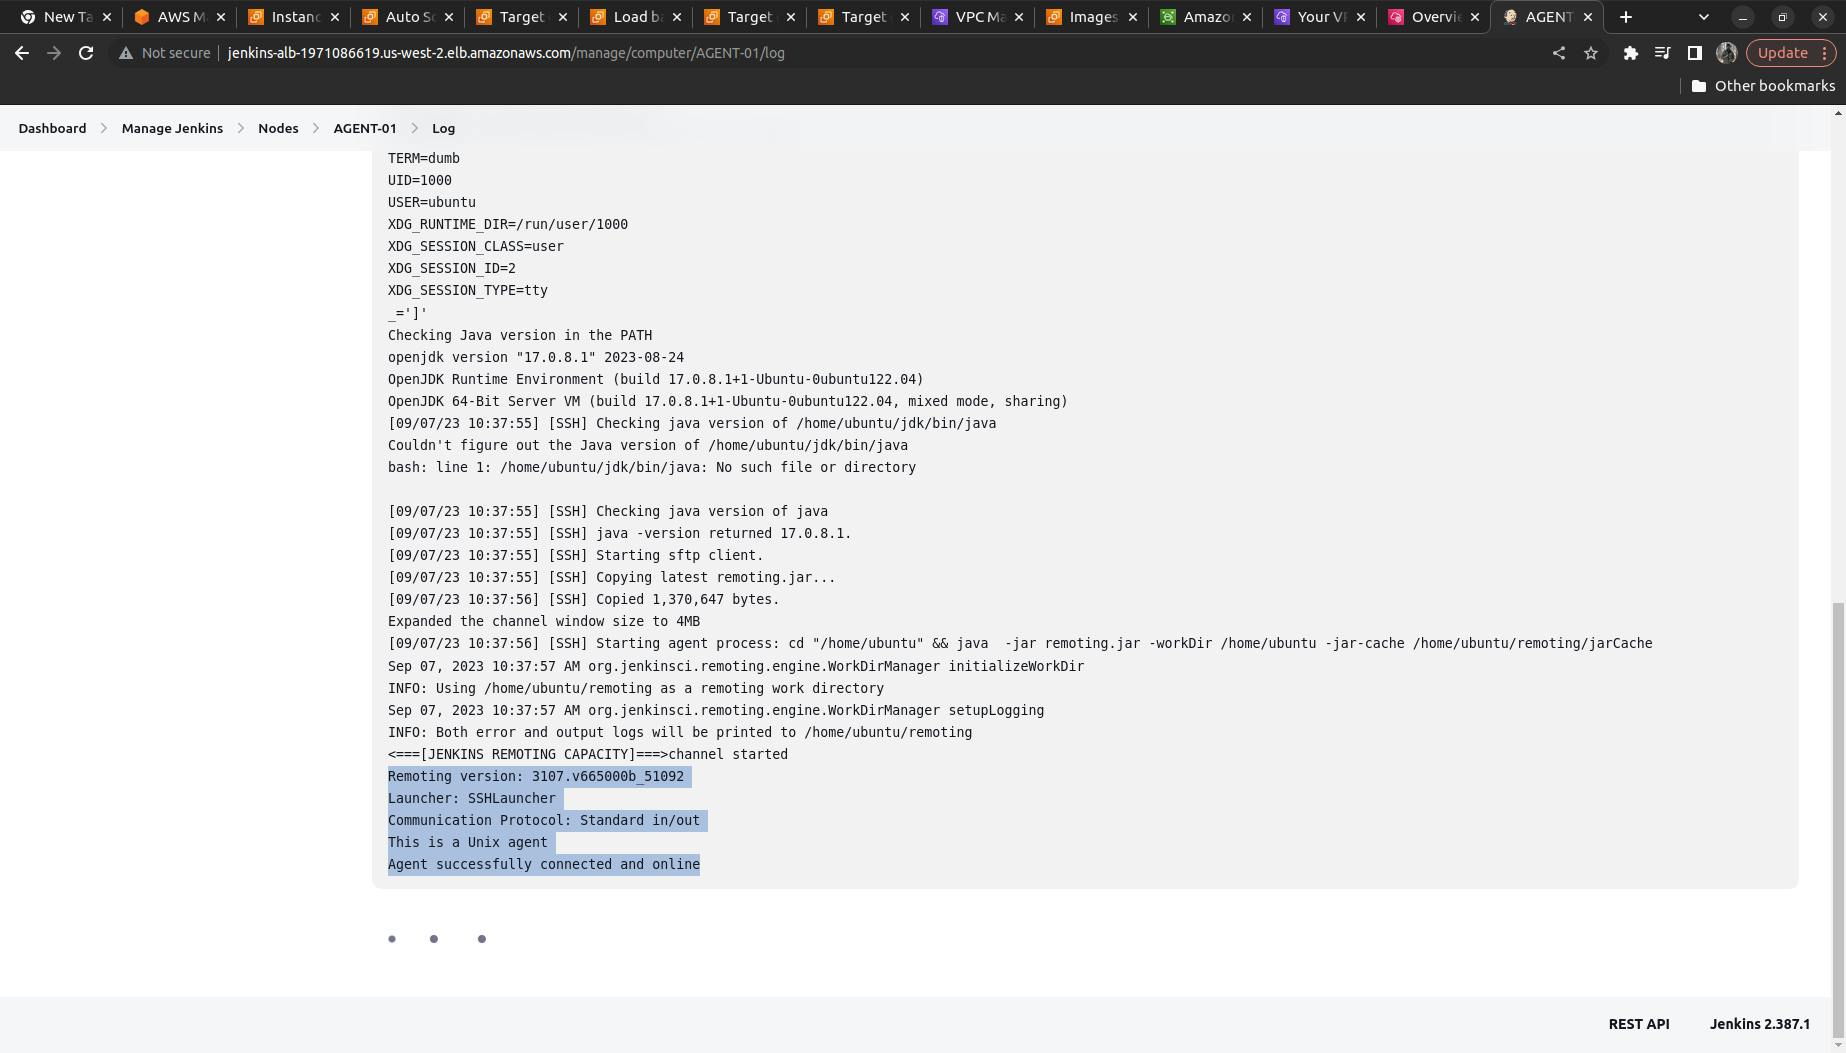
It shows now connected and online
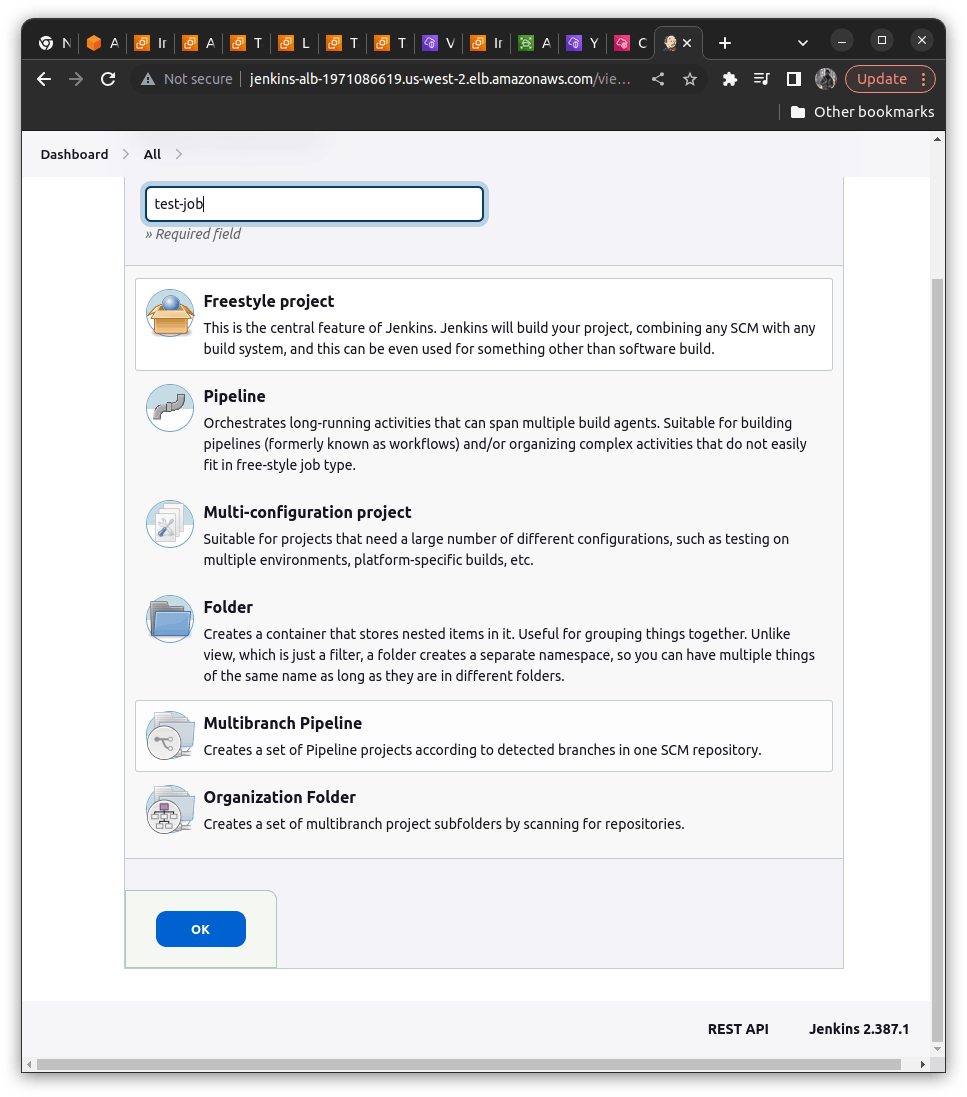
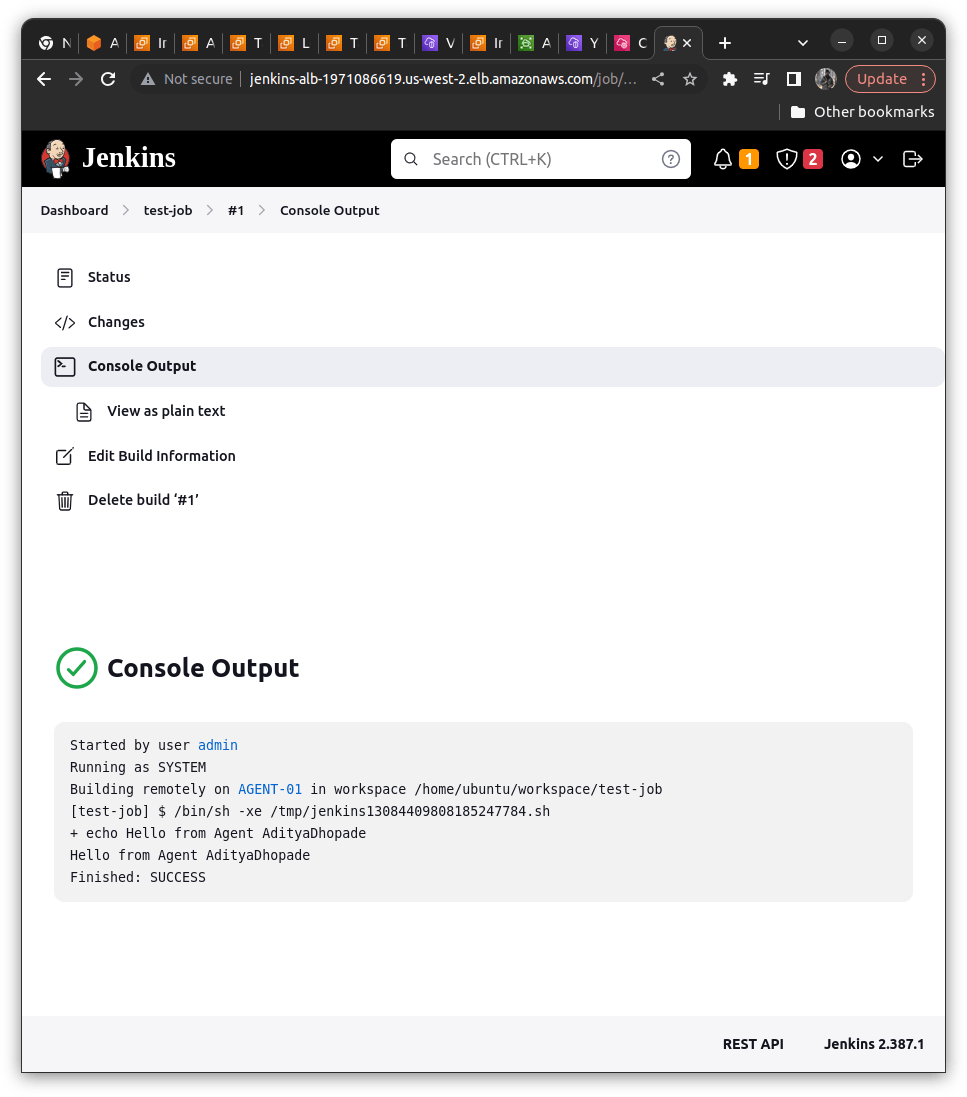
To validate the connection what we can do is ==> Creating some build and verify
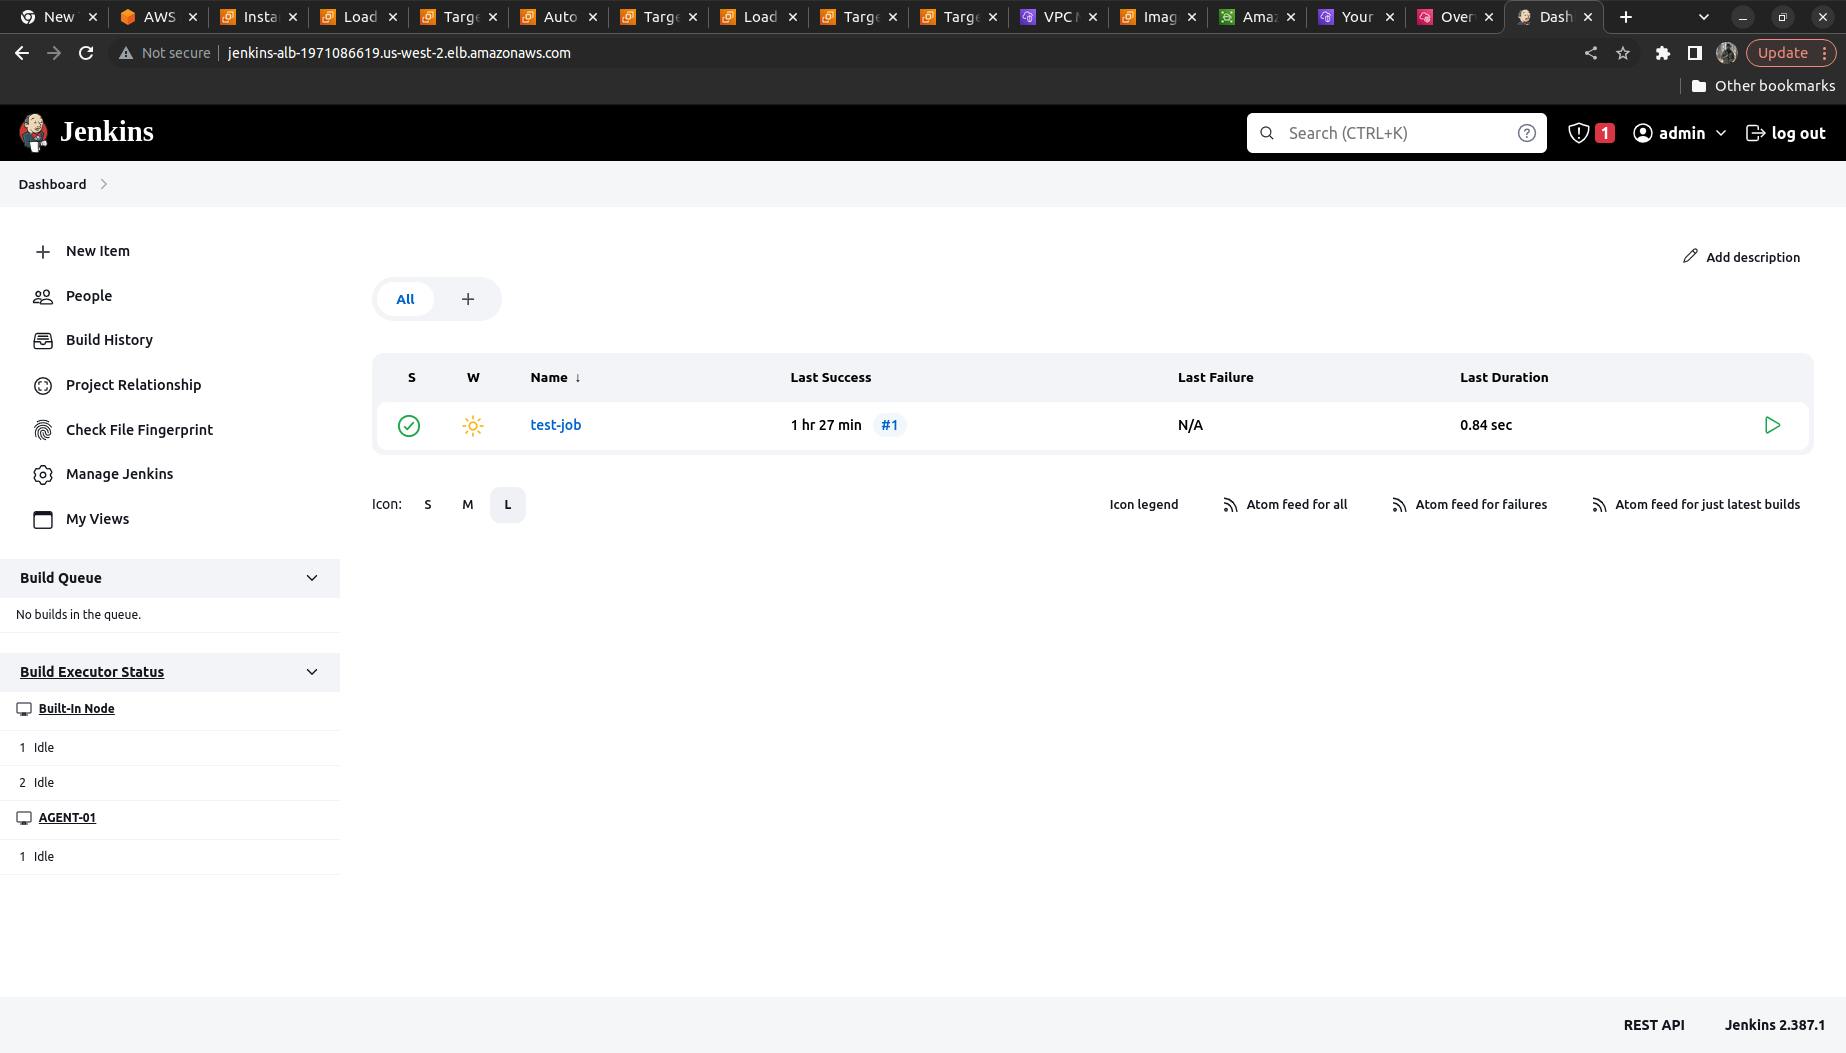
We will create a freestyle project ==> name it as test-job
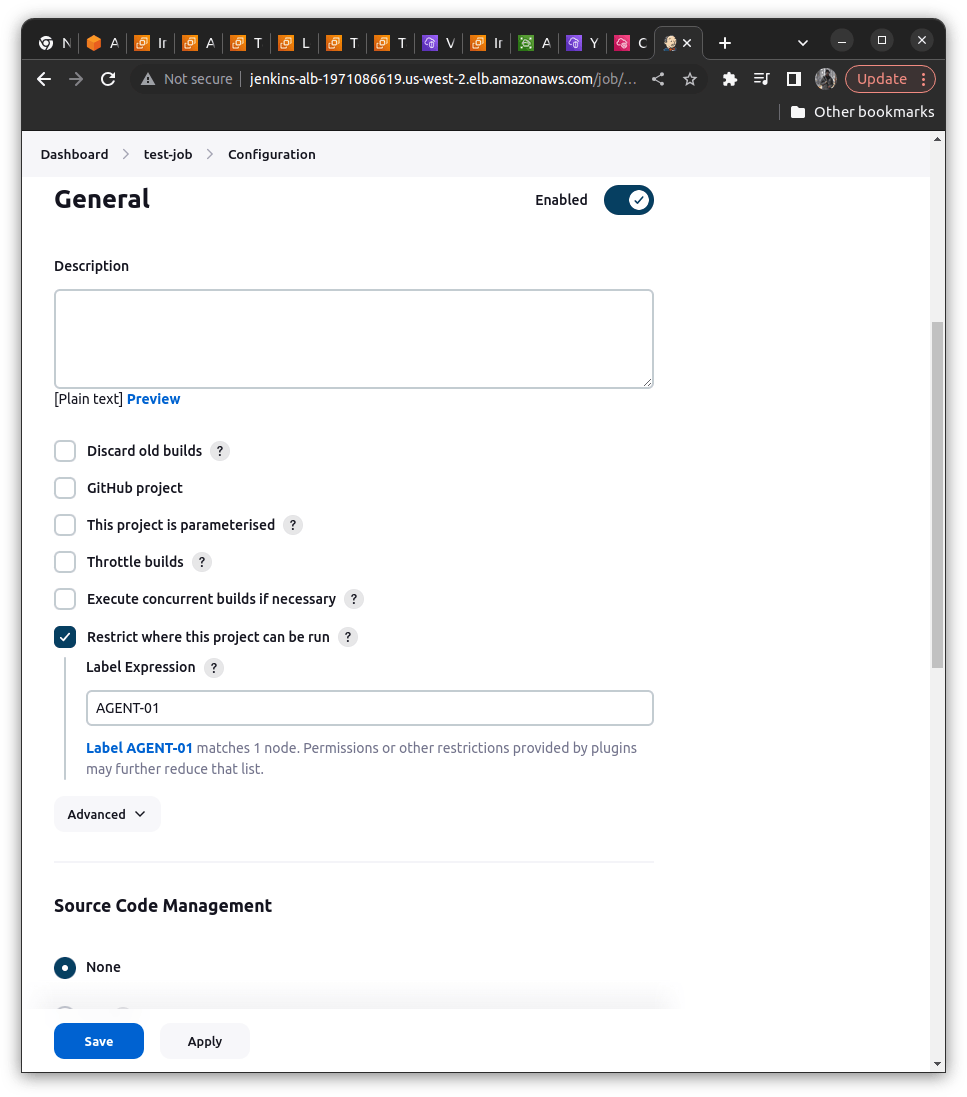
Now we need to run only on Agent-01 (name of the agent you have given)
We will check the option of "Restrict where this project can run" ==> Add the AGENT-01 (Checkout for whitespaces it should not contain it; if valid it shows 1 Node matching)
Also, we need to verify the build via some command so we will try to execute the shell command ==> We can add it with the help of "Add Build Step" ==> Execute Shell
echo "Hello from the Agent <Your name>"
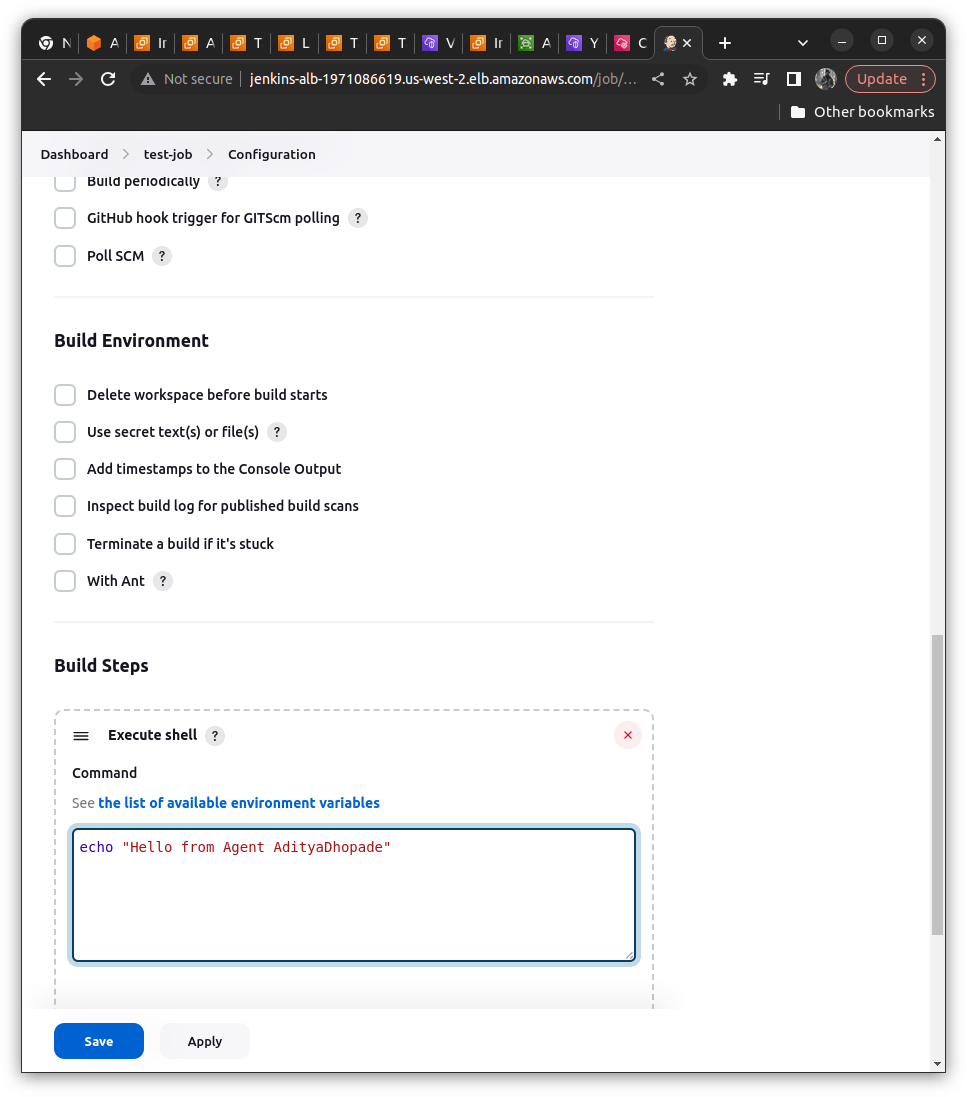
Save the Job and Build
Now the next step is to validate Jenkins HA
Scenario: Let us consider if our Jenkins Controller instance abruptly crashes then our another Jenkins Controller Instance should come up EFS and data for Jenkins with the last known state should come up as we have mounted the data in the EFS
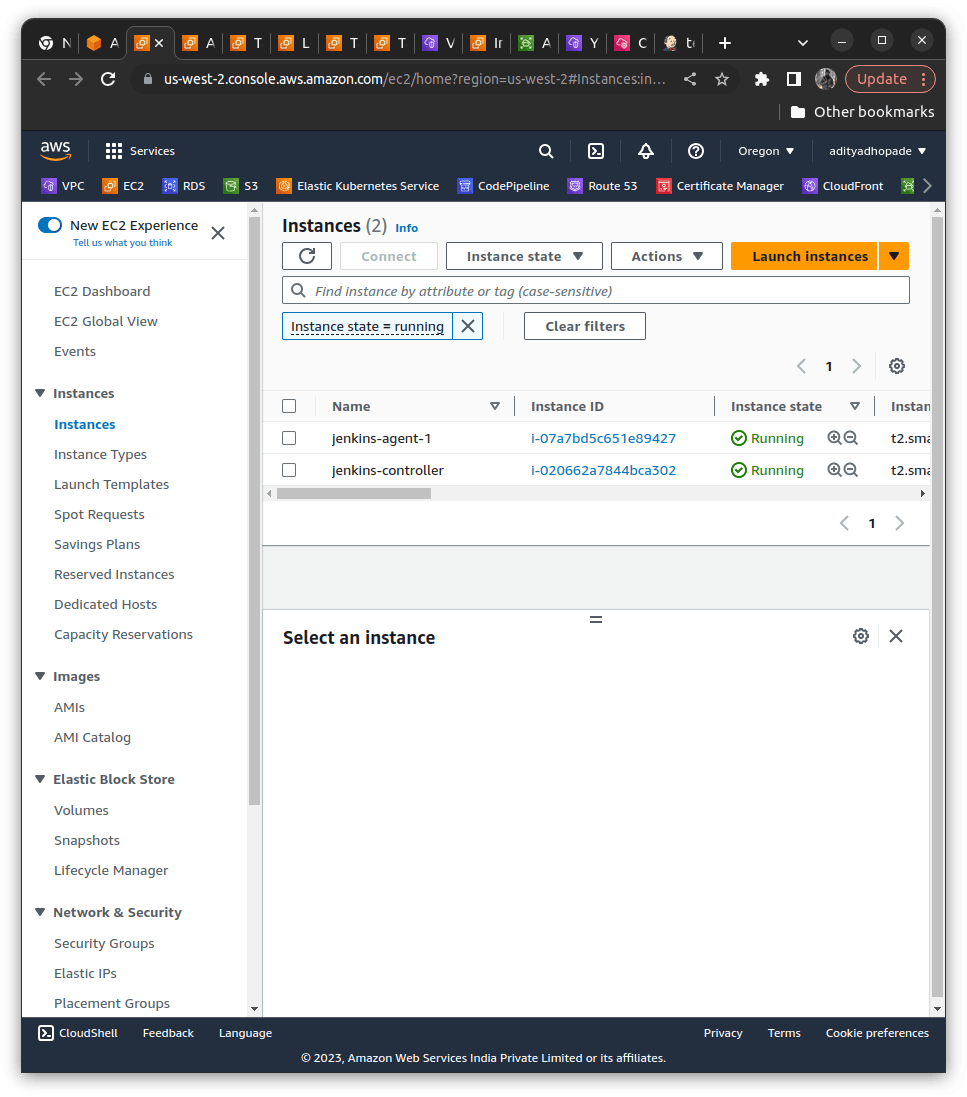
We will terminate the Jenkins controller
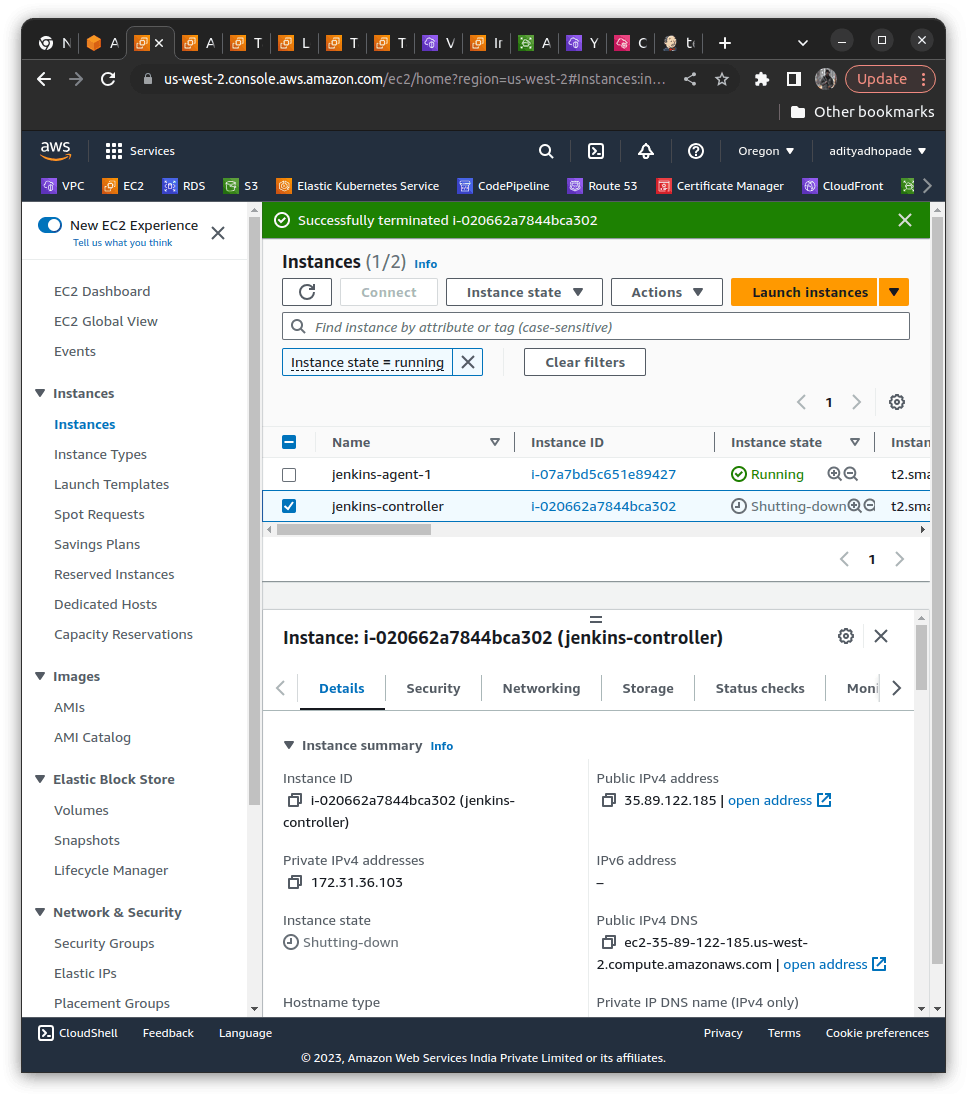
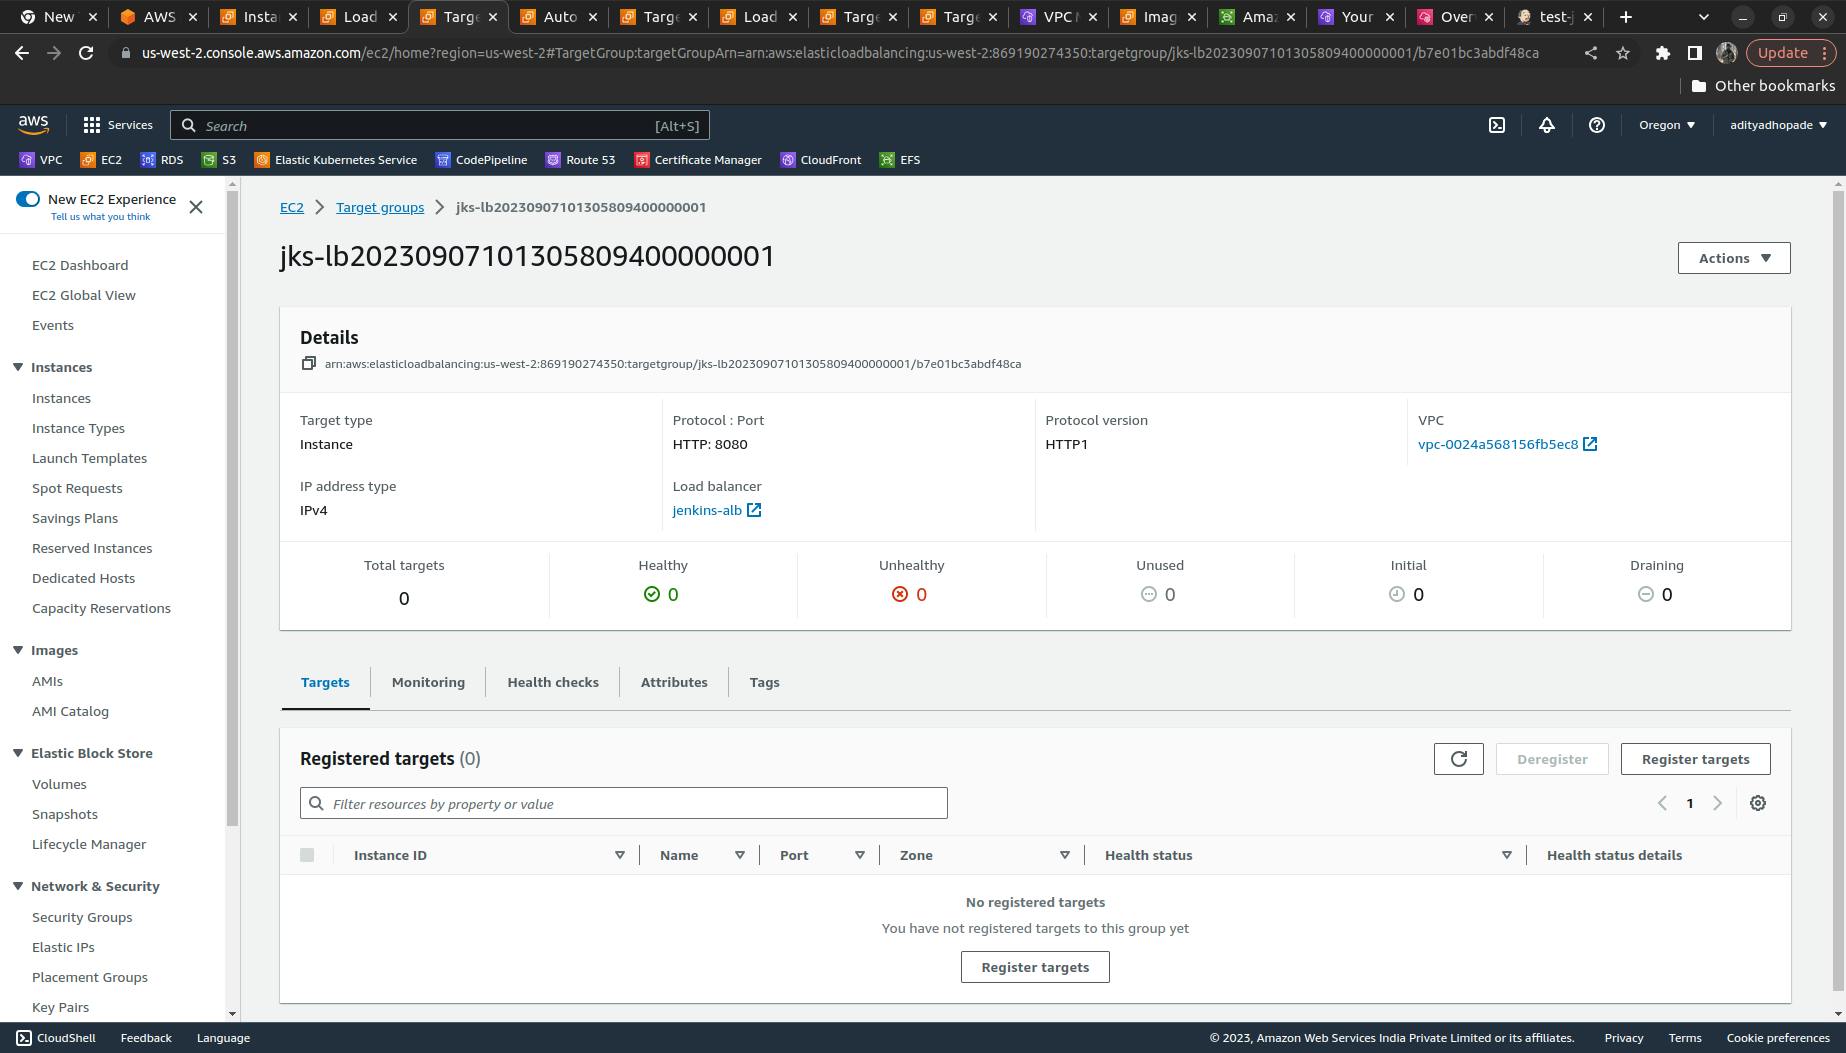
The target group in the Load balancer would also show that it does not contain any instances of healthy as well as unhealthy tabs as shown below
Now again try to log into the Jenkins Controller instance by copying the DNS name from the Load balancer and if it manages all the previous states (it means data including builds and all the configuration done on Jenkins)
What if we want to patch/ Upgrade this Immutable Infrastructure?
We can do the following steps here so we can deploy the patches or upgrade the Jenkins version
Need to create a new AMI with the latest changes
Update the new AMI_ID in the Terraform Infrastructure wherever required
TF will update the launch_template with the new AMI ID
In our case, if we want as soon as the ami_id gets changed the lb_asg should also update its ami_id it is made possible with the help of the instance_refresh
  instance_refresh {
    strategy = "Rolling"
    triggers = ["launch_template"]
  }
So as soon as the ami_id gets updated the lb_asg will also get updated and the older Jenkins Controller instance will get destroyed.
Last but not least want to earn some money !!
Remember to delete your AWS Resources via Terraform commands. Go to each folder where had run the Terrorm init to apply and write there
terraform destroy --auto-approve
If you want to delete the AMIs' you can via the console or via the command
Using a console is far easier here
Go to EC2 ==> Side nav AMI ==> Select the AMI and Deregister the Image (WE do not delete the image we just deregister it)
Also, delete the parameter Store values
AWS System Manager ==> Side nav Parameter Store ==> Delete the credentials manually.
That's all Folks !!!
Get your hands dirty and start implementing the project ; its a nice hands-on and touches most widely used tools
Check out my other work!